Cloud-Rendering Startup Guide with Conductor Companion

Companion is a complementary solution to the Conductor platform. Companion was developed to simplify the Conductor cloud-rendering experience in response to user feedback and strong demand from boutique studios and freelance artists. It was recognized that not every content creator has access to infrastructure specialists, so the Companion desktop application streamlines Conductor’s on-ramp and rendering, allowing users to easily manage and download files, write commands, and handle custom submissions or plug-ins right from their laptops or workstations.
So how does it work? When you’re ready to start rendering, download the Companion app here.
If you’re new to Conductor, you’ll need to create a login, otherwise you can log in to Companion with your existing account. Once logged in, you’ll be brought to a help and feedback page with useful links for things like documentation, accessing the web dashboard to view any jobs you’ve submitted, and links to submit a support ticket or provide feedback if you need additional assistance. The navigation panel on the left will take you to the custom submission and downloader windows.
Submitting jobs
The app’s Submission Kit was developed to accelerate the on-ramp of applications to the platform and also allow artists to run direct render submissions from outside of the normal DCC plug-in environment, like Arnold, RenderMan, and V-Ray. For the few applications that they don’t yet have plug-in support for, like 3ds Max, an artist can still use that DCC, then export the work as an .ass file and submit directly from this interface. Having this functionality was key to quickly adding Blender support for Conductor and will continue to be important as they expand their software ecosystem.
Head to the Submission Kit, found in the navigation panel to the left. It will first take you to the General tab, where you’ll enter scene specs. This will be covered, as well as the other tabs, below.
General
In this tab, enter information about the scene, including frame range, instance type, etc. Next, assemble the command to run. A range of useful templates are provided. This is also where you will determine scout frames. For example, if your job is 180 frames, you can run frames 1, 90, and 180 and make sure the results return as expected before running the full job.
Once the scene information is complete, assemble the command. Within the task template, you can modify provided commands by changing variables including the output_path to customize your output folder, chunk_start to modify your frame range, and project file location. Changes to the commands will auto-update to the output folder.Files
Once the output file is squared away, you’ll specify the project to be rendered by pasting the project in the task template window. Next, add your file to the upload dependency list. Click the Files tab at the top, navigate to your folder, and select the project to be rendered. Your project will now be uploaded, along with the command submission.
Software
Specify both your software package and version within this tab. Once you’ve reached this step, you have the ability to save your project as a custom submission.
The save feature is located in the General tab and will save your project as a .json file so that you can access your data and settings the next time you log in to Companion.Preview
As you change different variables for your custom submission, visit the Preview tab to view the settings updated in real-time.
Once you’ve set up and saved your submission, click ‘Submit’ within the General tab. You’ll then be provided with a quick and easy link to take you to the web-based Conductor dashboard to view the progress of your render. You’ll start with the scout frames and their status will start with syncing, followed by running the render until completion.
Reviewing and downloading your files
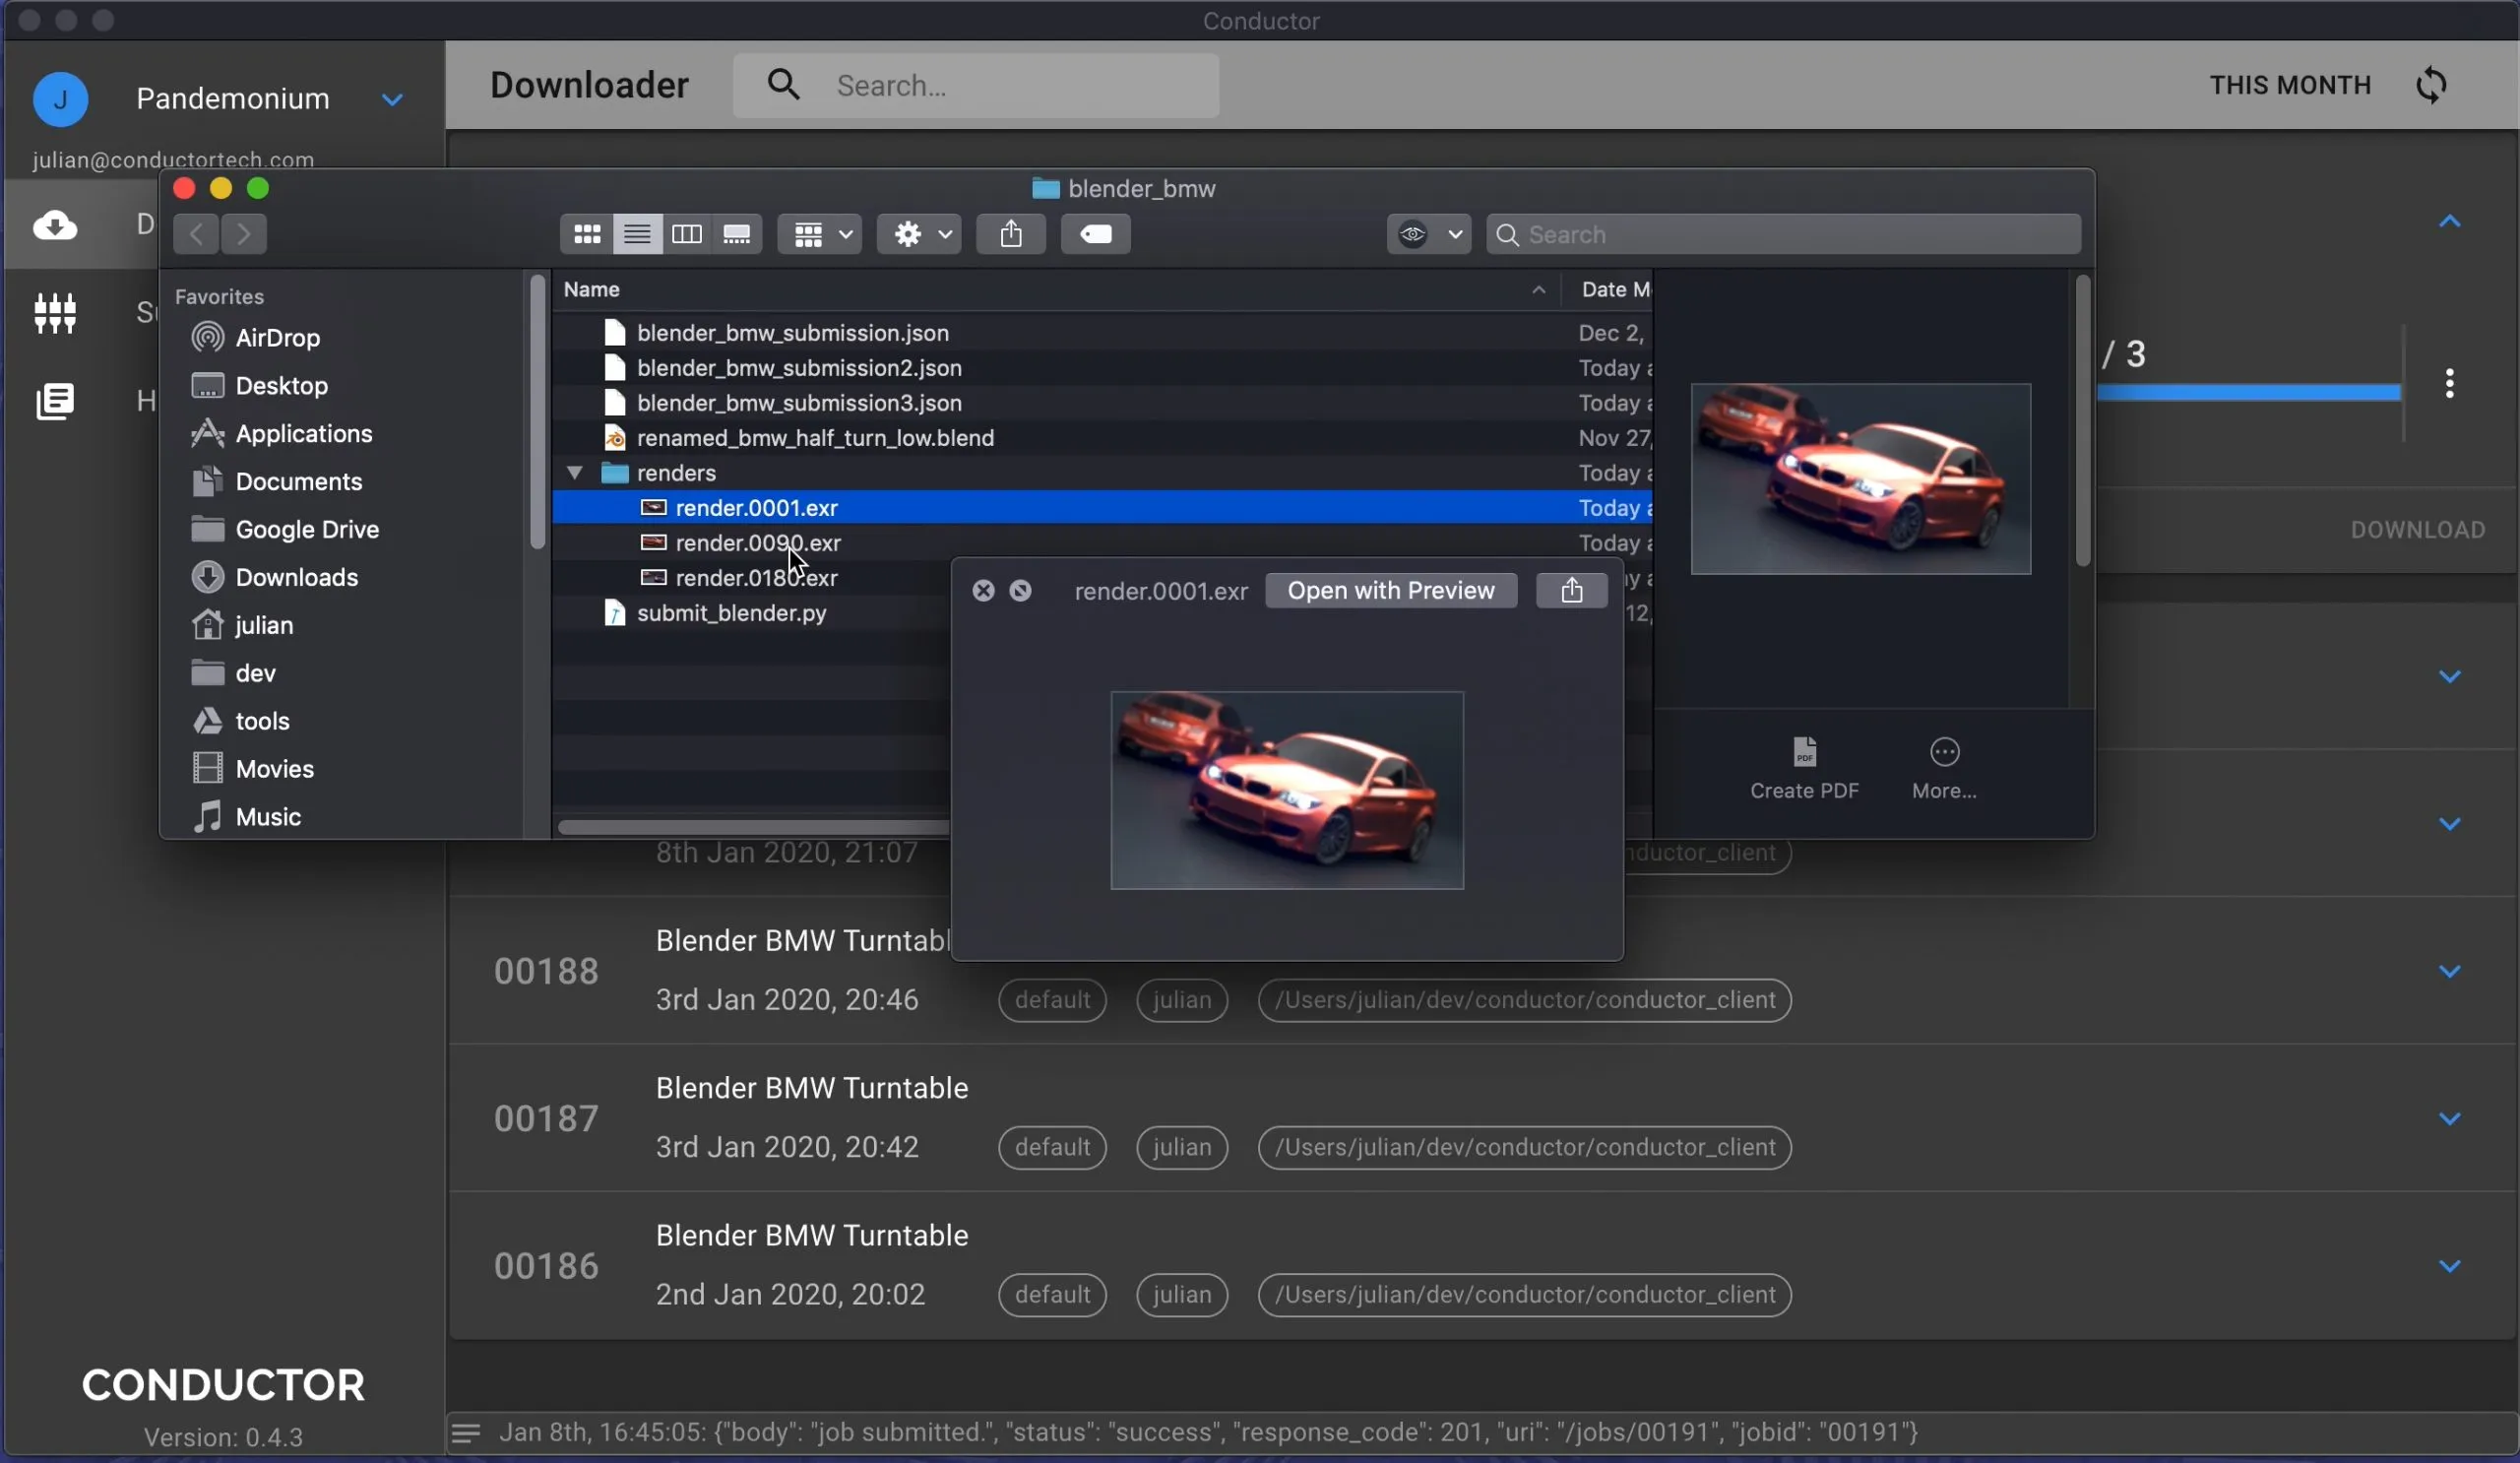
After your scout frames have successfully completed rendering, return to Companion and visit the Downloader located in the left side menu to view your finished work. Through your Conductor account, the Downloader knows what you’ve run on the platform and will automatically detect new frames. Download your rendered frames and click ‘View Images’ to see your finished work. If the images look good, go back into the Conductor dashboard, visit the main jobs page, right-click on the job and click “unhold” to render the remaining frames.

Case Study
Oklahoma-based studio Boiling Point Media first began using Conductor in production on “The Adventures of Jurassic Pet,” They continue using Conductor on their current projects; all their renders are completed with Conductor, which allows artists to continue iterating, without tying up workstations. Read more about it.
“You don’t see many successful VFX houses smack dab in the Midwest, and I’m not sure we’d be able to create the sci-fi fantasy work we do within our current budgets and timelines without Conductor,” noted Boiling Point Senior VFX Artist Dan Moyer.
Want to learn more?
If you have any questions or need more detailed information, head to Documentation for quick how-tos, workflow examples, and more.