Creating Beautifully Merged Photogrammetry Trees with SpeedTree
SpeedTree 8.2 added a new suite of tools for merging and extending custom meshes into procedural SpeedTree models, allowing an artist to easily create variations out of a single base.
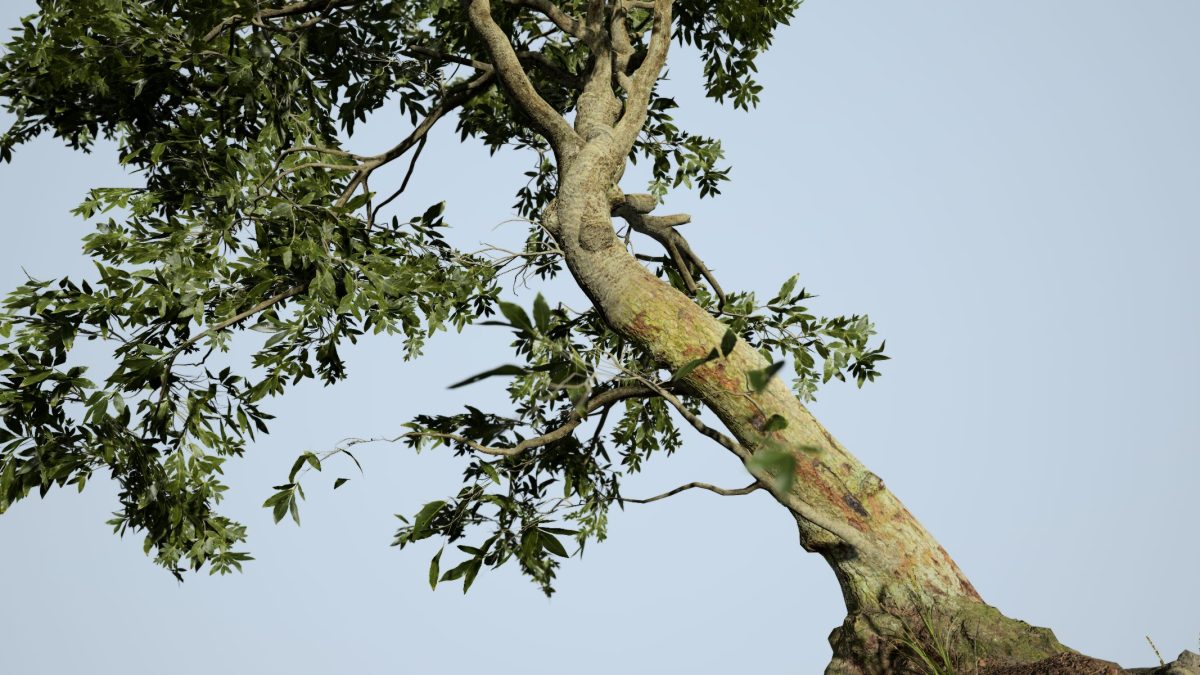
In this tutorial, lead SpeedTree artist Sarah Scruggs demonstrates how to use a photogrammetry mesh in SpeedTree to create a procedural tree meant for real-time use in a game engine.
The tools for photogrammetry found in this tutorial are available in SpeedTree Cinema and the new SpeedTree Games Indie and full licenses. You can download a trial version of SpeedTree Games Indie to follow the steps in this tutorial. Please note that the photogrammetry tools are not available in the subscription versions of SpeedTree.
Workflow
I recorded a time-lapse so you can get a feel for the initial workflow and see the tool in action.
The main steps are to:
- Import a photogrammetry mesh
- Extend the mesh
- Build onto it procedurally
- Create a cluster
- Create multiple cutouts from an atlas
- Set up LODs & tune wind
- Export
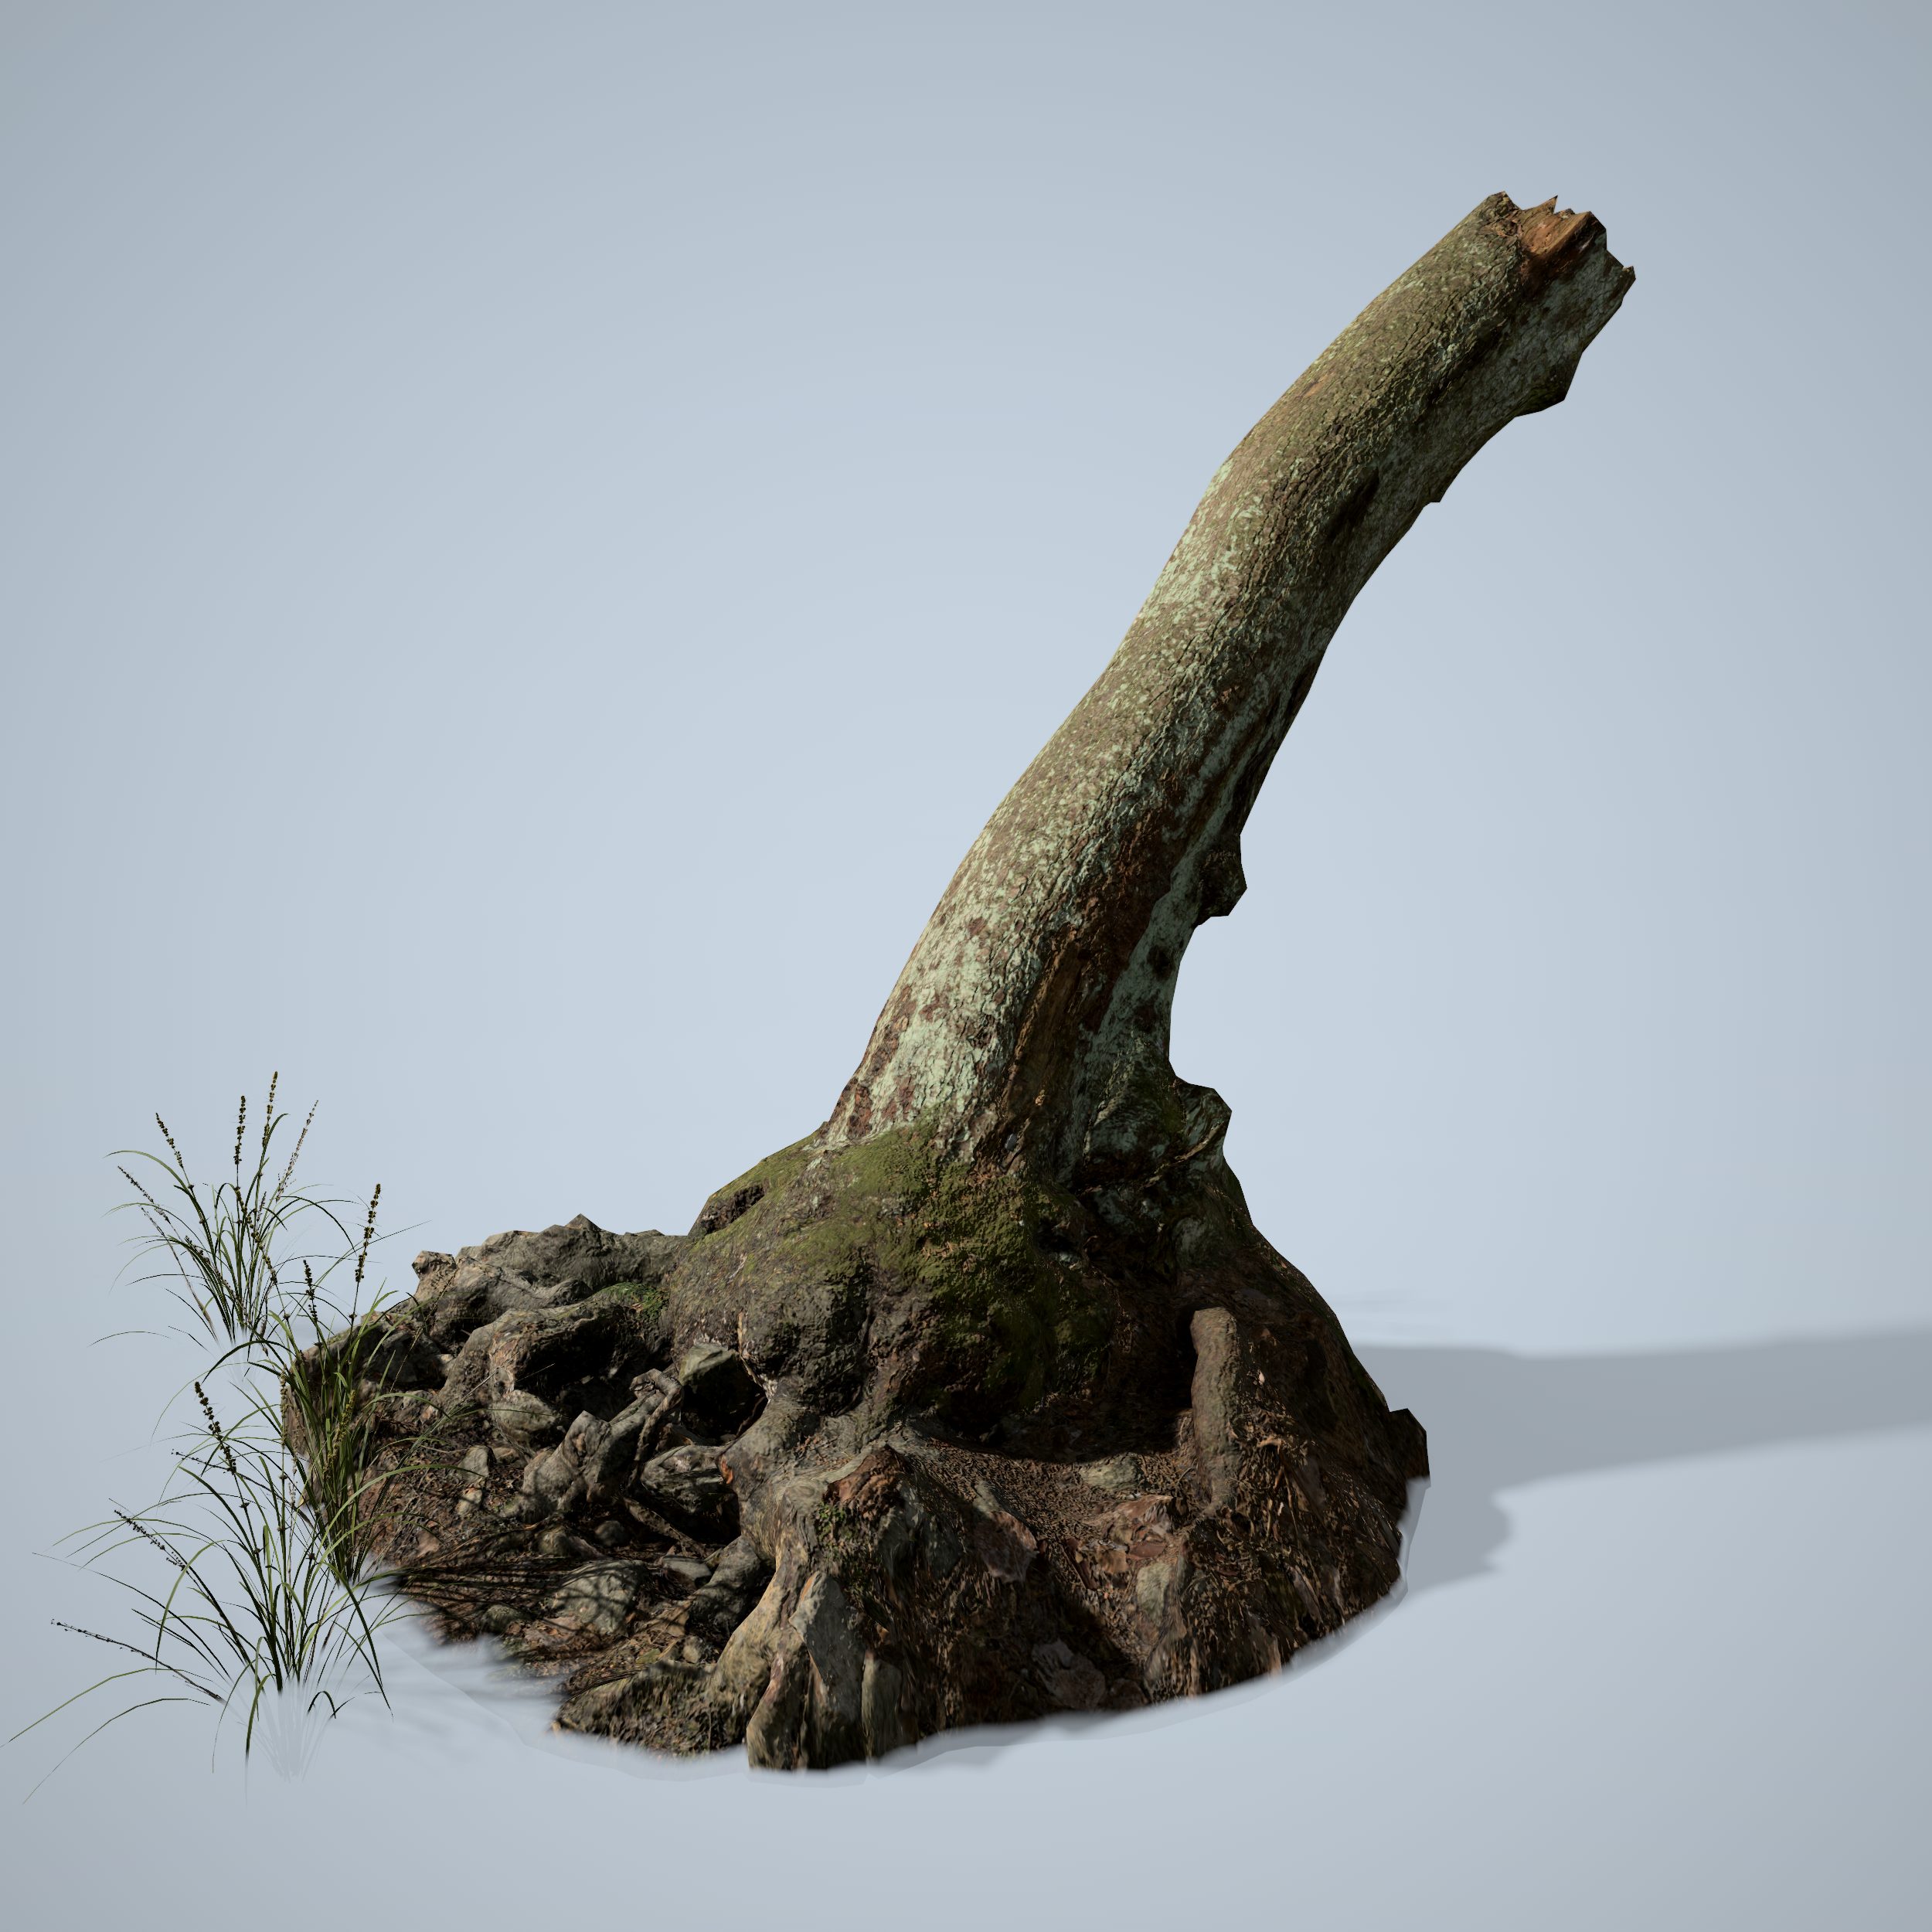
Choosing your Mesh
For the time-lapse video, I used a tree base from Quixel Megascans’ newest Iceland assets, but you could also create a custom base in ZBrush, or photograph and process your own. There are a few things to keep in mind while acquiring your base for use in SpeedTree:
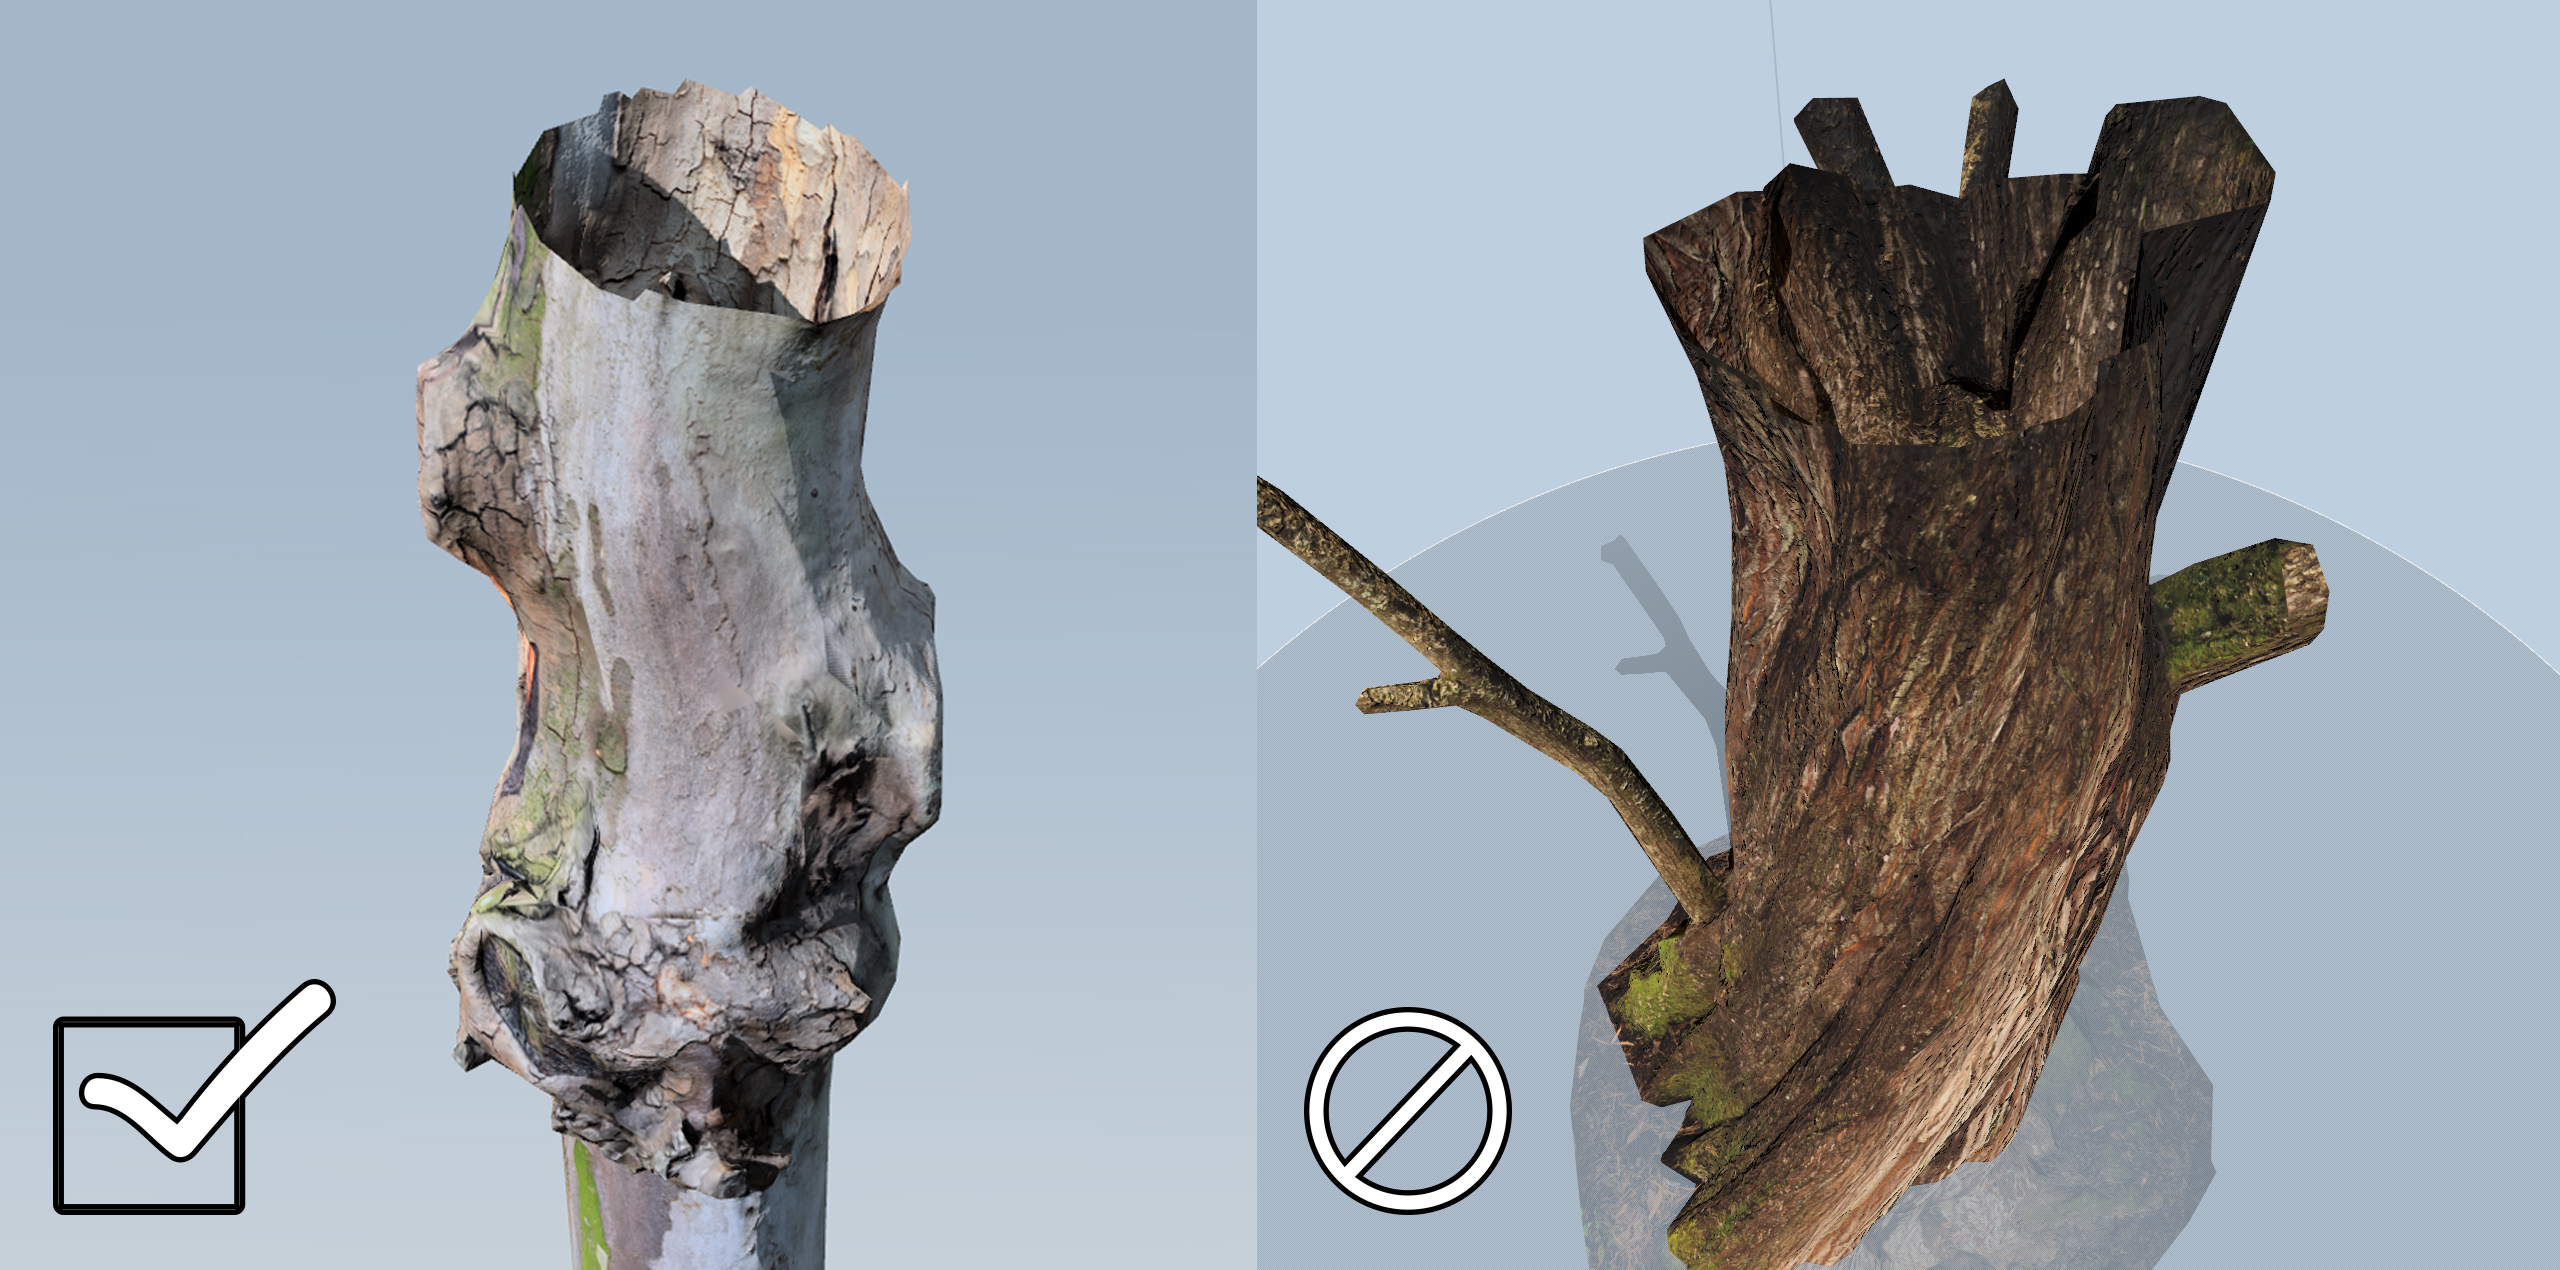
- Tall tubes make for more detail. The taller the tree base so that you can manage them better. An extremely short stump might prove much harder to attach to because you need some distance for the blend.
- Complex tree bases are a great way to incorporate amazing roots where the player would be walking that are much harder to capture through procedural detail.
- You’ll want your mesh to be seamless. If you have cracks or missing pieces, you might want to do some touch up in a 3rd party application to clean it up. You can also bypass 3rd party software by cutting off bad sections with a “cut stitch”.
- A cleaner top will work best with SpeedTree’s photogrammetry tools. This means a rounder “tube” shape will blend a lot better than a noisier one, especially if it is inverted in on itself.
For this project, I used Quixel Megascans. The trunk itself is high poly and more suitable for VFX work, so I’ve loaded in the smaller meshes that Megascans includes for LODs.
Extending the Mesh with a SpeedTree Stitch
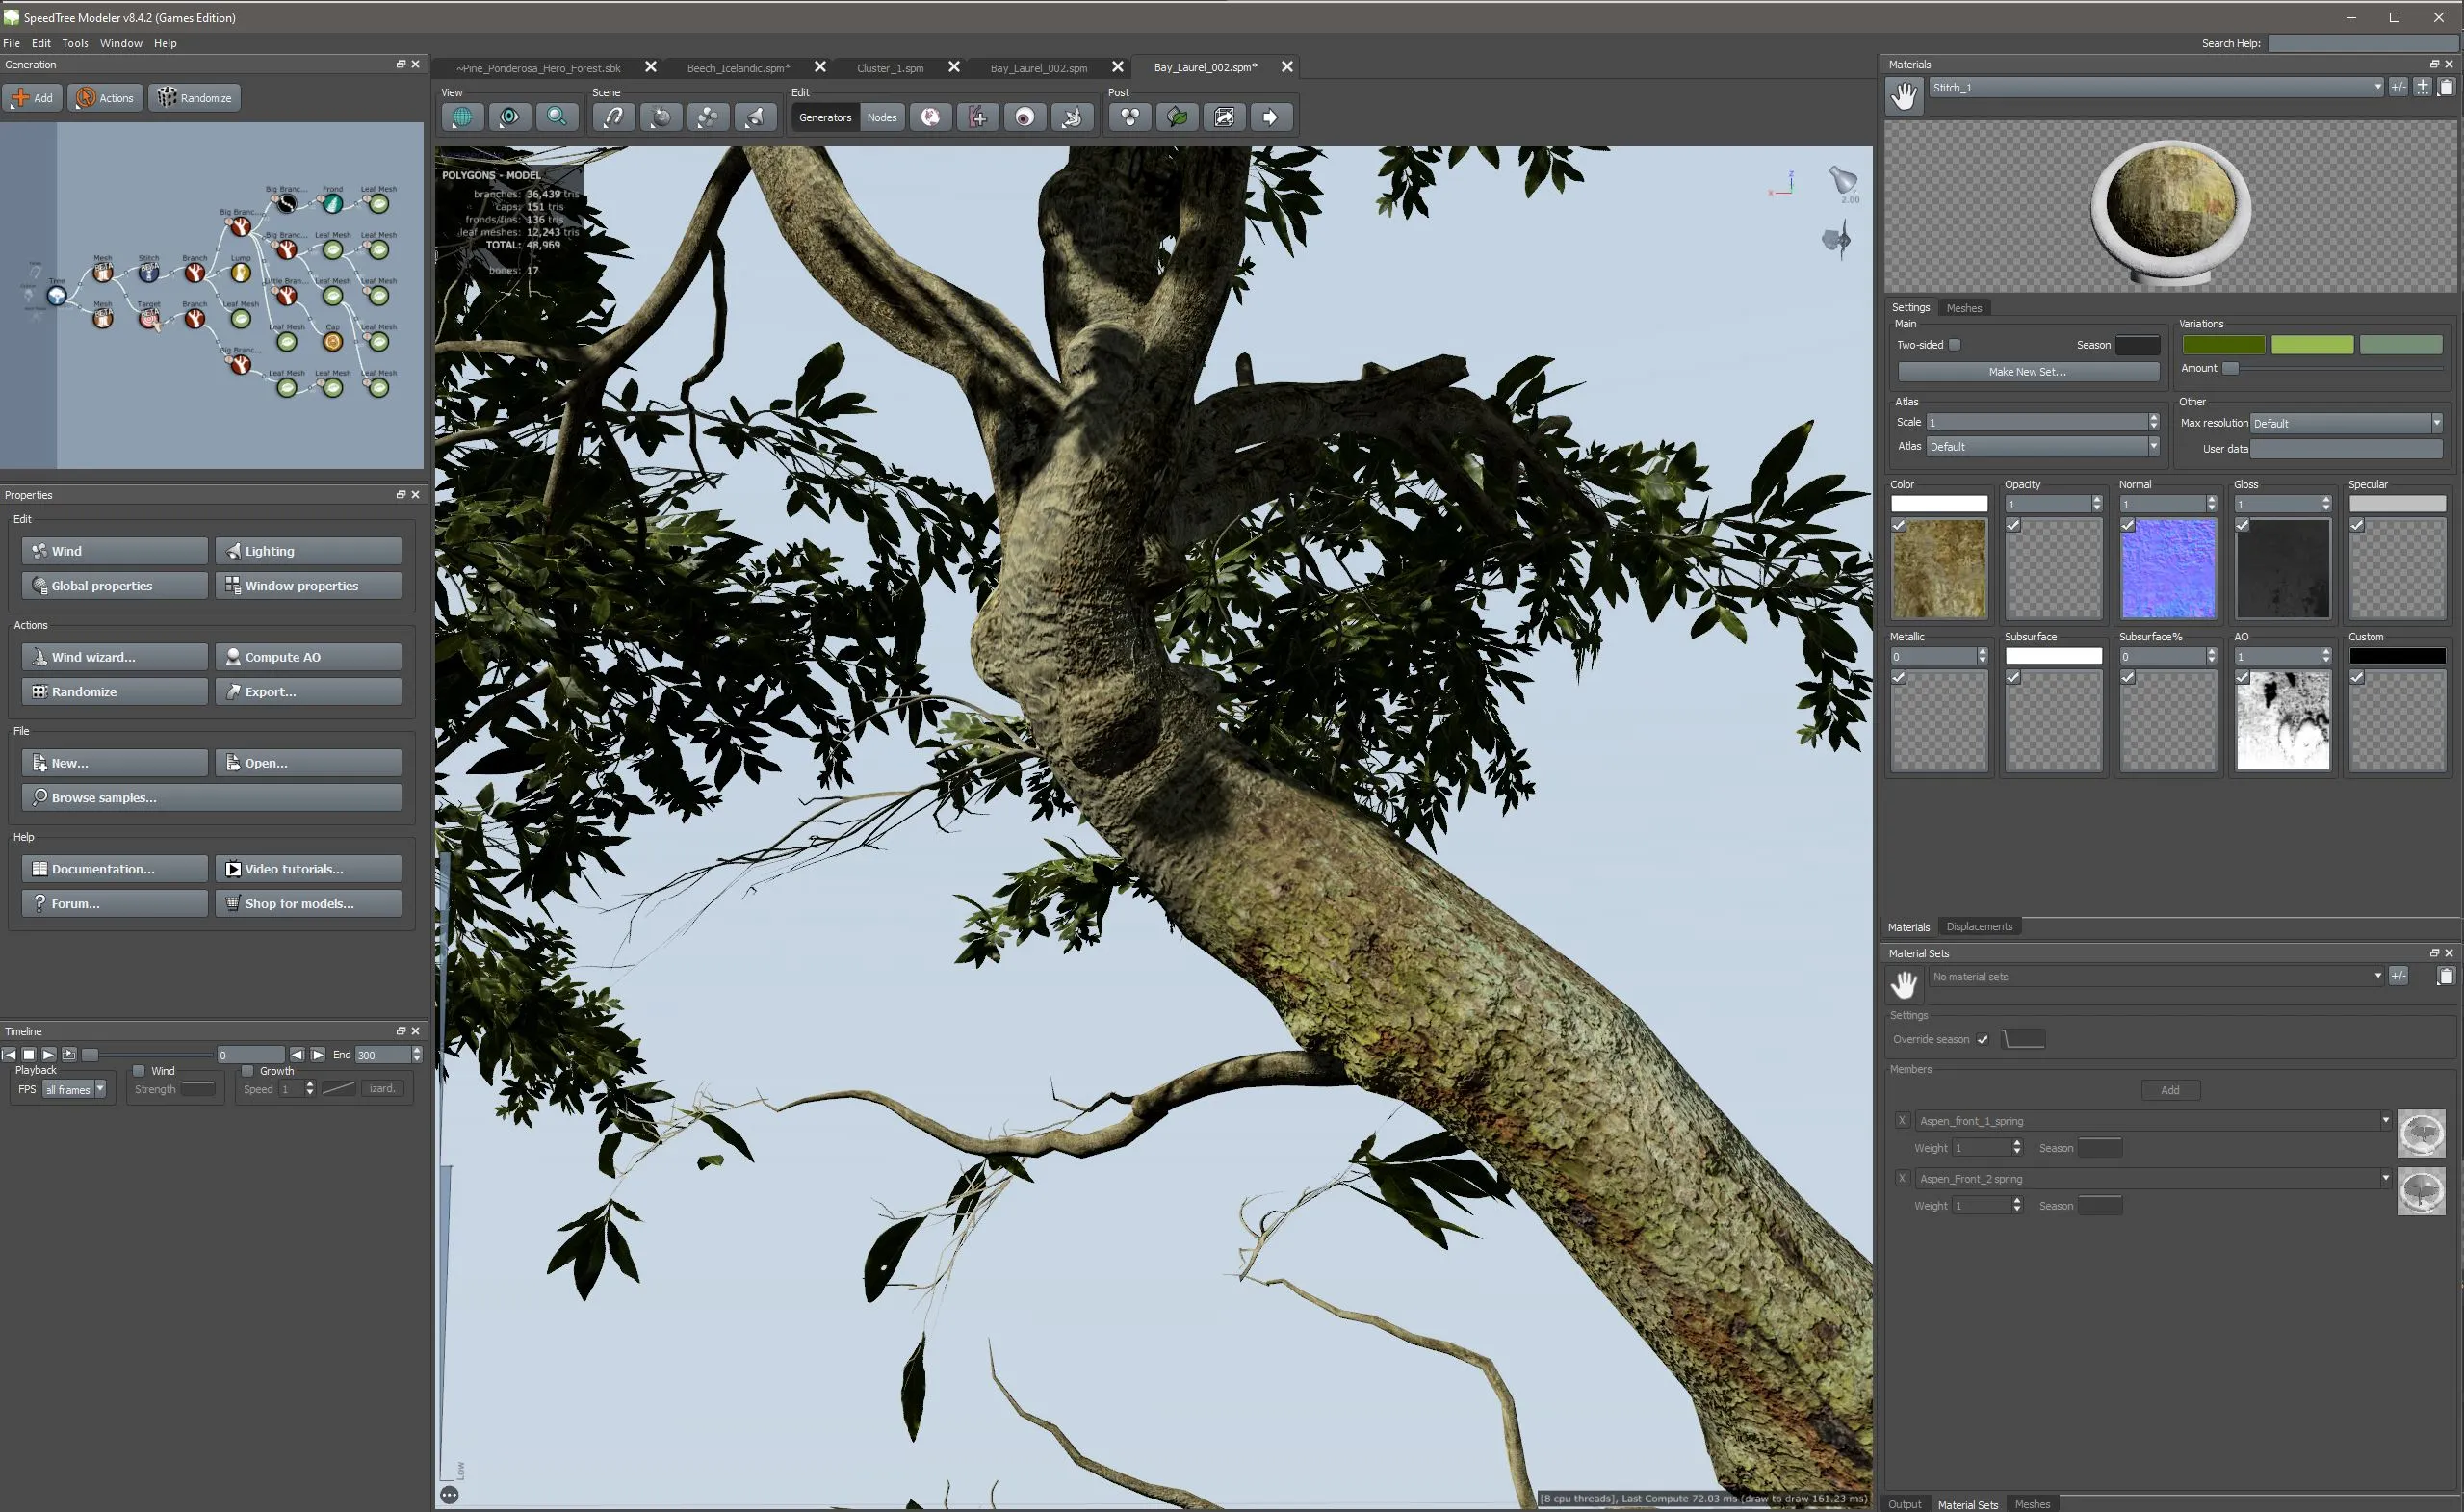
The SpeedTree stitch is unlike any other SpeedTree tool that we’ve released before. It’s added into the scene, manually placed, and acts as the glue so you can quickly move on to procedural building.
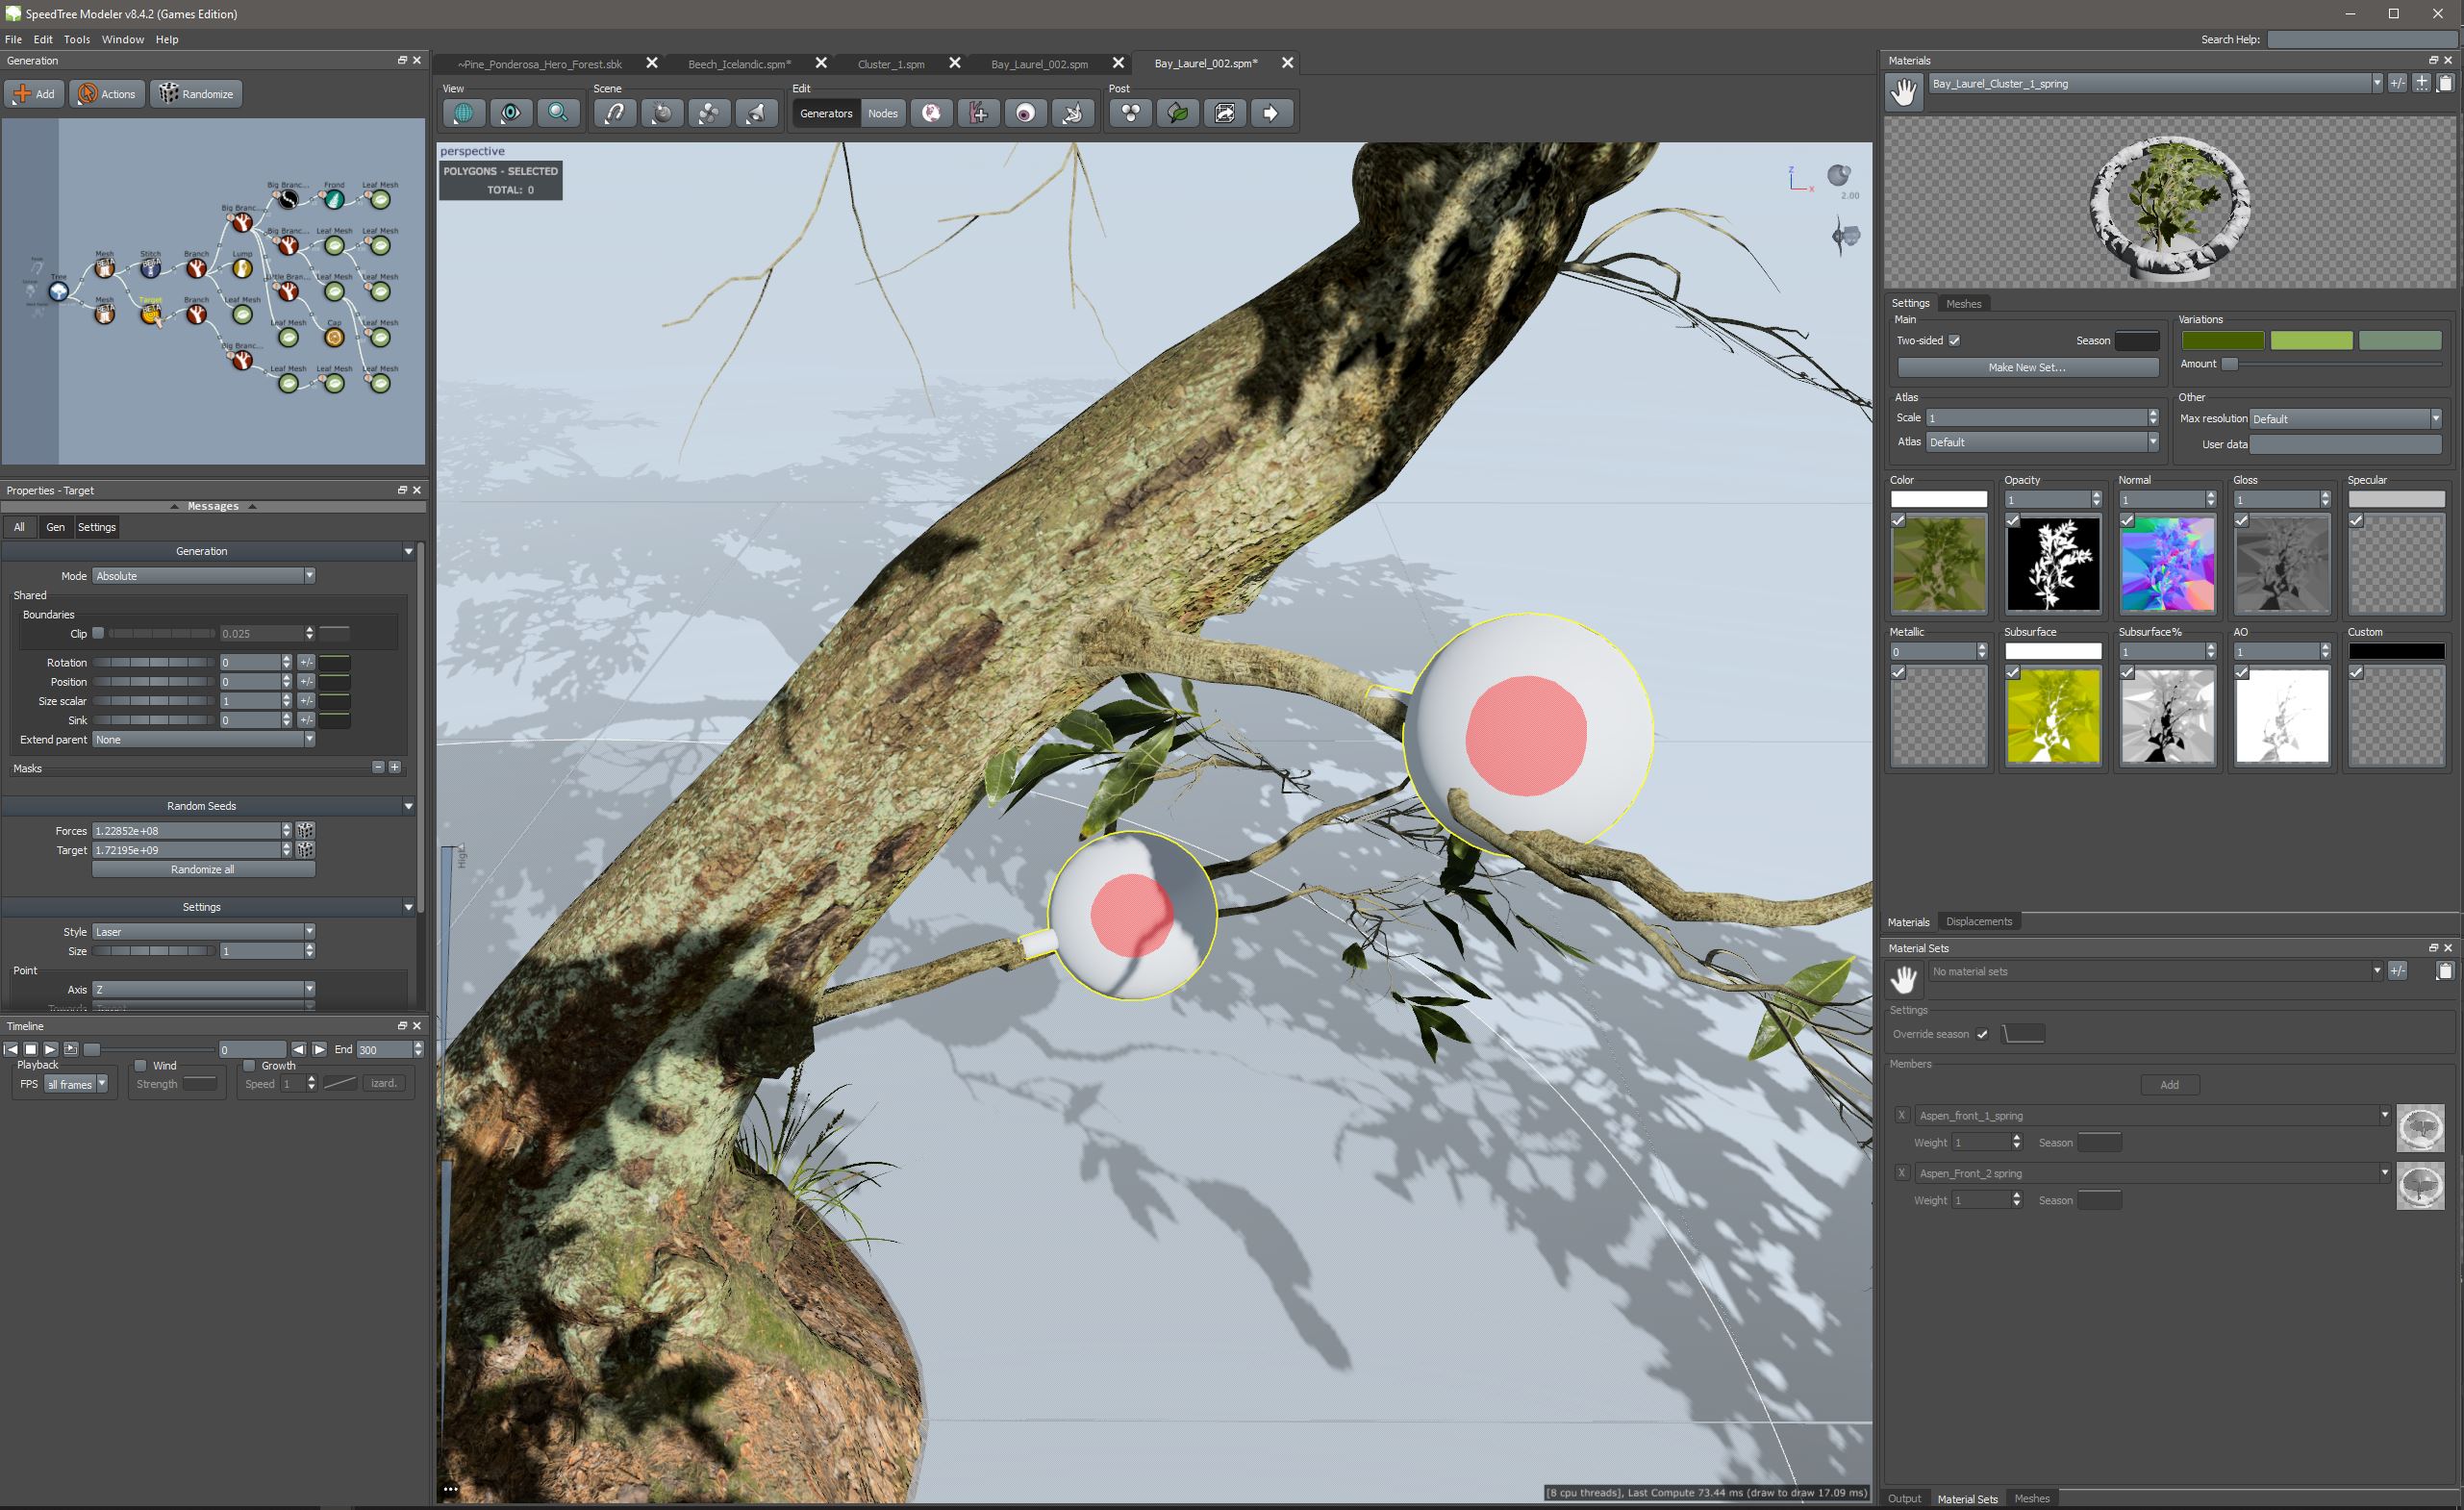
First, import your mesh into SpeedTree and add a “Mesh” and “Stitch” Generator. You can set this blend to different types, “vertex” or “texture”. Move the stitch in place to a good location using the colored indicators. Once you’ve added your mesh, you can load in the lower LOD versions in the custom mesh tab so they will lower in polygon count with the rest of the tree. 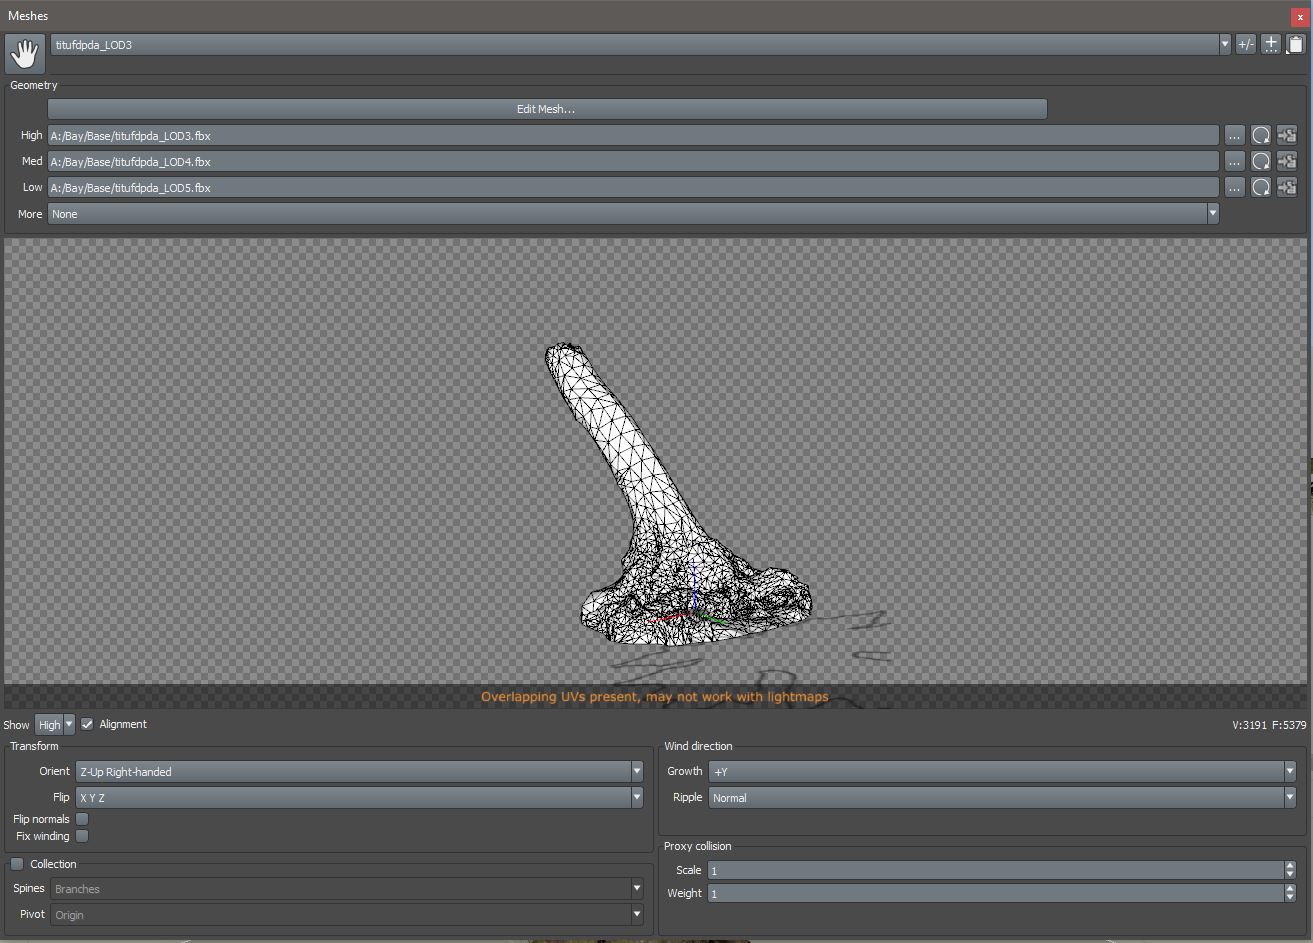
You’ll then add a “mesh generator” and a “stitch generator” to the generation window. In the Modeler, a colorful gadget will appear that can be moved around. While it does look like something from space invaders, the color rays are there to help you move the stitch into the best position possible.
Why? The stitch has to actually find the edges of your static mesh in order to create geometry. It casts rays to determine the edge of the trunk. Red indicates you need to keep positioning or try changing the angle. Green indicates that you’re in the clear and can start editing the stitch properties.
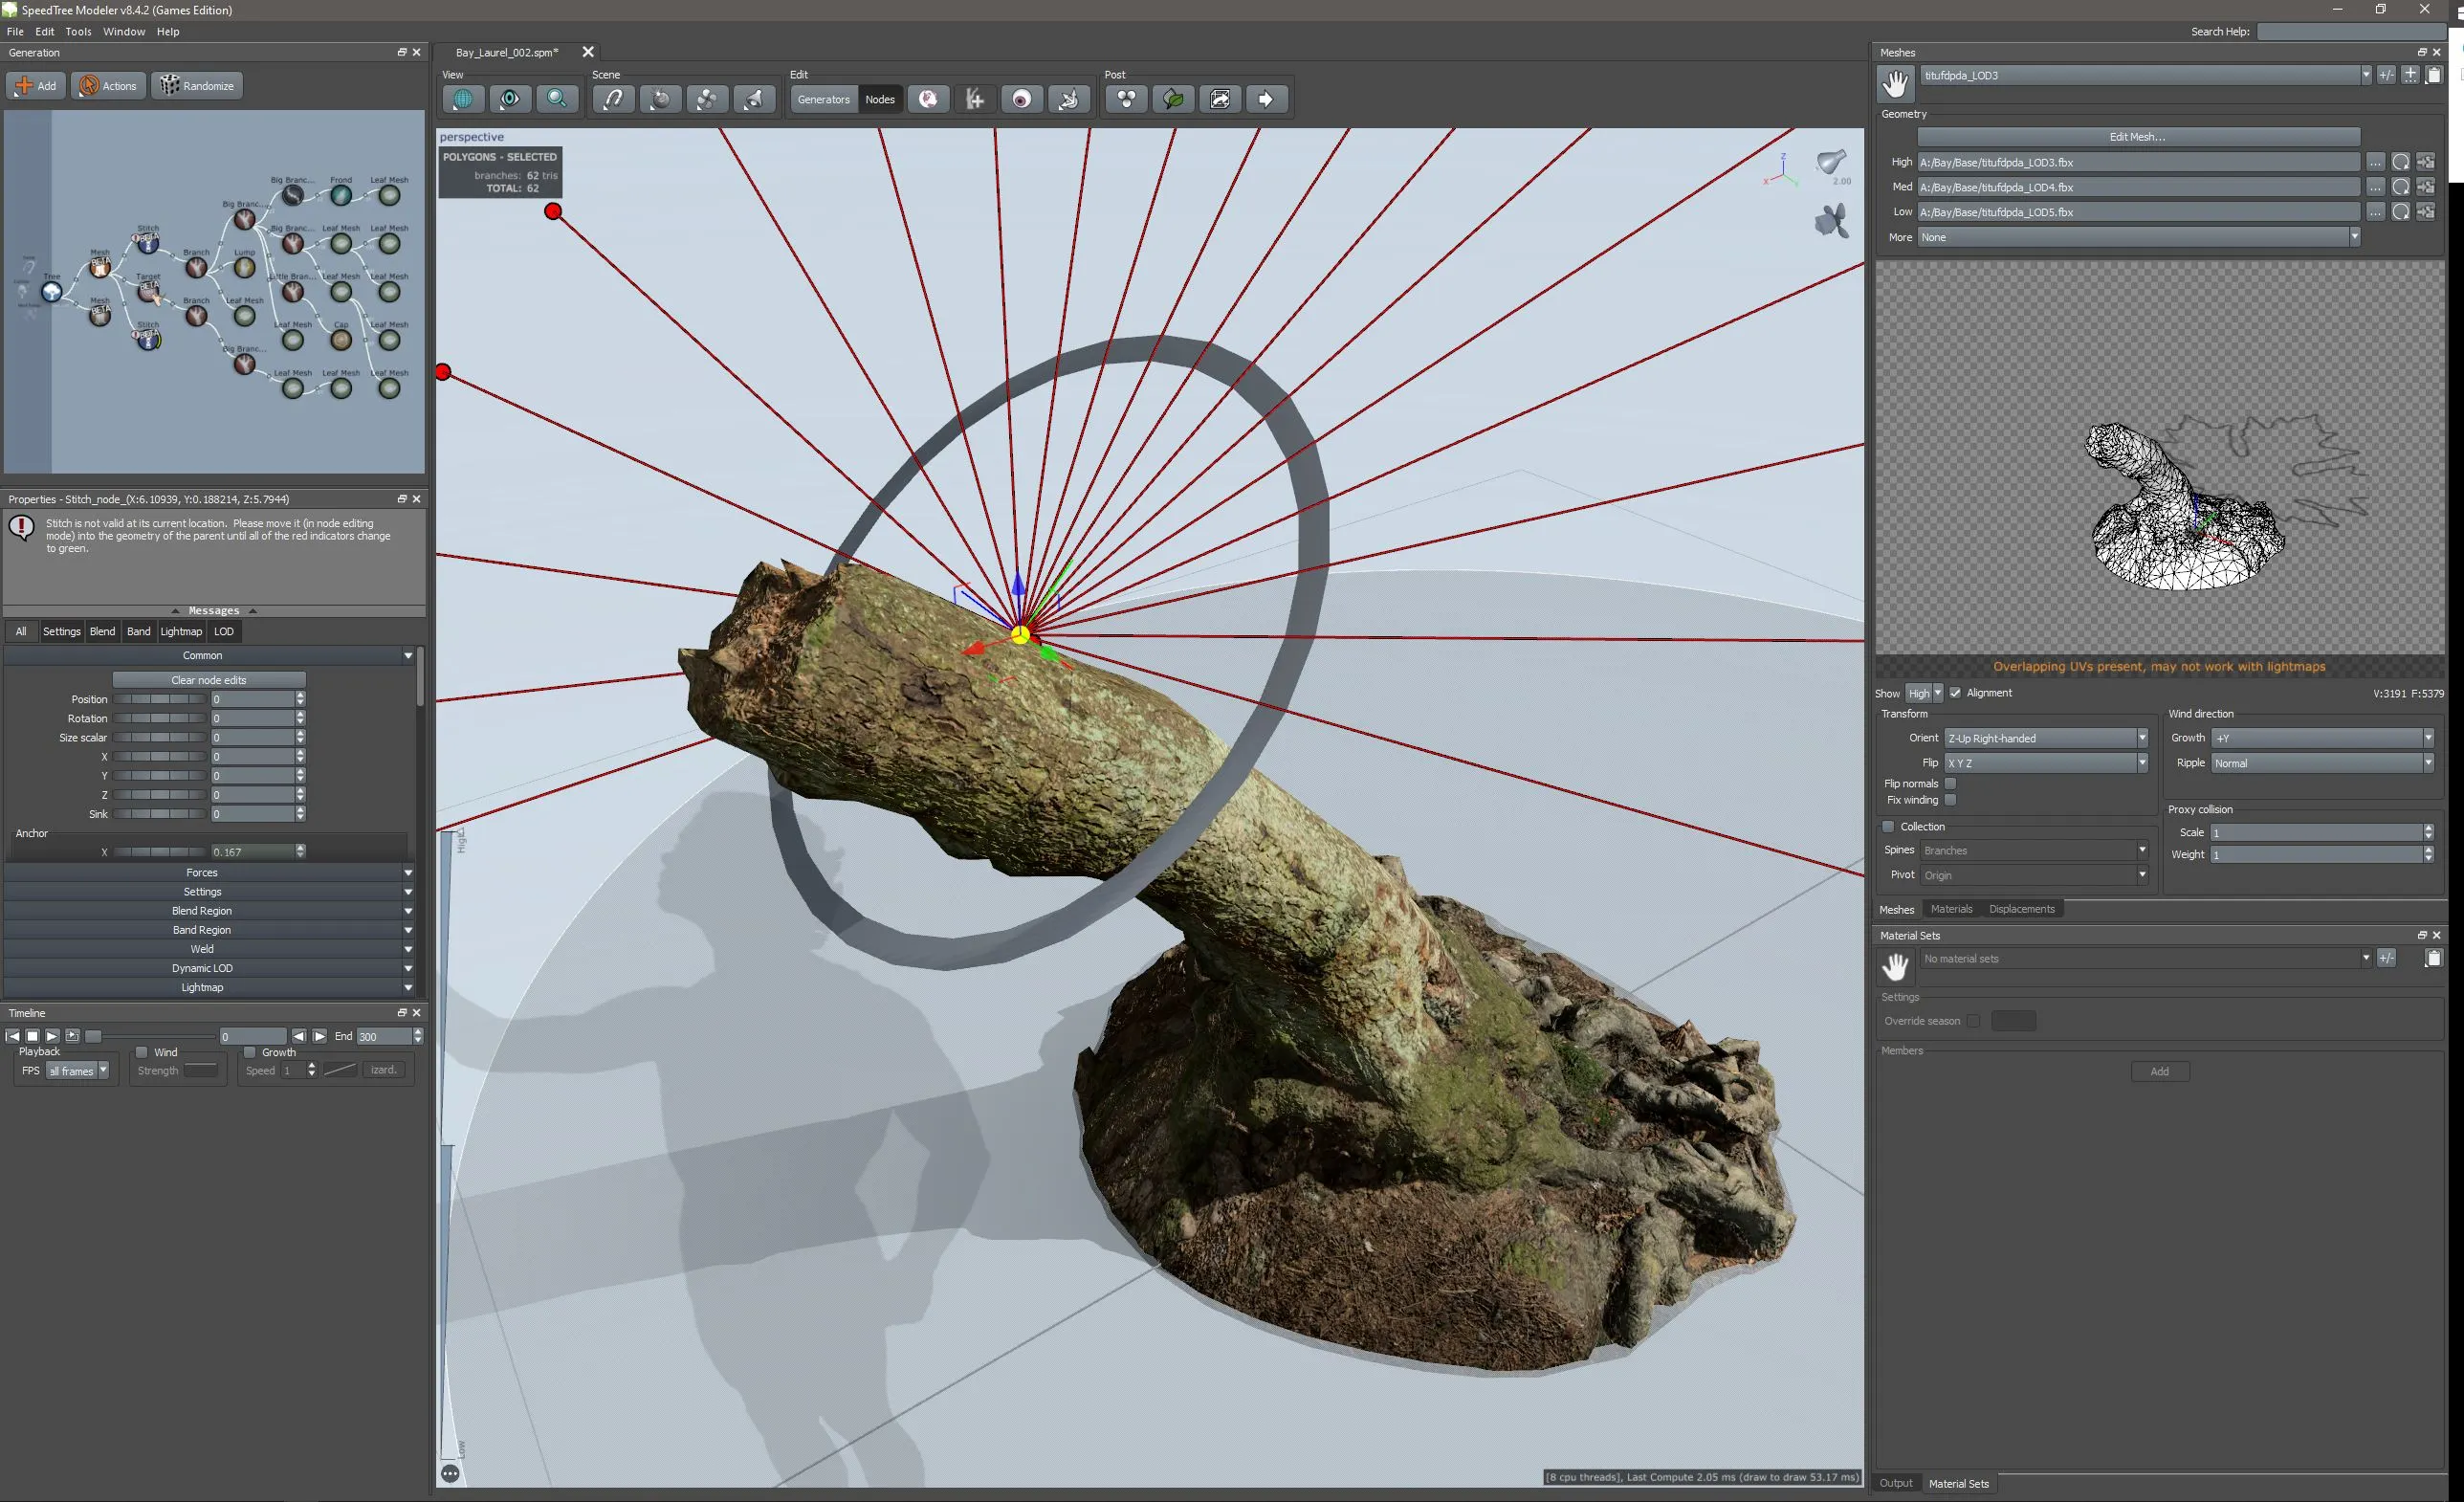
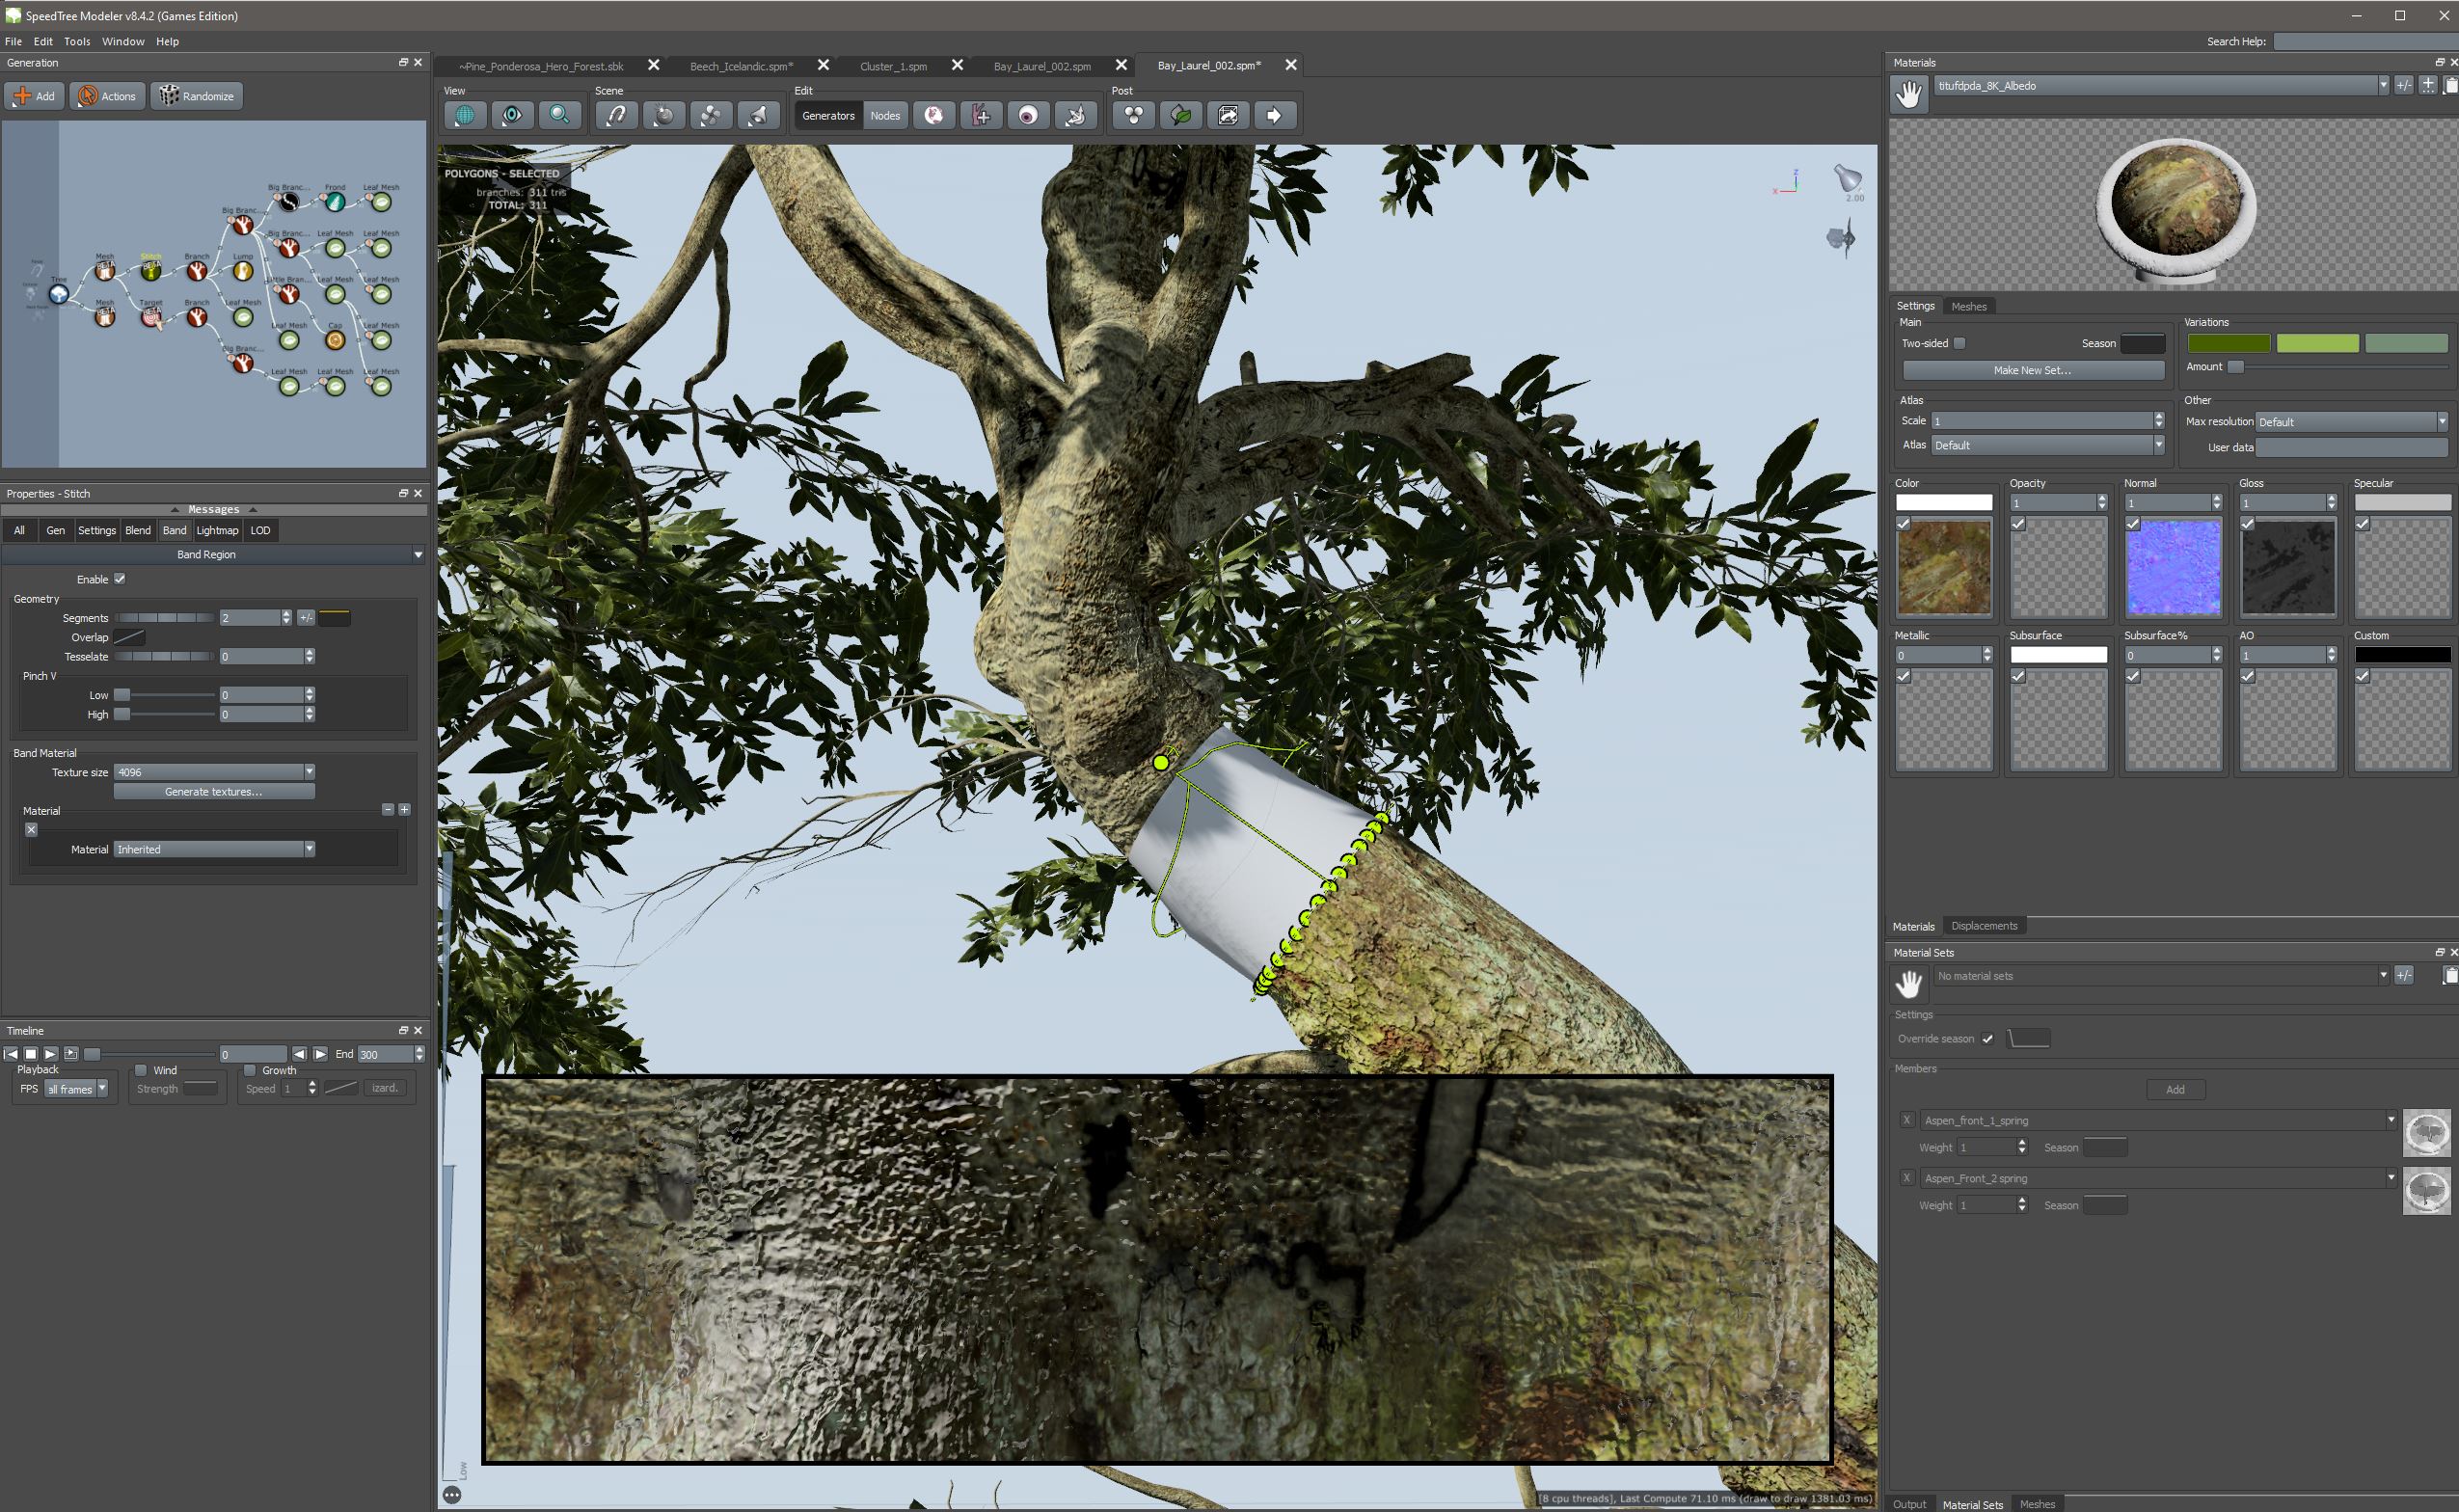
SpeedTree allows you to blend in two different ways. You can use the Stitches’ geometry that has a texture overlay that sits over the child branch OR you can create a texture band with the stitch allowing complete seamlessness. For the game tree in this video, I used the texture band method.
Here is a video explaining how to place and setup the stitch for this method:
Tip: Leave enough trunk geometry beyond the stitch location to be used in the blending process. The height of the blend region can be controlled in the “Blend” property group on the Stitch generator.
After you’ve added a branch to the stitch, you can now begin building in standard SpeedTree fashion.
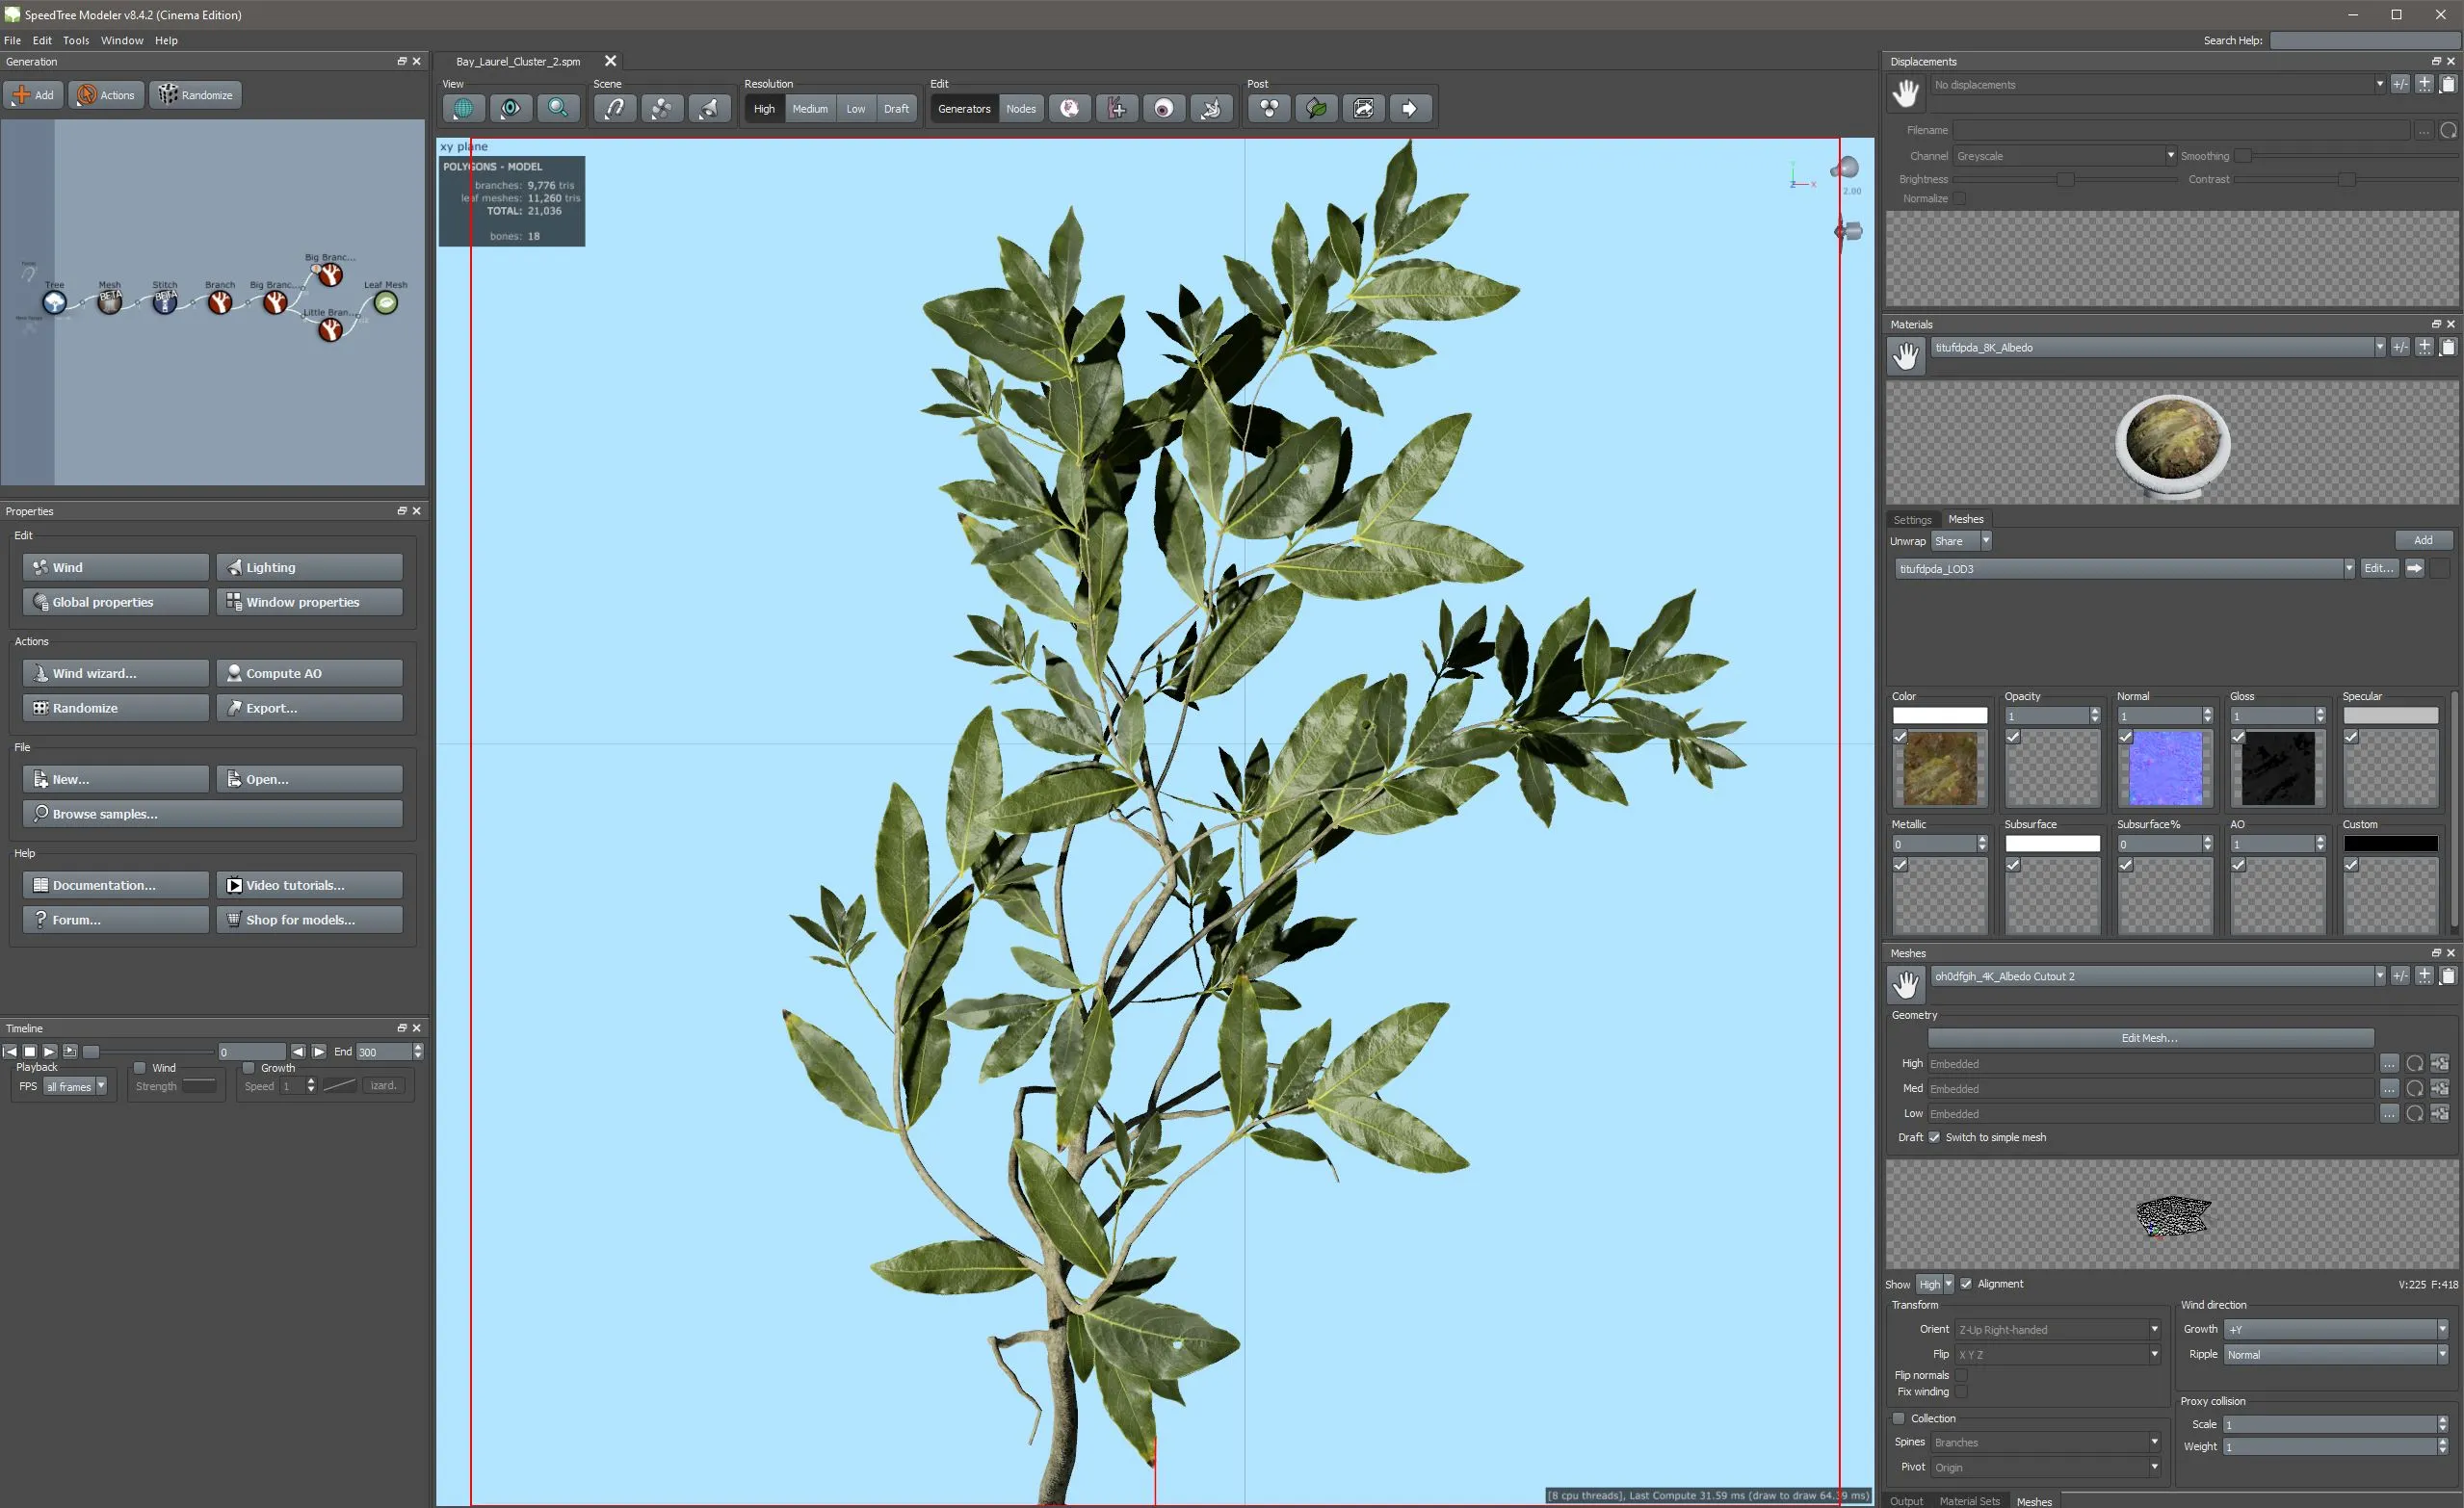
Using Pre-Atlased Materials
A common workflow is to use store-bought PBR materials for leaves. Megascans are often packaged with several species variations within a single texture. This is a huge time saver for cluster set up as you won’t need to load in textures individually. SpeedTree’s “mesh cutout tool” now supports multiple cutouts per texture. A leaf mesh assigned with the atlas texture will now evenly space out any of the meshes you’ve created. For the canopy in our time-lapse tree, I am using two atlased leaf sets. You can purchase them here and here.
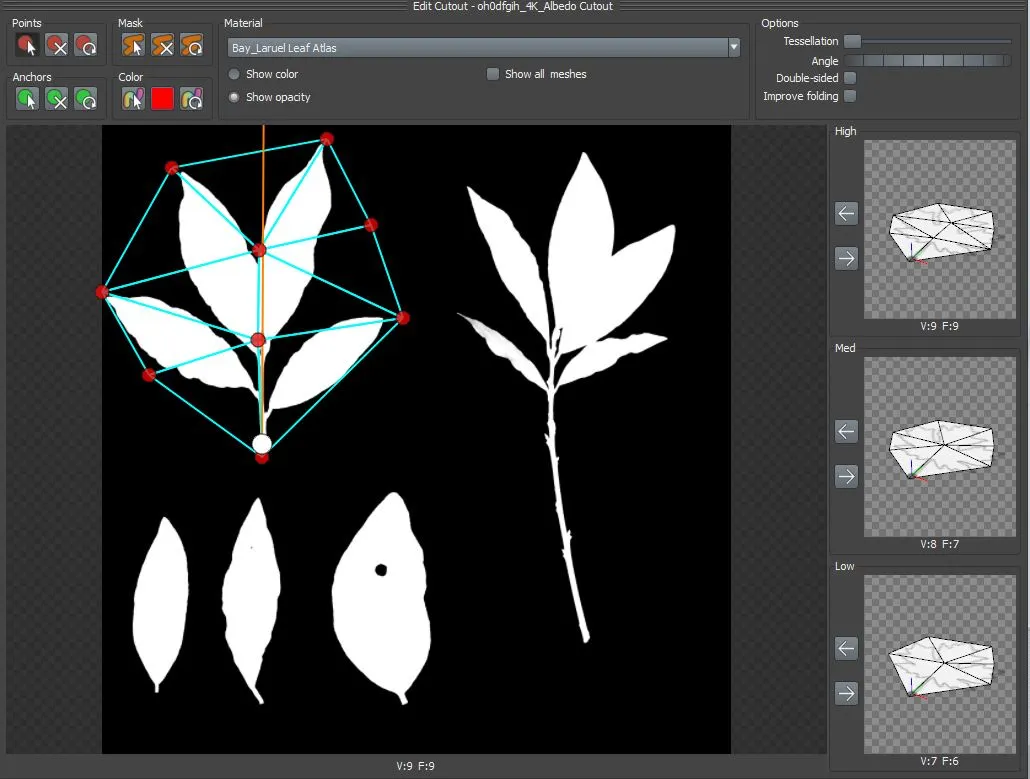
 Tip: If you’re using an atlas in a cluster file, you might consider modifying the atlas in Photoshop in a few areas to really make the leaves pop in-game. Sometimes a gradient AO or subsurface amount will translate better. Use SpeedTree’s lighting controls to add puffiness or add variation in the normal for better lighting in the canopy.
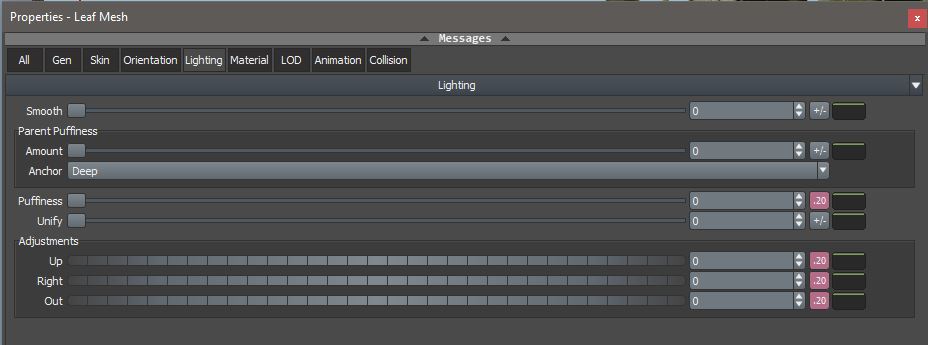

Using Small Mesh Parts
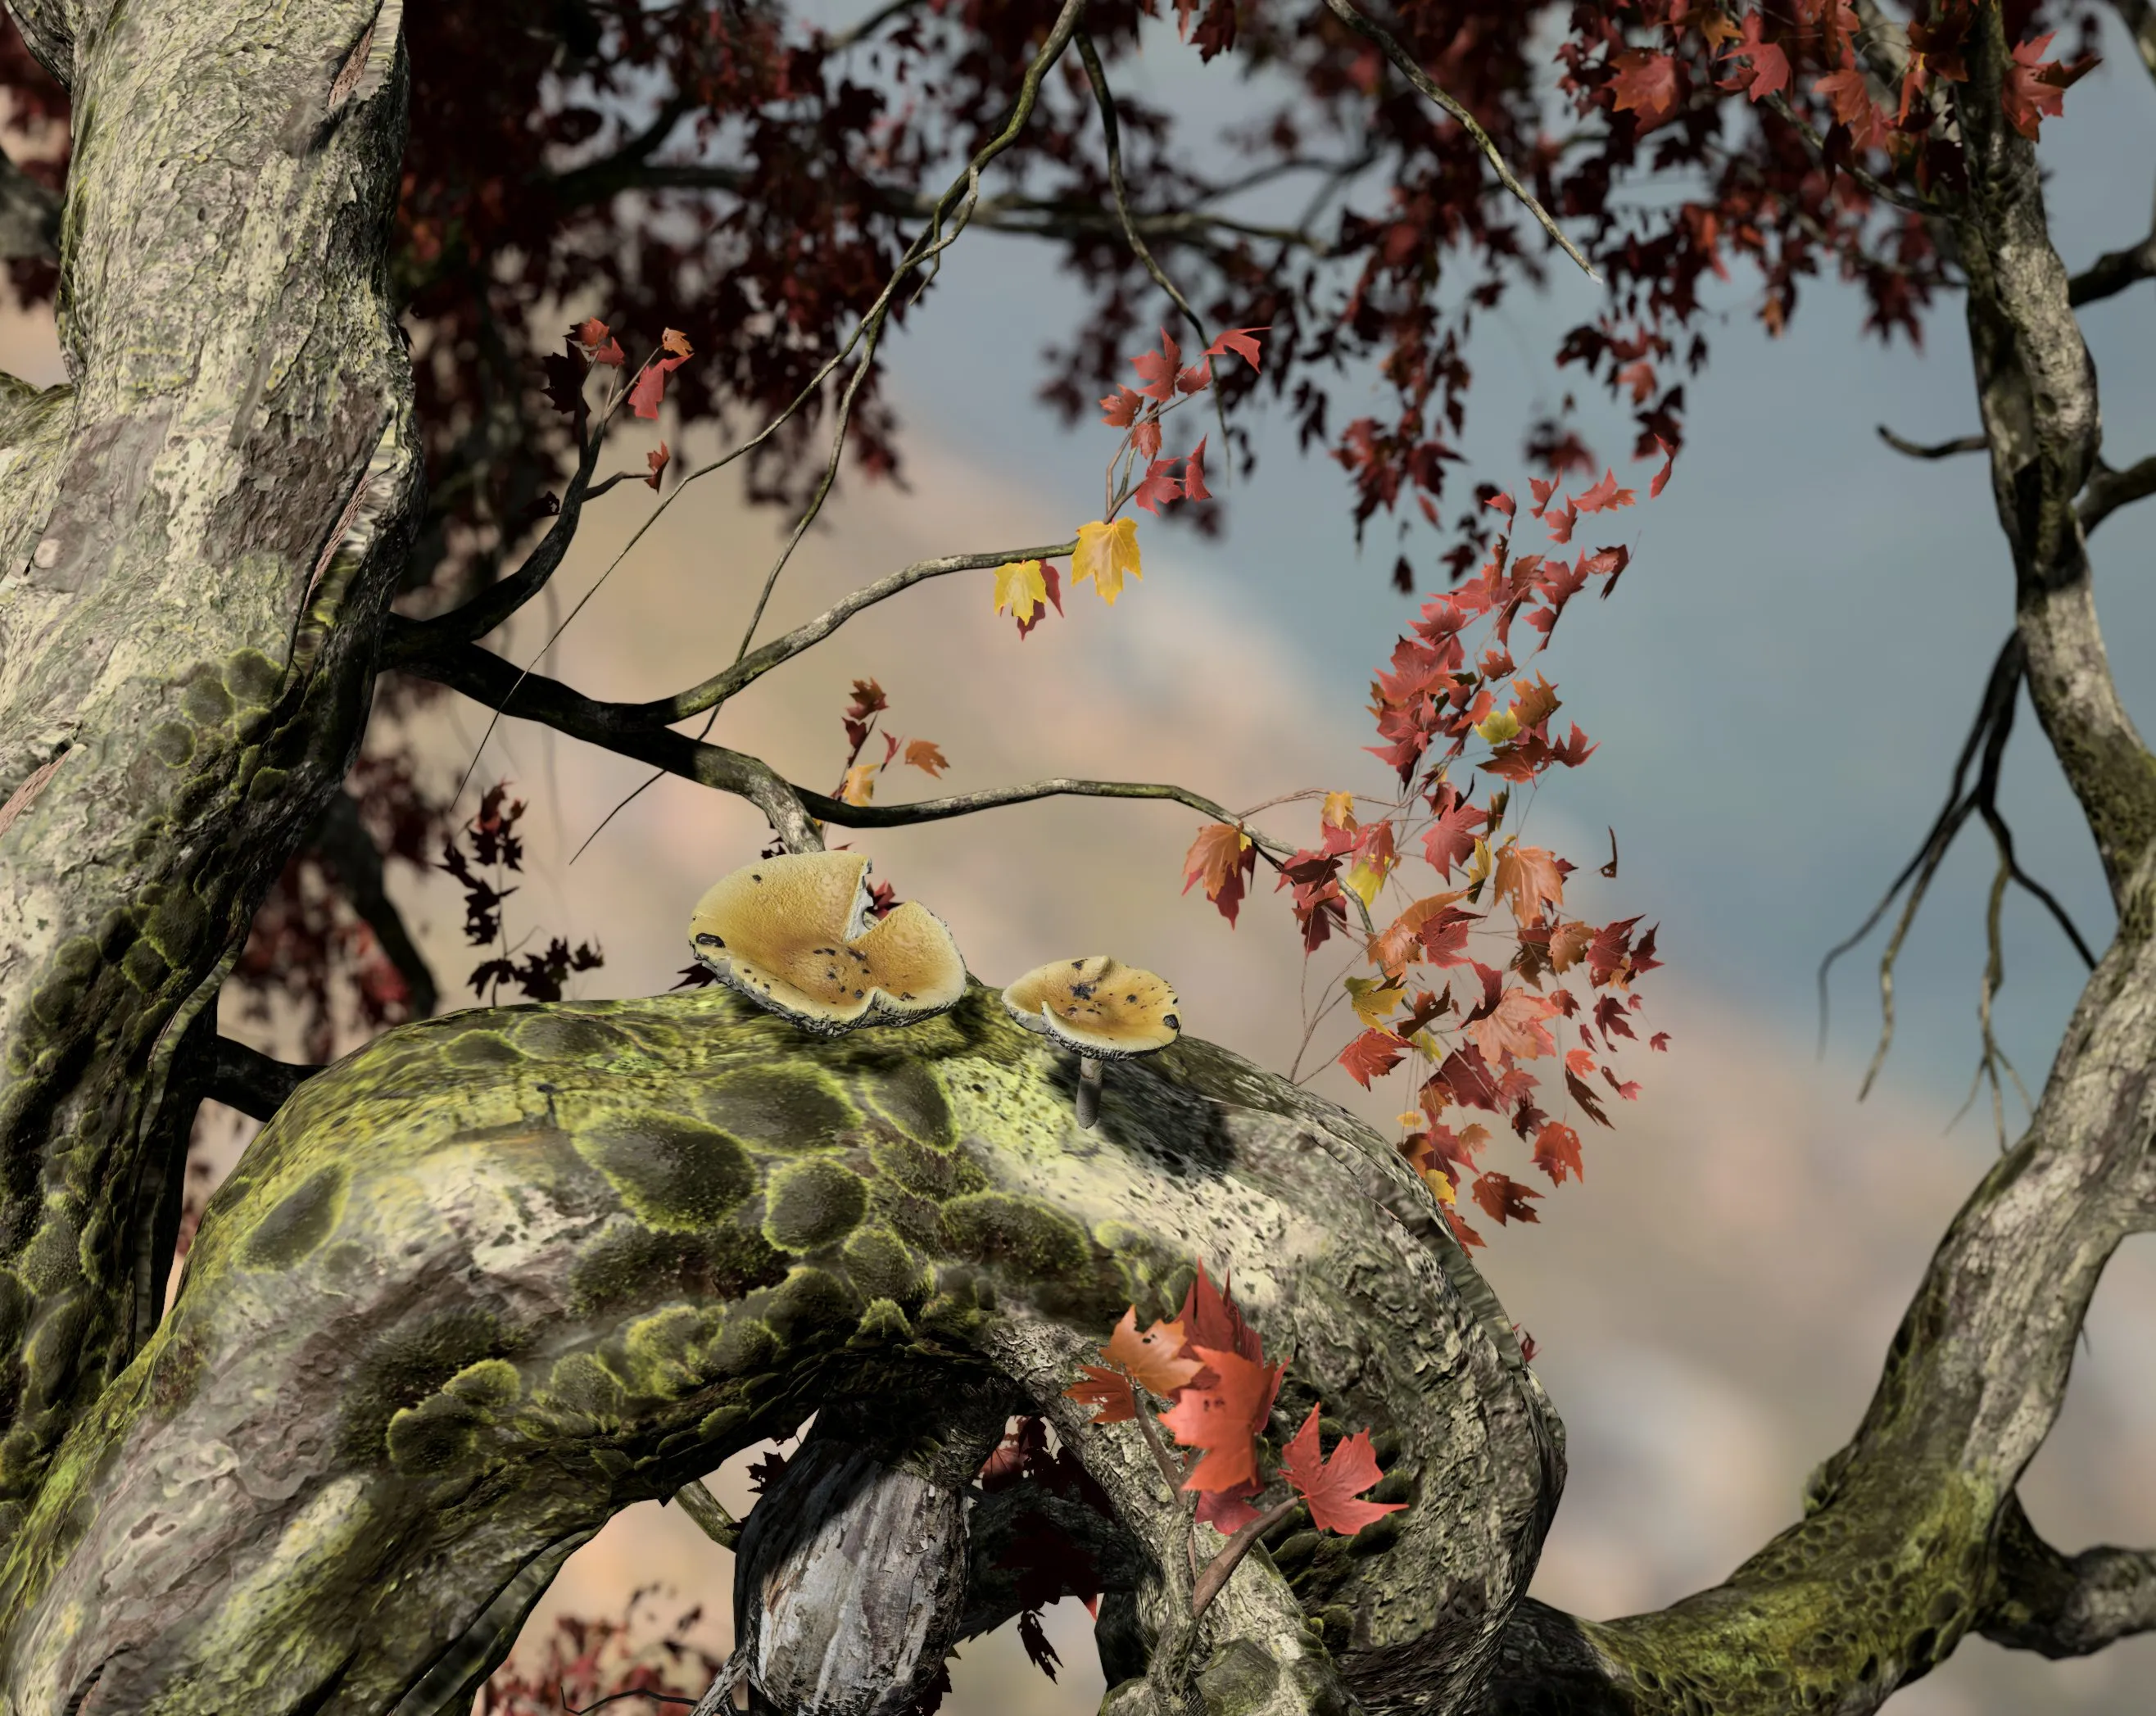
SpeedTree offers tools to make use of scanned twigs, mushrooms, and independent tree parts.
First, SpeedTree can also be used as a mesh prep tool! You can use 3D anchors to mark where extra meshes can be placed. There are a lot of photogrammetry objects, but aside from scattering them in a scene, they can be used as building blocks for new creations. Scanned branches and leaf parts are especially helpful in “cluster” creation.

Here is the tutorial of how you can prep a 3D asset using SpeedTree “targets”:
Secondly, you can attach a static mesh to a static mesh. In the SpeedTree file, you can now import your mesh and add your part to the tree or even build an entire tree out of a repeated twig. The meshes will be able to move in the wind just like a procedural branch. This workflow acts like our frond generator that sits along the spine. This allows you to manipulate the imported mesh using a force or branch properties. Being able to add changes and variance to a photogrammetry branch will hide the repeating branch in the structure.
Here is a tutorial of how to build with them in a SpeedTree file:
Procedural Branches with a “Target”
While the “stitch” will blend the extension, you still might want to build procedurally off other areas of the trunk.
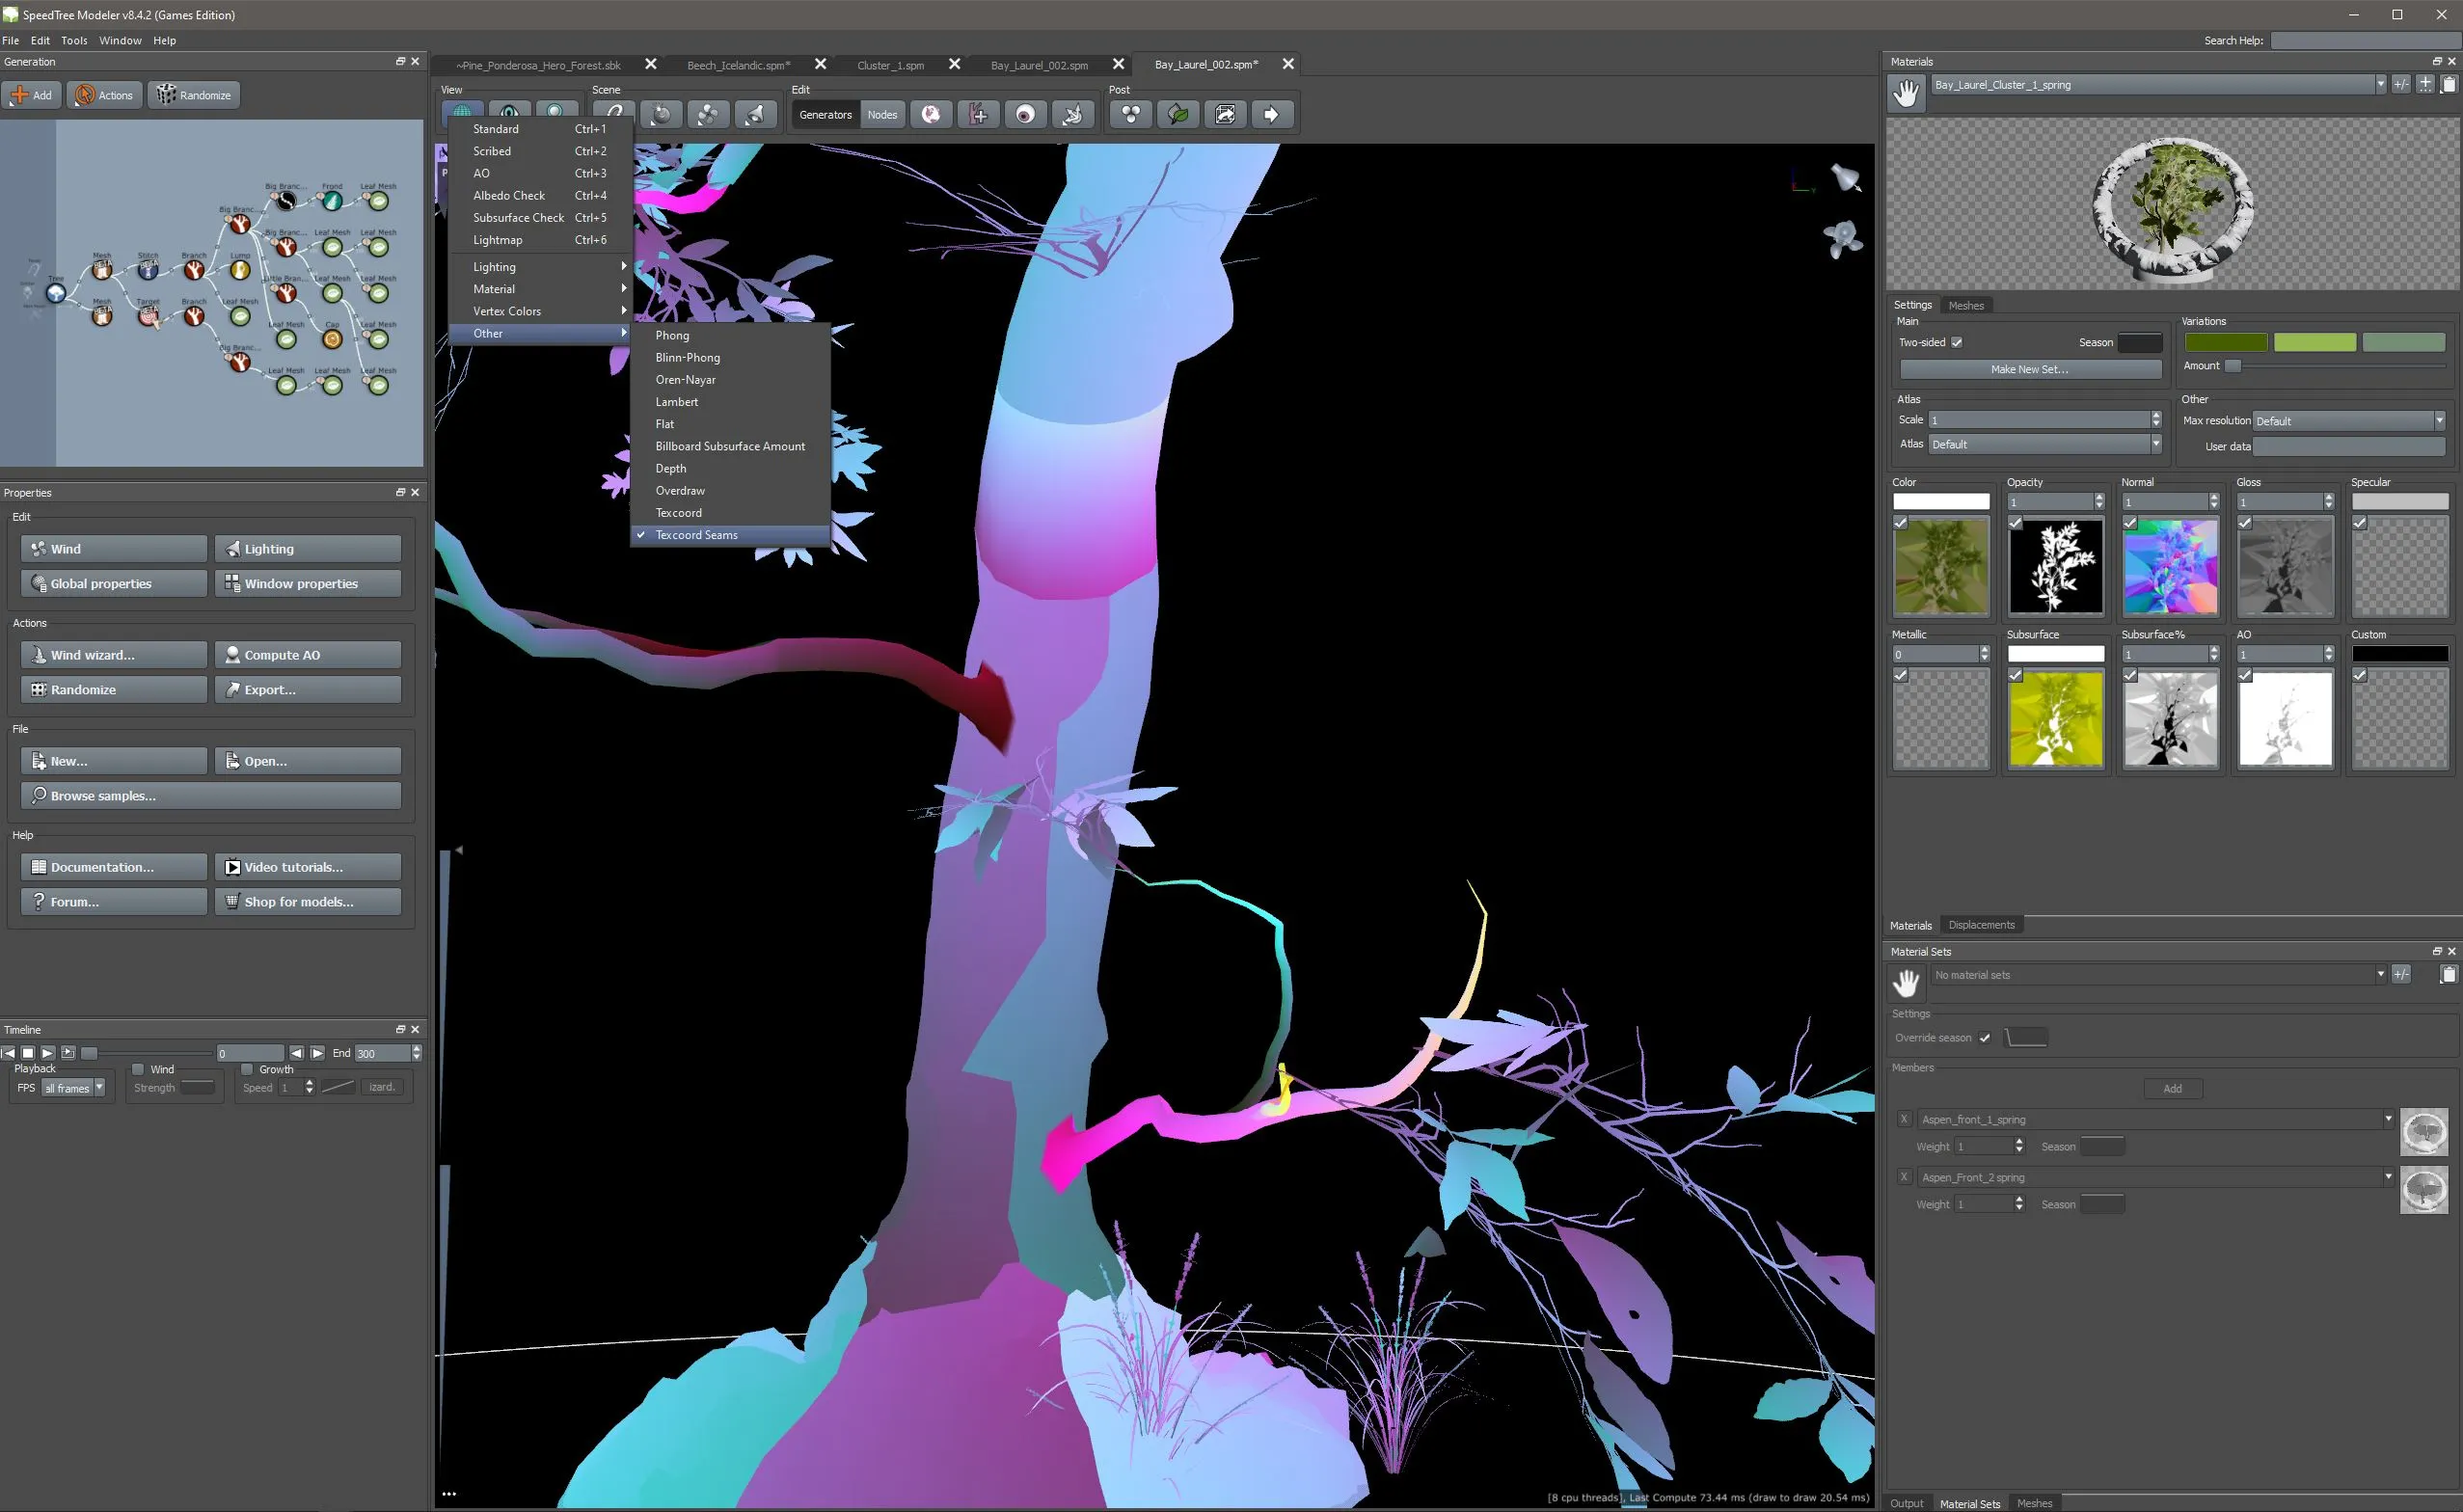
You can see an example of this in the time-lapse video, where we use procedural SpeedTree parts attached to the bottom of the mesh to give it some extra character. Base details are often the grand finale for making foliage look legitimately organic! These are placed with a target. The easiest way to do this is to add the template “click-placed branches” to the scene. Move the targets where’d you’d like to place a branch. One thing you’ll want to check is the UV islands where your branches are sitting so you don’t have seams in the blend. You can check these under View>Other>Texcoord seams.
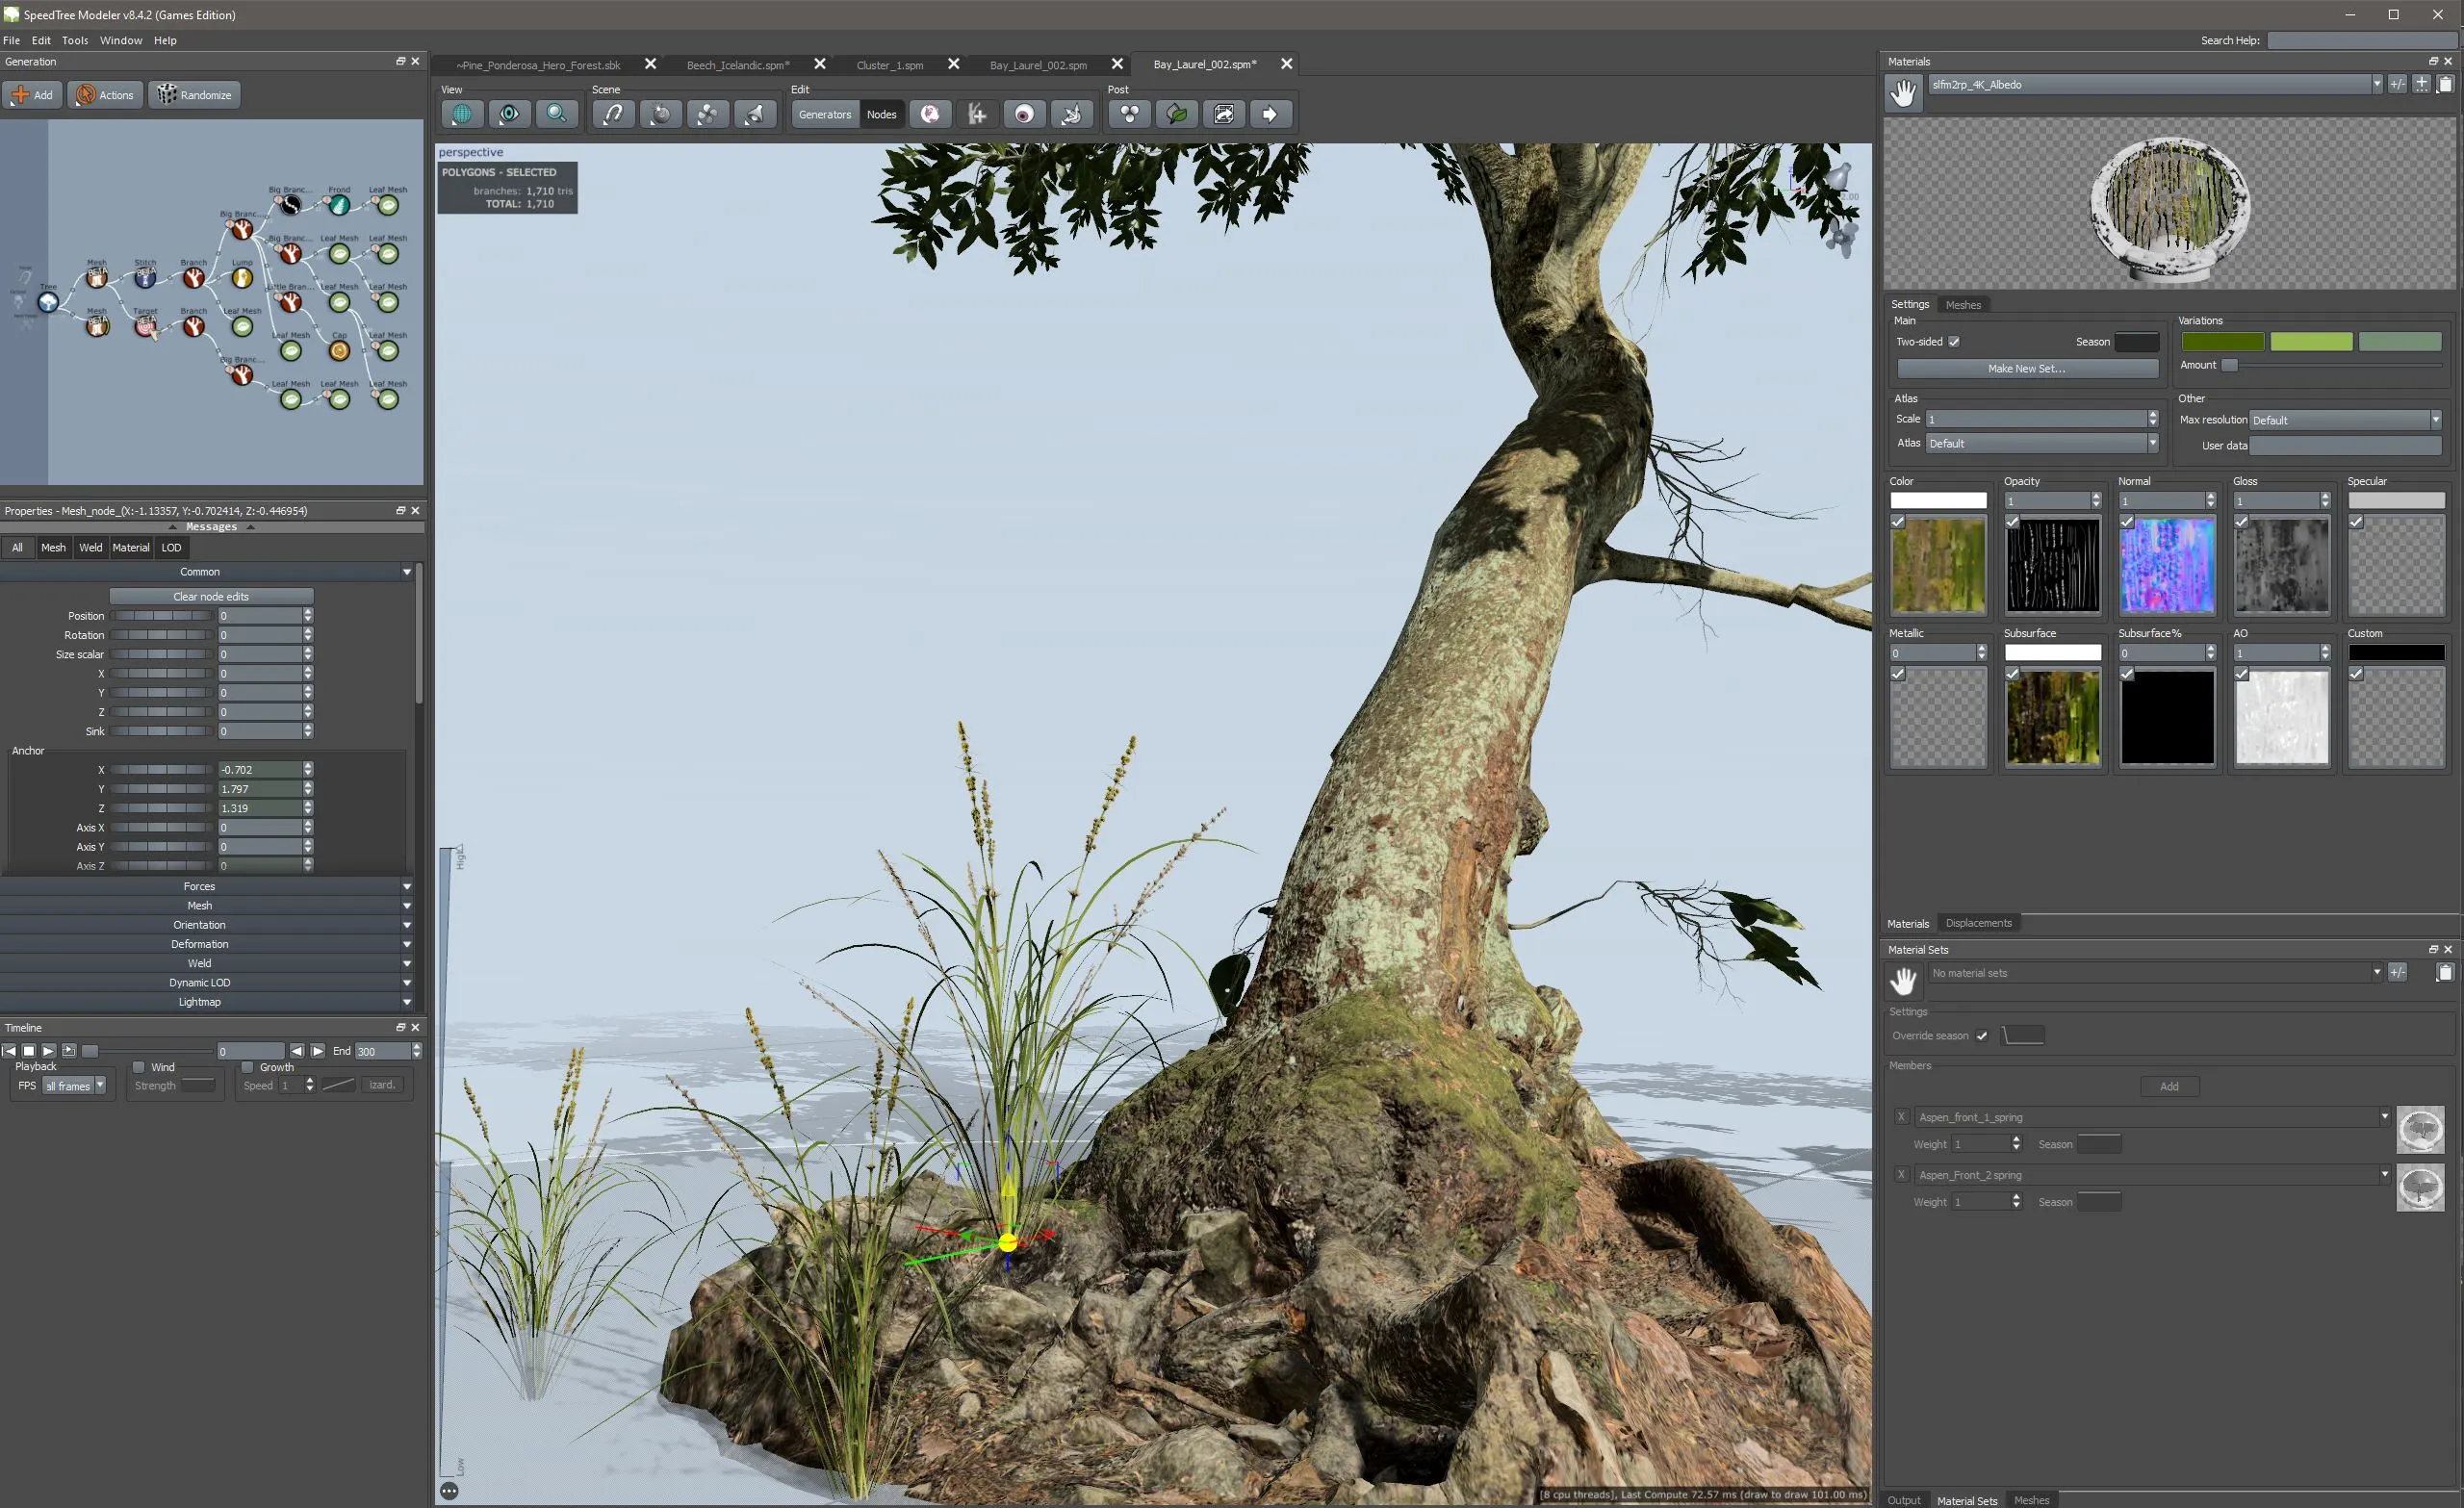
If you don’t care about a weld, one of the fastest things you can now do is add the “mesh” generator to your scene. Generate how many of the meshes you need and use the screen-space gizmos to move the location of the mesh where you’d like them. I used some Quixel Megascans grass clumps at the end of our tree build and placed them around the base of the roots for a render as final step.
I hope you’ve enjoyed this overview of photogrammetry use cases with SpeedTree and that you’ll try out this method and tag your results on ArtStation. At SpeedTree, we love seeing our users’ trees! If you’re looking for more tips, you can join a community of SpeedTree users on Facebook or our forums for tips from other creators and the SpeedTree Art Team.
 Article by Sarah Scruggs, Lead Artist at SpeedTree
https://www.artstation.com/sarahscruggs