Painting a Winter City Scene in Procreate with Nikolai Lockertsen
In his new ArtStation Learning course, Nikolai Lockertsen demonstrates his process from the first sketch lines and perspective setup to final render. He also shows how to get the best workflow in Procreate by setting up Prefs, Gesture Controls, and QuickMenu. We asked Nikolai about the creation of his course, and he shared some advice for artists as well.
You can download Procreate through the App Store here.
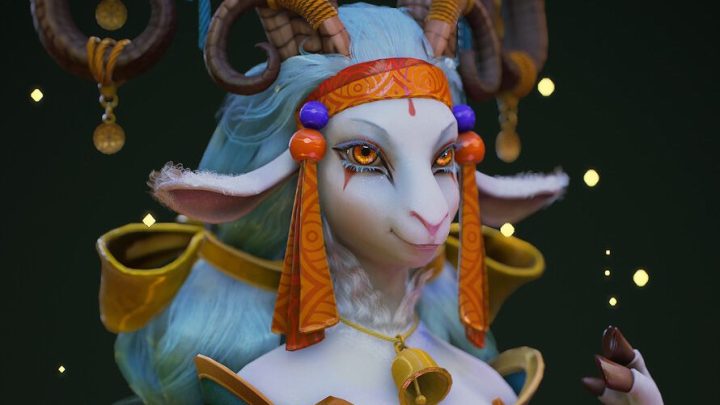
 Nikolai Lockertsen is a Concept Artist and Illustrator based in Norway. Since the late 90s, he has worked on more than 30 feature films, numerous TV productions, and commercials. In 2012, Nikolai started doing all his personal and professional work on the iPad with Procreate. Nikolai is a pioneer in iPad art, and sharing his Procreate knowledge is very important to him. When he is not teaching, Nikolai works as a freelancer.
Behind the course:
My first concept art job was for a chewing gum commercial in 2005. I painted in Photoshop and loved the way one could paint digitally; I just wished there was a smaller and mobile device with ten hours of battery time that I could paint right on. Then the first iPad came out and I knew this was perfect for my commute to and from work. I have always wanted to evolve as an artist and need to use what free time I have to do that.
I had the first iPad and loved it. Finally a fully mobile device one could sketch on! But there were not many apps to choose from, so when I found Procreate in 2011 I knew they had something special. Even if Procreate was a lot simpler back then, you could still create your own brushes and the painting experience was very nice. I reached out to the people behind Procreate and got an answer from James Cuda (CEO at Savage) after two hours. Since then we have been very good friends, and I am also part of the Beta team that tests and gives feedback on new features.
By 2012 the iPad had gained a Retina display so you could work with 4K in Procreate. From that point on, I stopped all work in Photoshop and started doing all my professional and personal work in Procreate. I remember I was working as a concept artist on a Sony production in Toronto called “The Mortal Instruments”. I had one concept that was started in Photoshop and finished in Procreate from that production. It was also a big change in 2015 when the iPad Pro and Apple Pencil were released.
Procreate has been a very powerful painting suite for several years now, and it keeps getting better with each release. It is crazy what you get for ten dollars! It is so much fun to use and when my workday is over after many hours of painting… I paint some more. I cannot turn off the urge to paint and draw and I feel that it is so playful and intuitive to doso in Procreate.
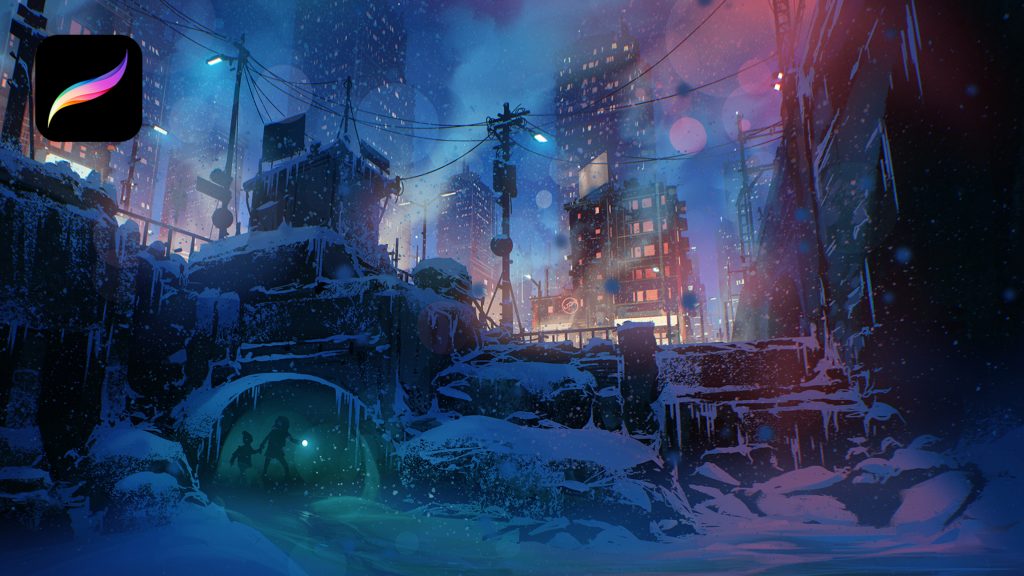
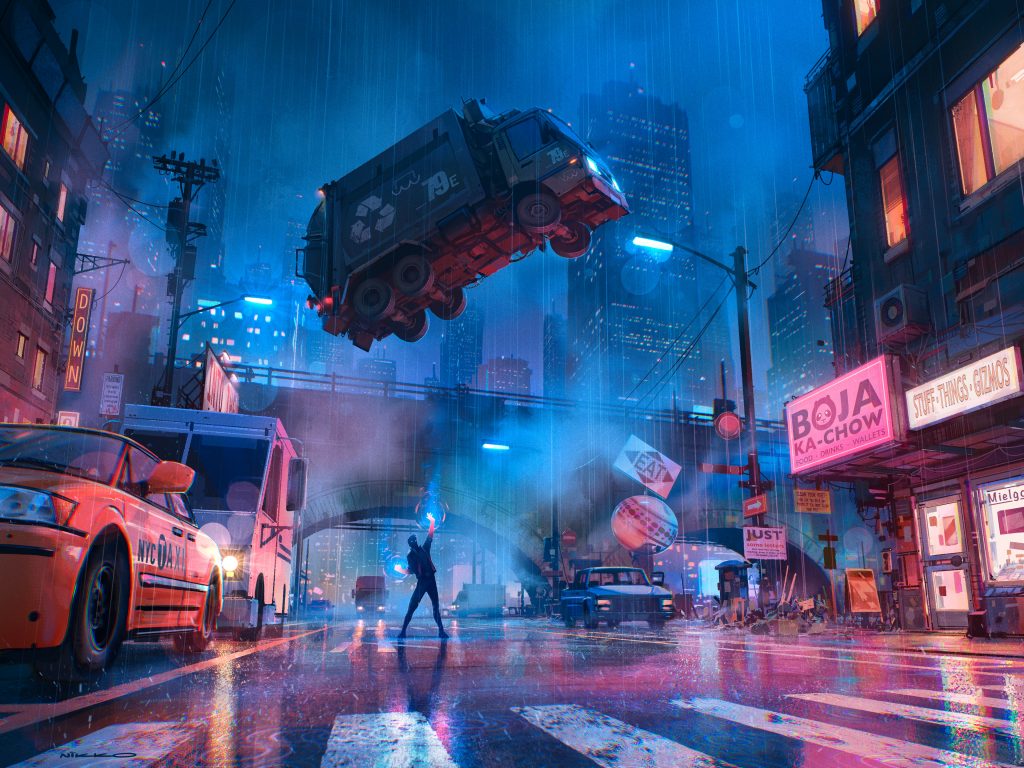
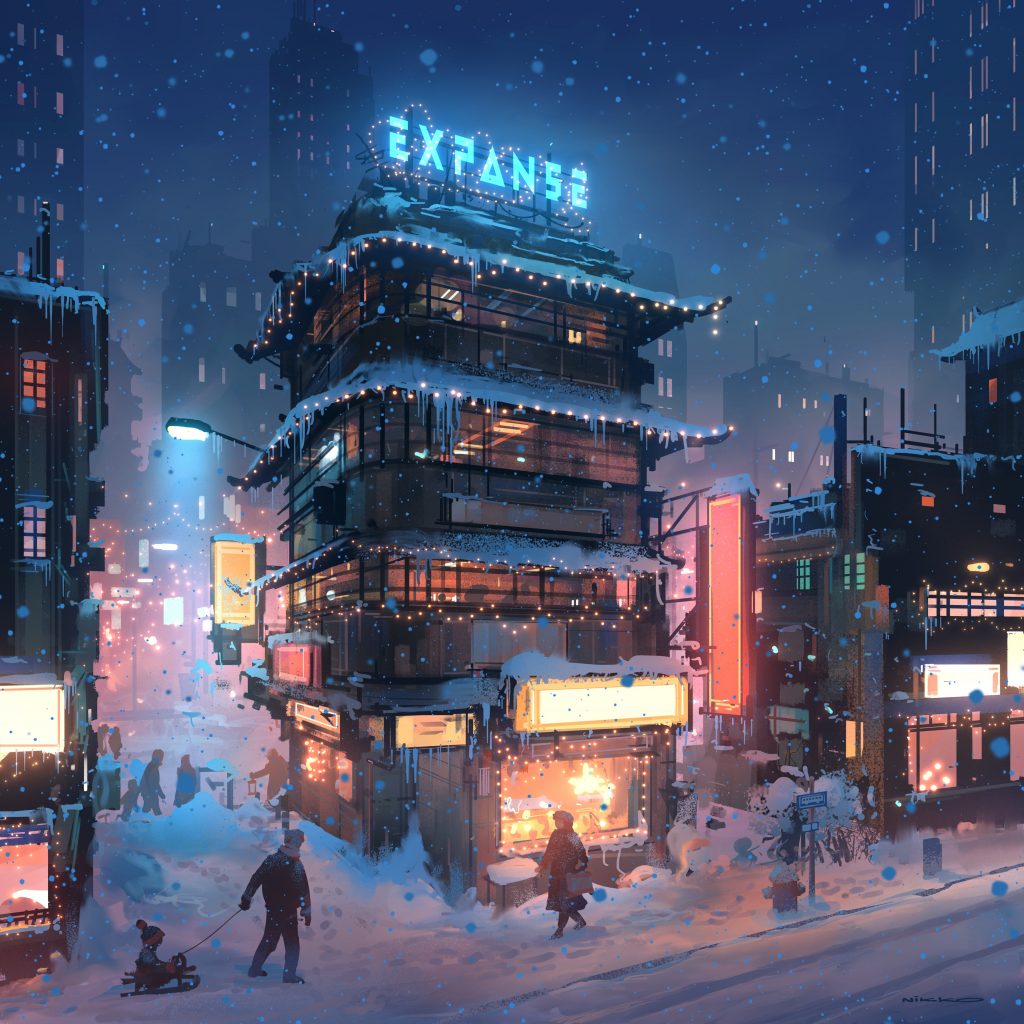
In my tutorial, I show how to paint a winter city scene from start to finish. You will see how I use the Perspective tool, block out and sketch the composition and bring light, and add color and narrative to the painting. I also show you my setup within Procreate with Gesture Controls, Prefs, and QuickMenu, which will make your workflow very fast!
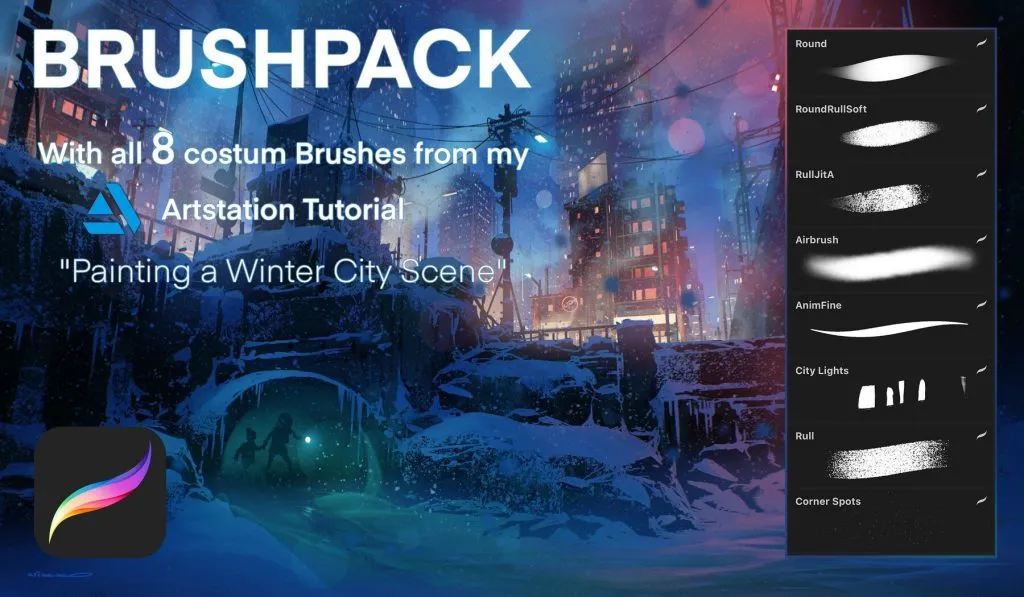
Get Nikolai’s Brushpack from the tutorial here.
Most memorable learning experience:
A couple of years ago the Procreate guys flew me down to Tasmania, Australia to hang out with the Procreate team for a week. That was awesome. It was great to meet the people behind this amazing app, sit with them, make art, and talk directly to the developers about specific features.
There was for example a situation where Claire (one of the developers) asked me to try an early version of Color Dynamics on the brushes. I tried it and said it would be great to be able to change the Hue, Saturation, and Brightness for each brushstroke. Ten minutes later she had a new build of Procreate with this feature working! It was just great to nerd out with the Procreate wizards and be creative together.
Shop Nikolai’s Prints on Sale >
Favorite Procreate feature:
My favorite feature in Procreate is QuickMenu, a menu you set up in Gesture Controls with six favorite menu buttons that you can use with the flick of a finger. It can be a brush, an action, Alpha Lock on and off, and so on. It is like Shortcuts, and it will make your workflow so much faster. Now with the new 5X update of Procreate, you can have several QuickMenu setups. So maybe you use one for sketching, another one for animation, and so on.
1 piece of advice:
I really recommend painting/drawing/sketching every day. Draw from both memory and reference. Do environments and characters, and try on different styles. Learn perspective and anatomy! That’s it 😀
ArtStation Learning courses are included in all ArtStation premium subscriptions. Find out more >
Download Procreate on the App store here.
See more of Nikolai’s ArtStation portfolio here.
Shop his available prints here.