Kitbash3D Egypt Tutorial
Jonas De Ro is a senior concept artist residing in Tokyo, Japan with experience working in the film & game industry. In this article, we’re given a step by step look into how he created the cover for the new Egypt KitBash3D kit.
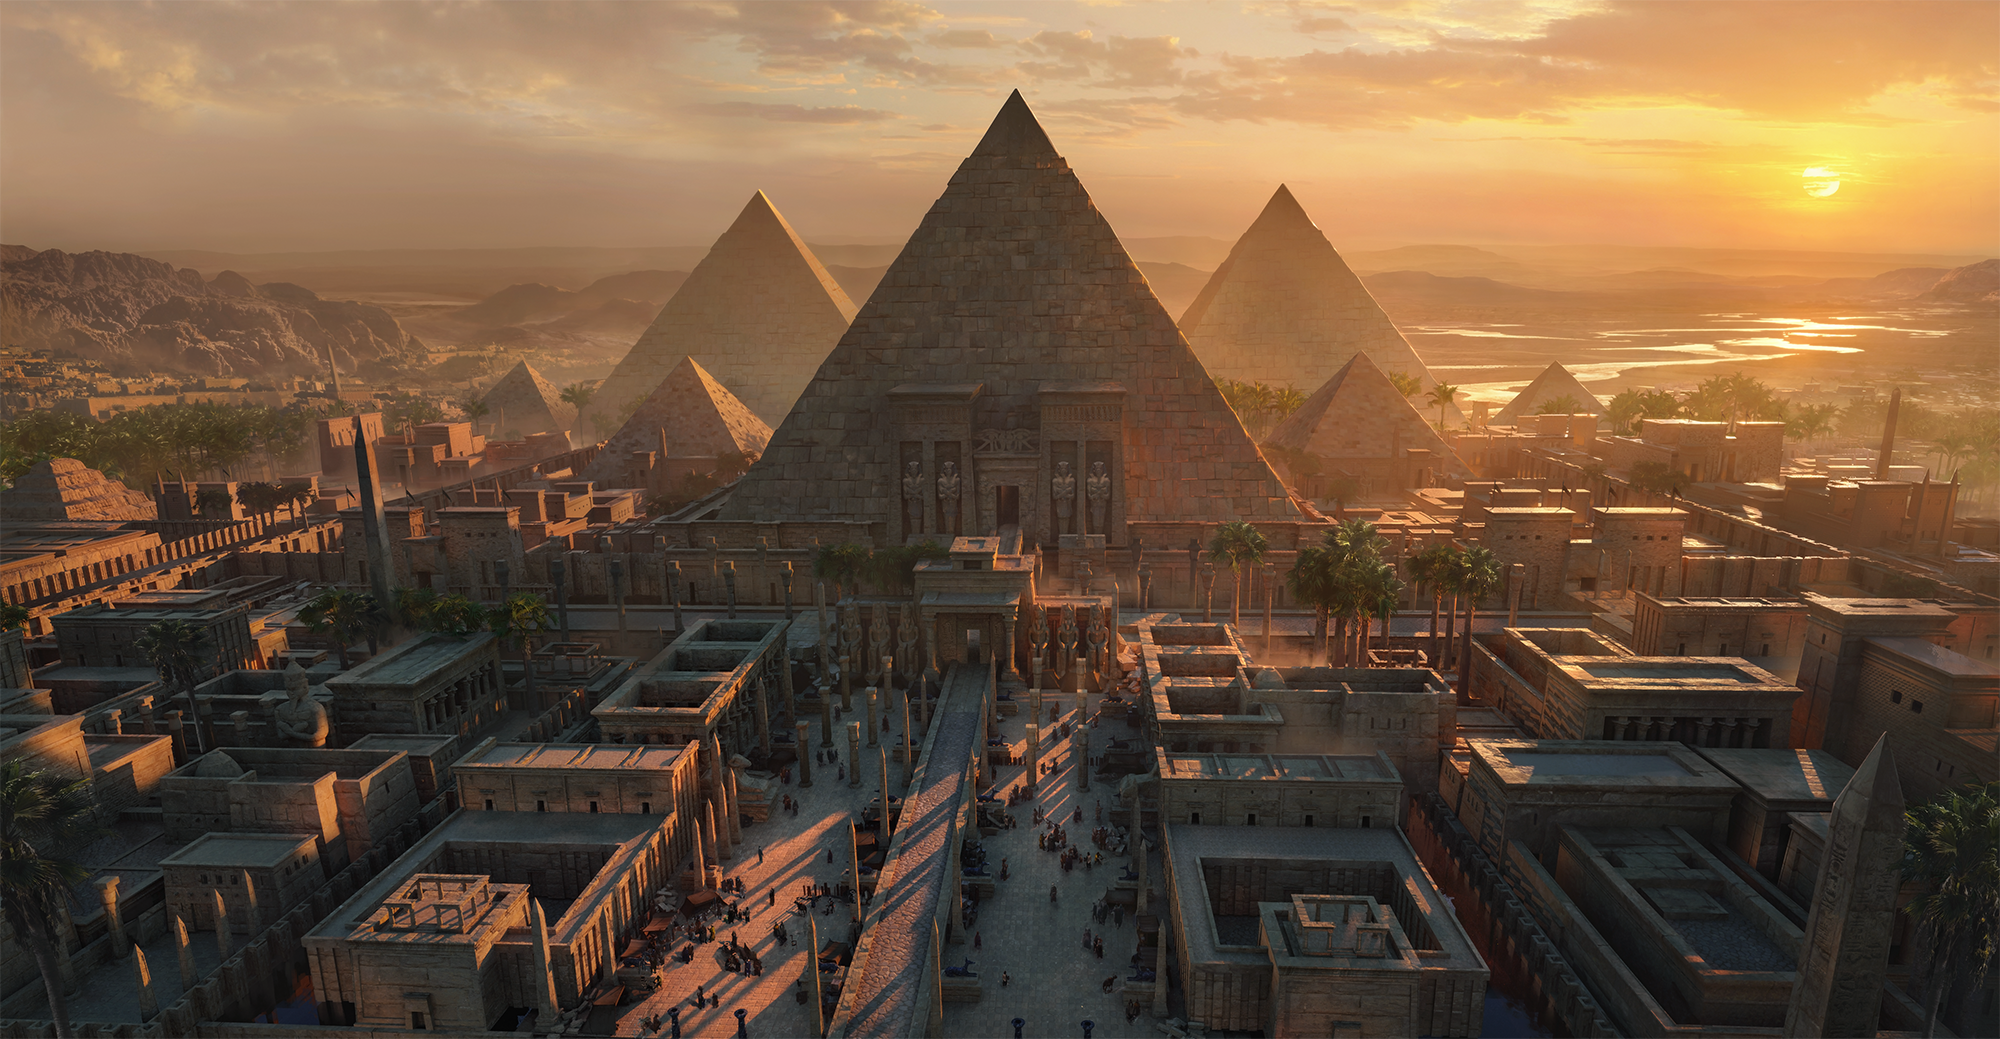
Every piece I do allows me to experiment with different techniques or workflows. For the new Egypt cover, I wanted to take a more matte painting style approach and show off the fidelity and detail that can be achieved using a combination of 3D and 2D assets.
Having worked on the Exodus: Gods and Kings movie as well as the Magic The Gathering’s Amonkhet set, I was quite familiar with both ends of the spectrum when it comes to interpreting an Egyptian theme. For this image I thought it would be fitting to find a middle ground between historical realism and a fantasy twist.
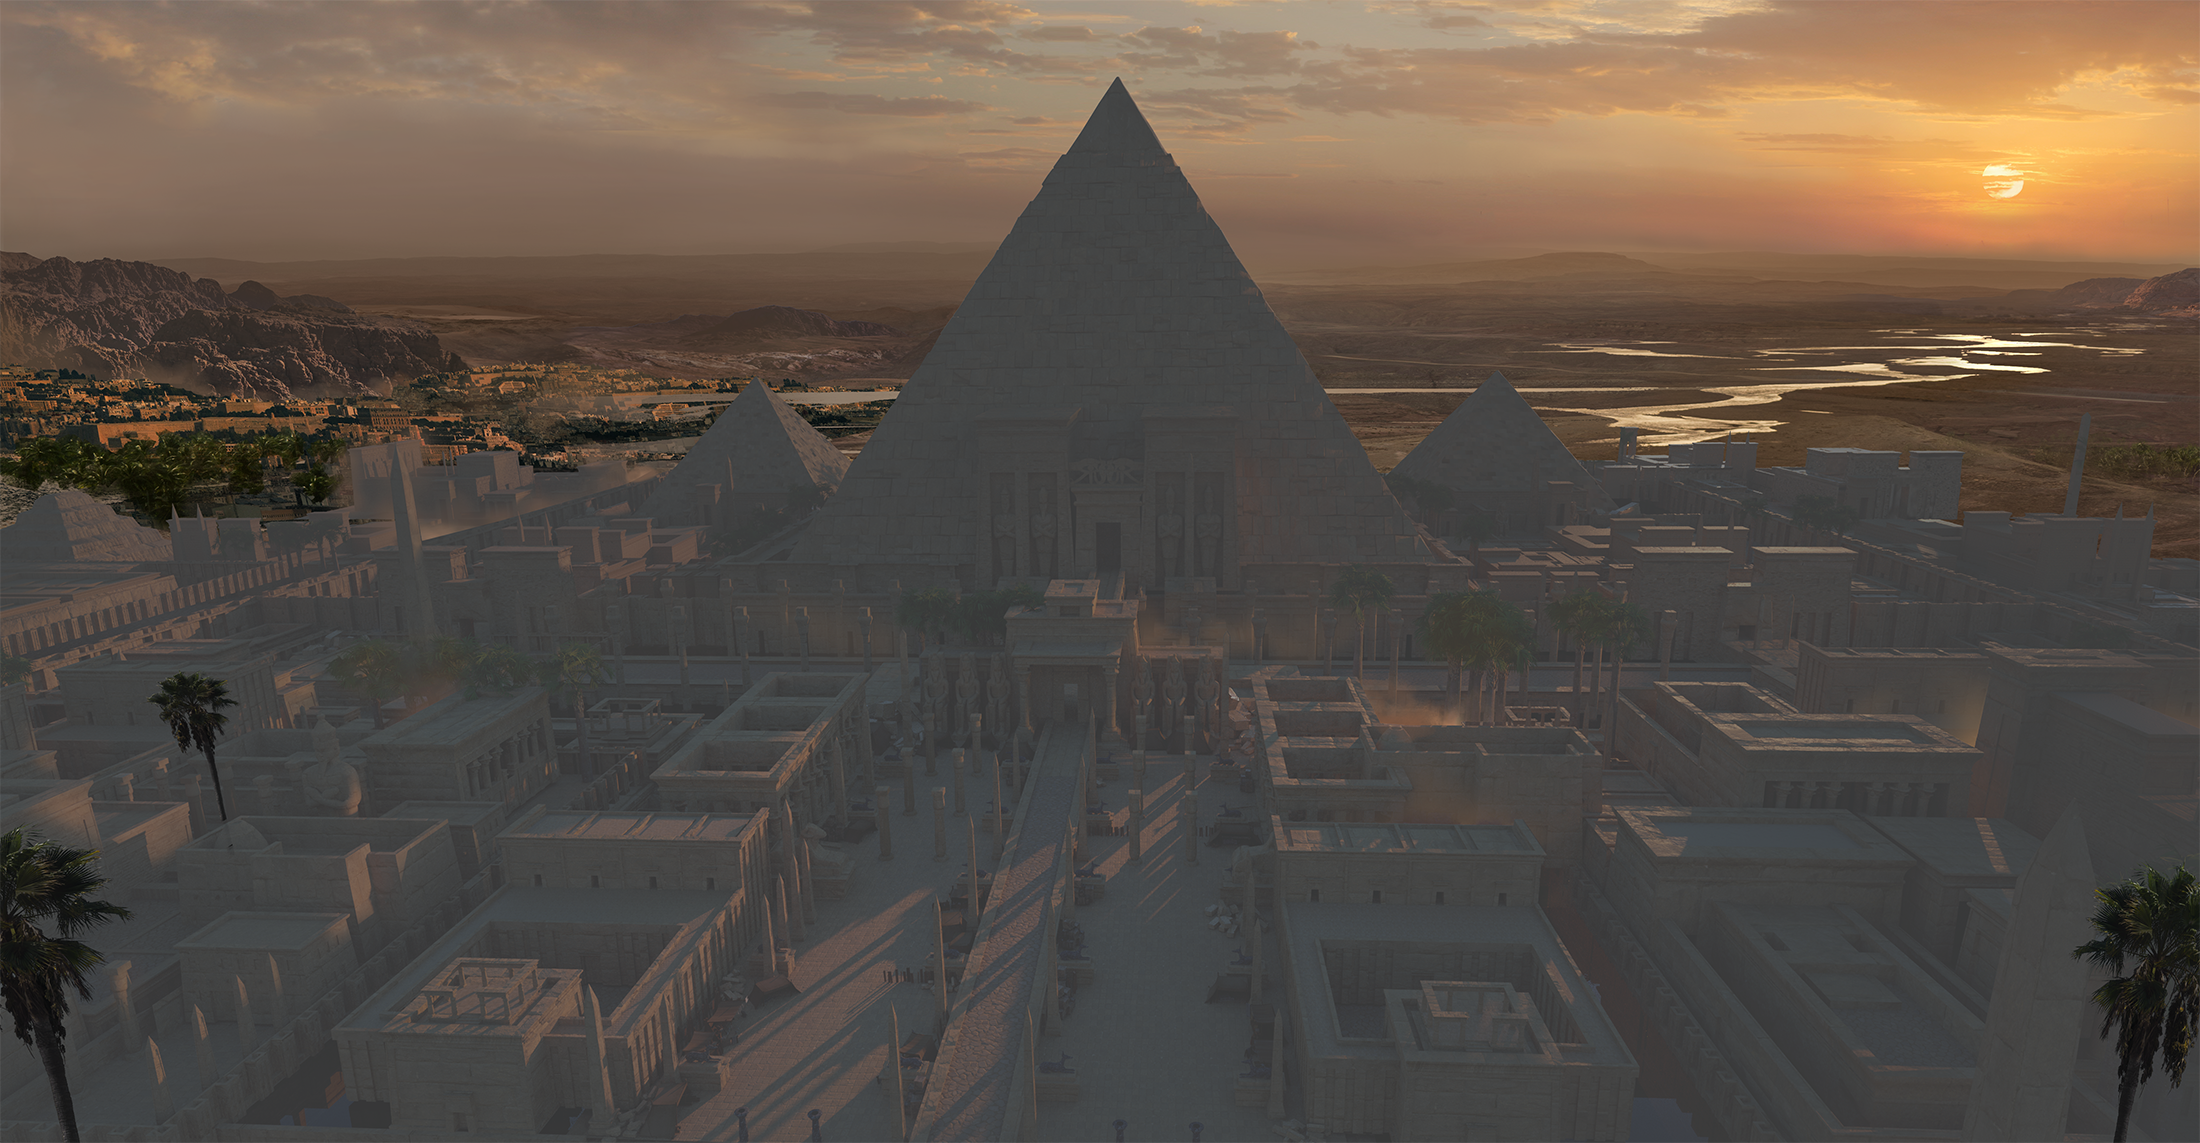
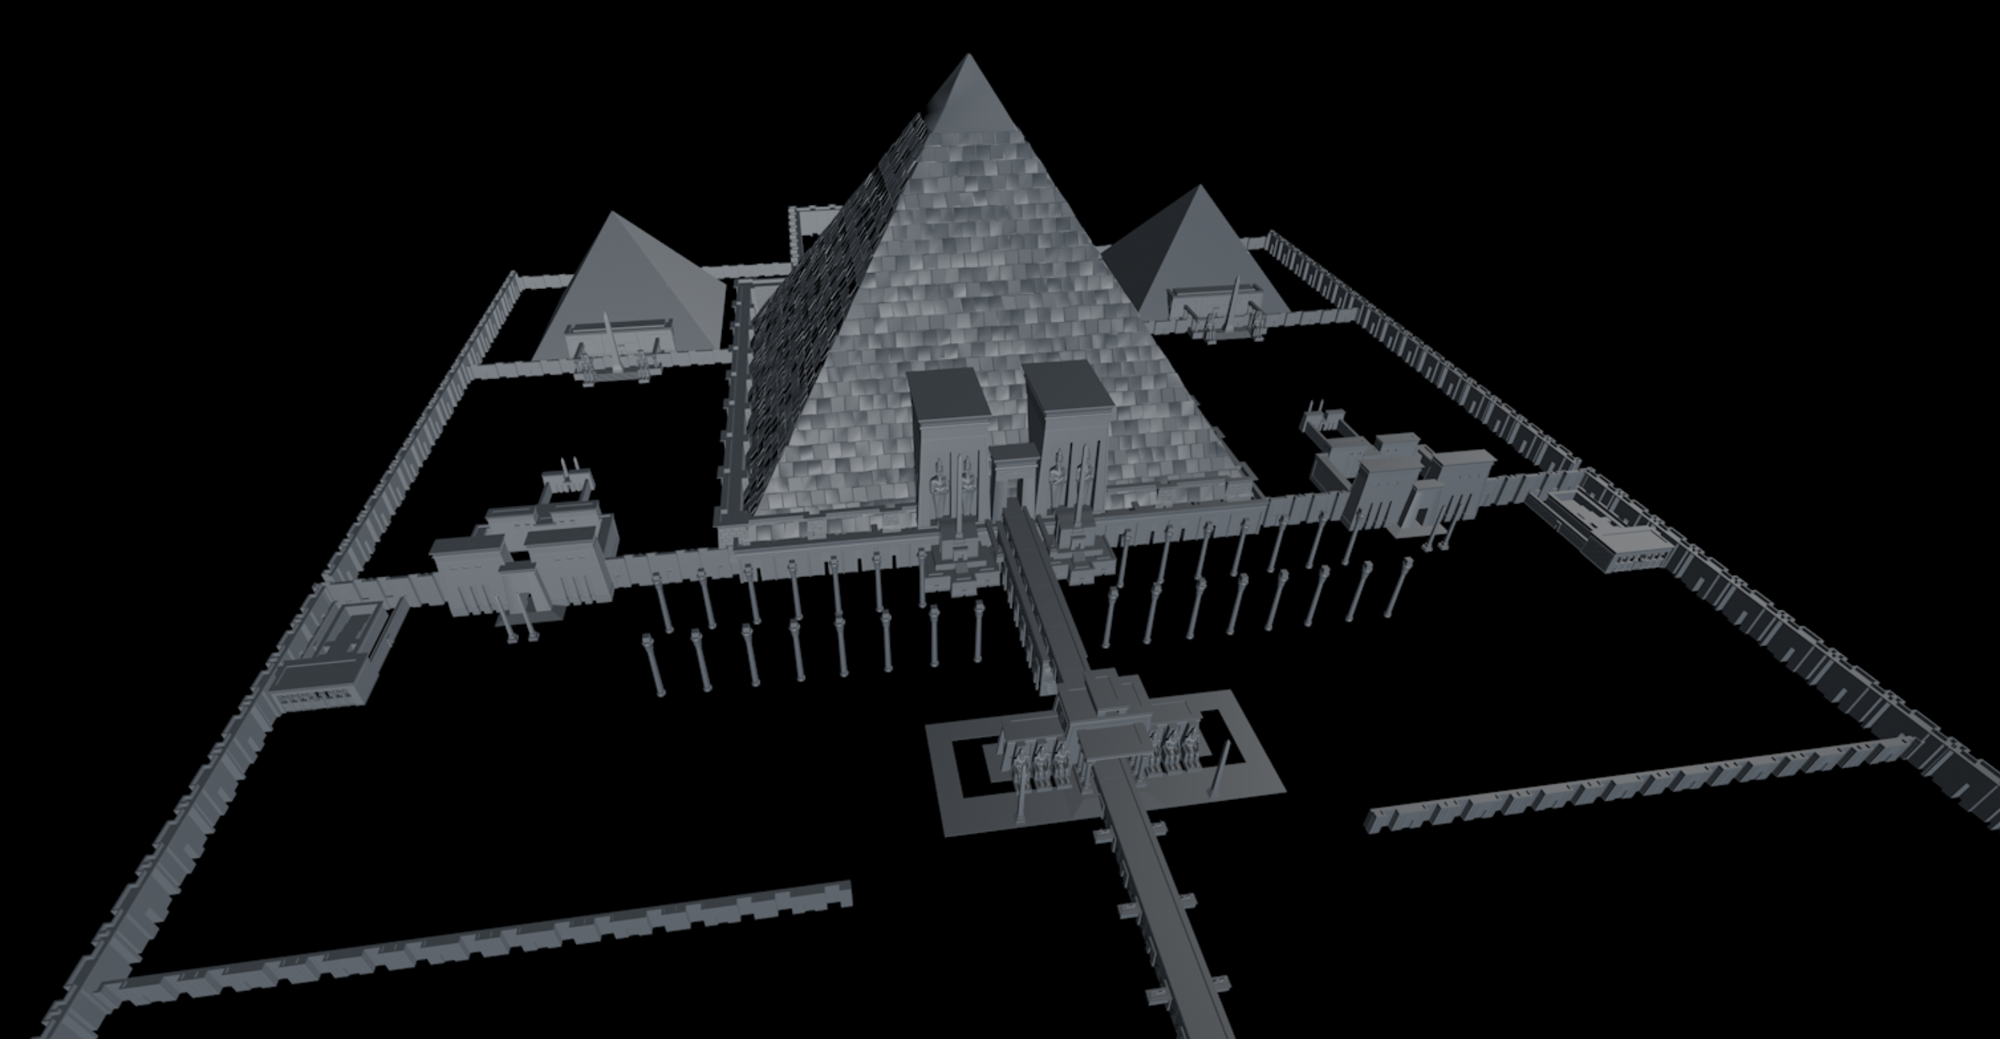 The first step was to establish the focal point of the image. Since pyramids have such iconic shape, it only made sense to have them be the centerpiece. For putting the assets together I used Cinema 4D. Despite its often mixed reception I find it to be the most reliable and easy to use 3D application for creating concept art or matte paintings.
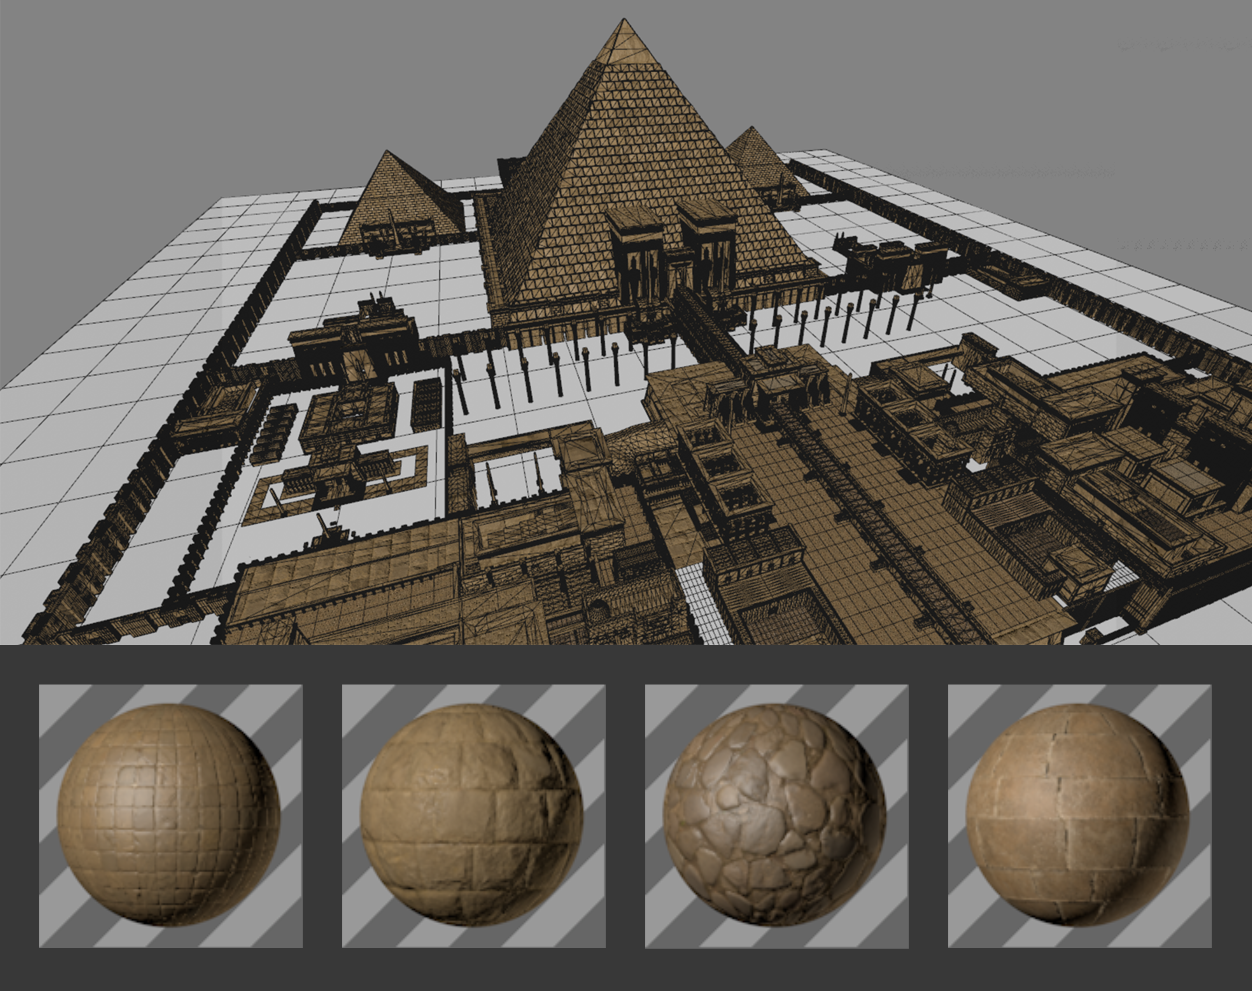
After I’ve built a good amount of structures, it was time to add some materials. It’s easy to slap on one material and call it a day. Since the kits are properly UV’d, this actually works.
However, this tends to create very monochromatic and dull results, so it’s always good to put some extra effort into adding different textures. Since the look of Egypt is usually pretty evenly toned, this was going to be extra tricky.
For the materials I used scanned textures from Textures.com, which is my favourite texture resource.
Most of them originate from medieval Europe, but with some color correcting they can look just like the warm, sandstone material you’d expect to see.
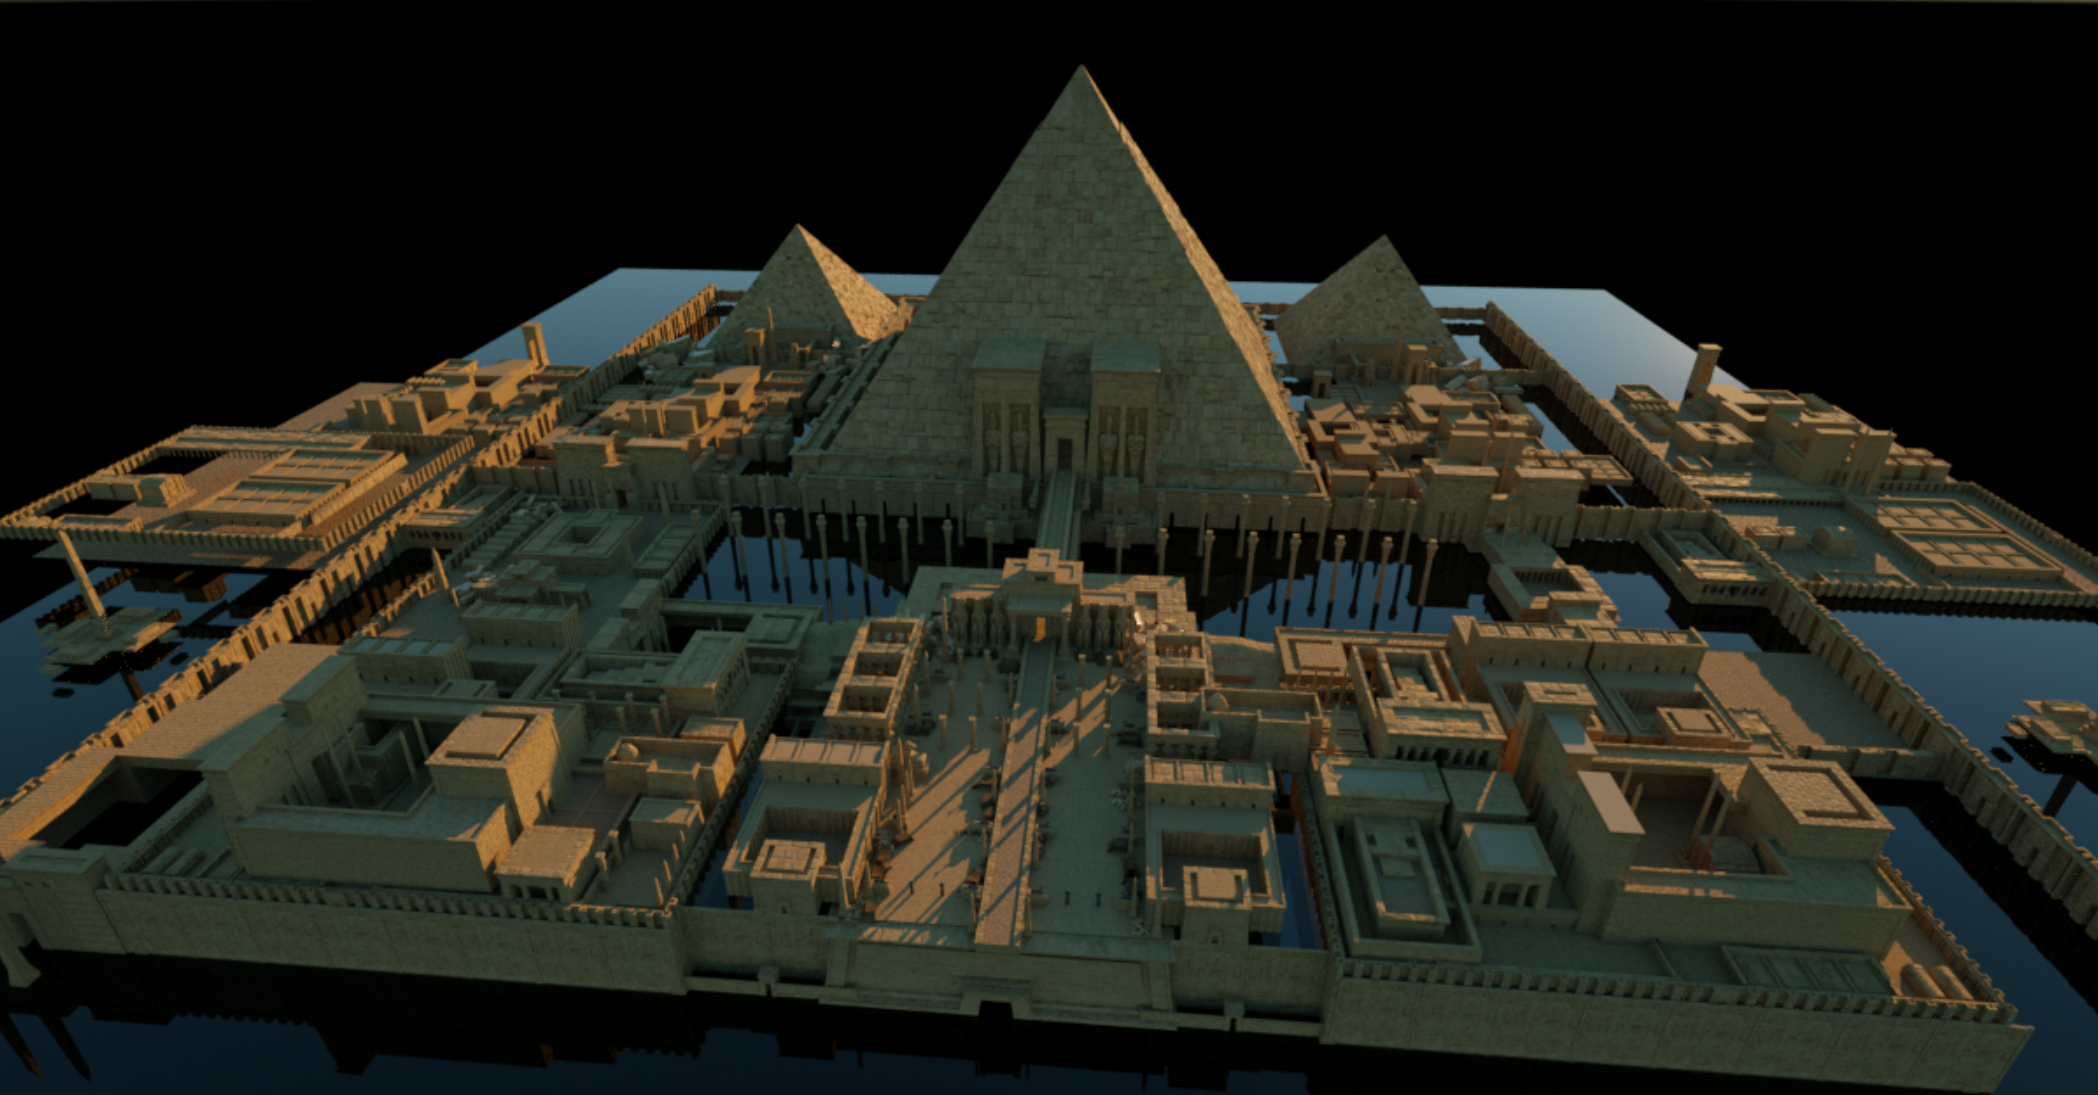
Once I’m happy with the structures I begin to play around with some renders. For this I used Octane, which gives great, fast results and works seamlessly with my Cinema 4D workflow.
I set up a physically based sky so I can play around with the sunlight realistically and try to find an angle of light that will work for the final piece. Because I knew I wanted to have strong silhouettes and a slightly hazy mood, a standard low light/backlit scenario seemed like the obvious choice.

Next, it was time to get those final renders out. Before doing so I also added some palm trees using Octane Scatter to make the scene look a bit more varied.
The Main Render serves as the base layer to work on in Photoshop, while the others help with some of the editing. I’ll use the Vertex Normal layer for selecting the planes I want to paint on, the Z Depth layer for aiding in adding depth and smoke and the Ambient Occlusion layer for adding some local shadows where they’re needed.
Once satisfied with the general setup of the renders it’s time to start the 2D work. For this I need a lot of good photography assets in high resolution that will help sell the environment.
For hi-res images I always use Photobash.org. The resolution and quality is super high and I don’t have to worry about copyright issues.
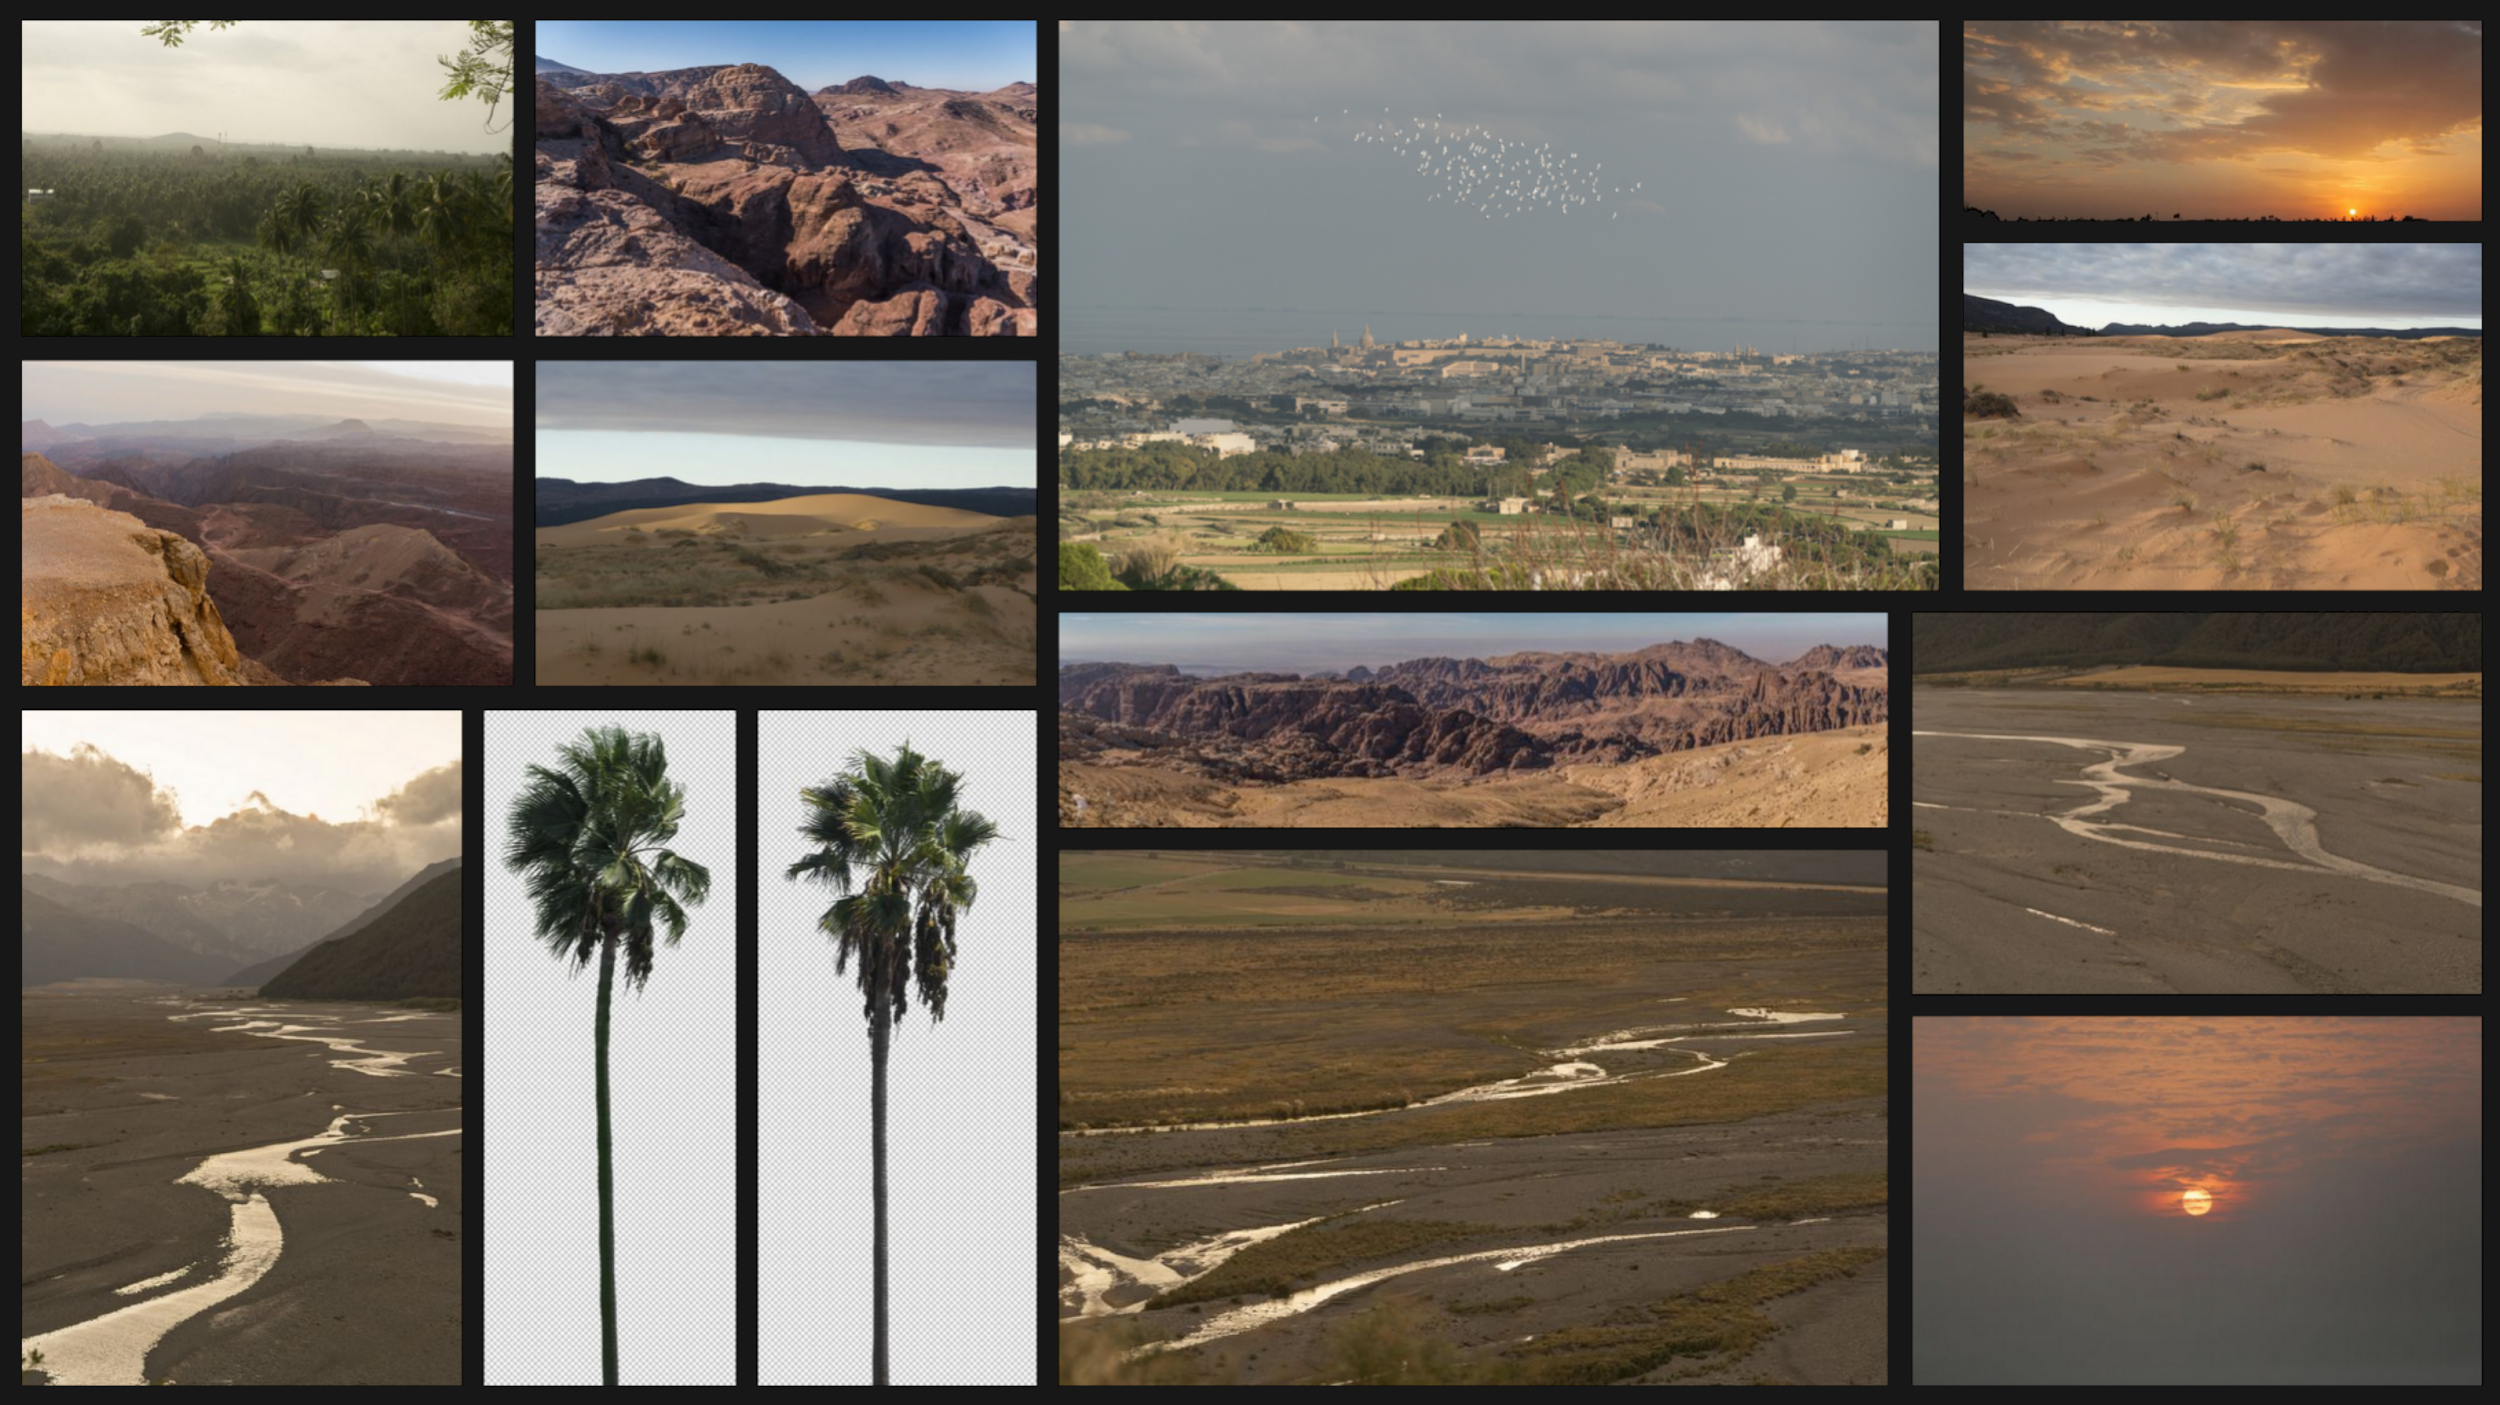
Applying the selected images to the piece is a matter of properly matching their colors, size and contrast with what’s already there. Always keep in mind the lighting direction, perspective and scale when doing so.
The pre-masked palm trees saved me a lot of time adding photorealistic detail to the existing tree renders, since I wasn’t entirely happy with how those turned out.
I’ve found that combining the KitBash3D assets with Photobash’s 2D assets was the perfect way of getting that super detailed, high definition look.
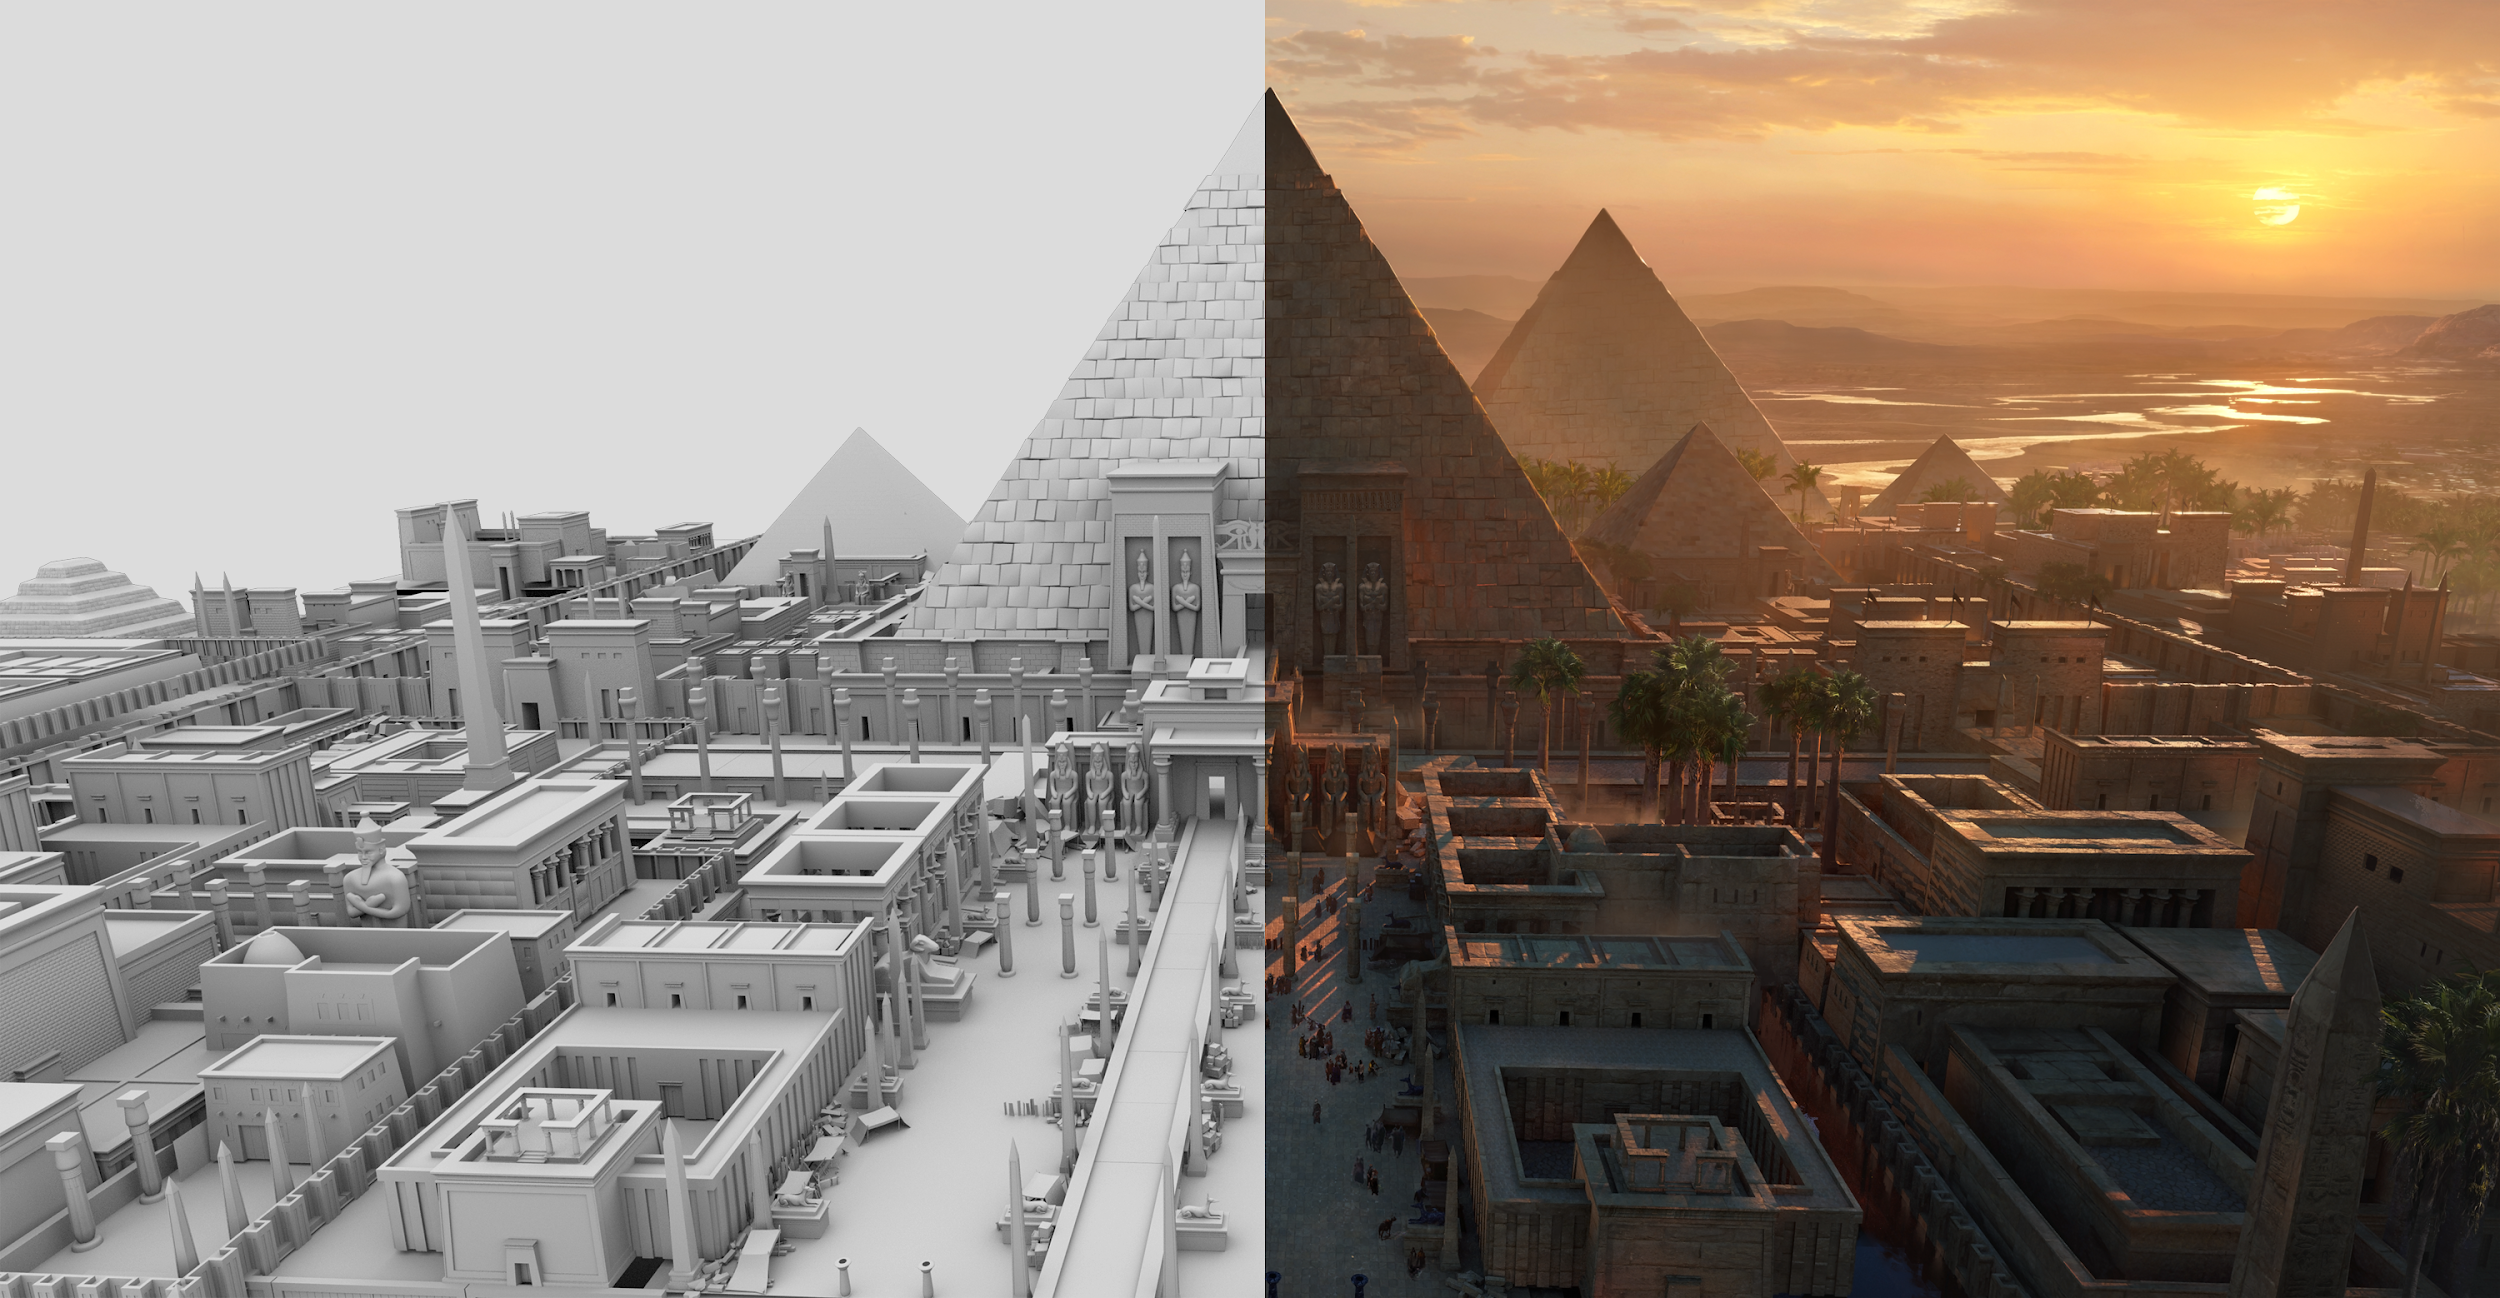 In the final steps it’s a matter of putting it all together and polishing what’s there.
The three pyramids didn’t cut it for me so I simply went back into my 3D scene and copied the pyramid models a few more times.
After that I added crowds, smoke and overpainted a bit to give the whole scene some more life.
I used several more Photobash images from the Egyptian Artifacts packs to add hieroglyphics and other subtle textural detail to the scene.
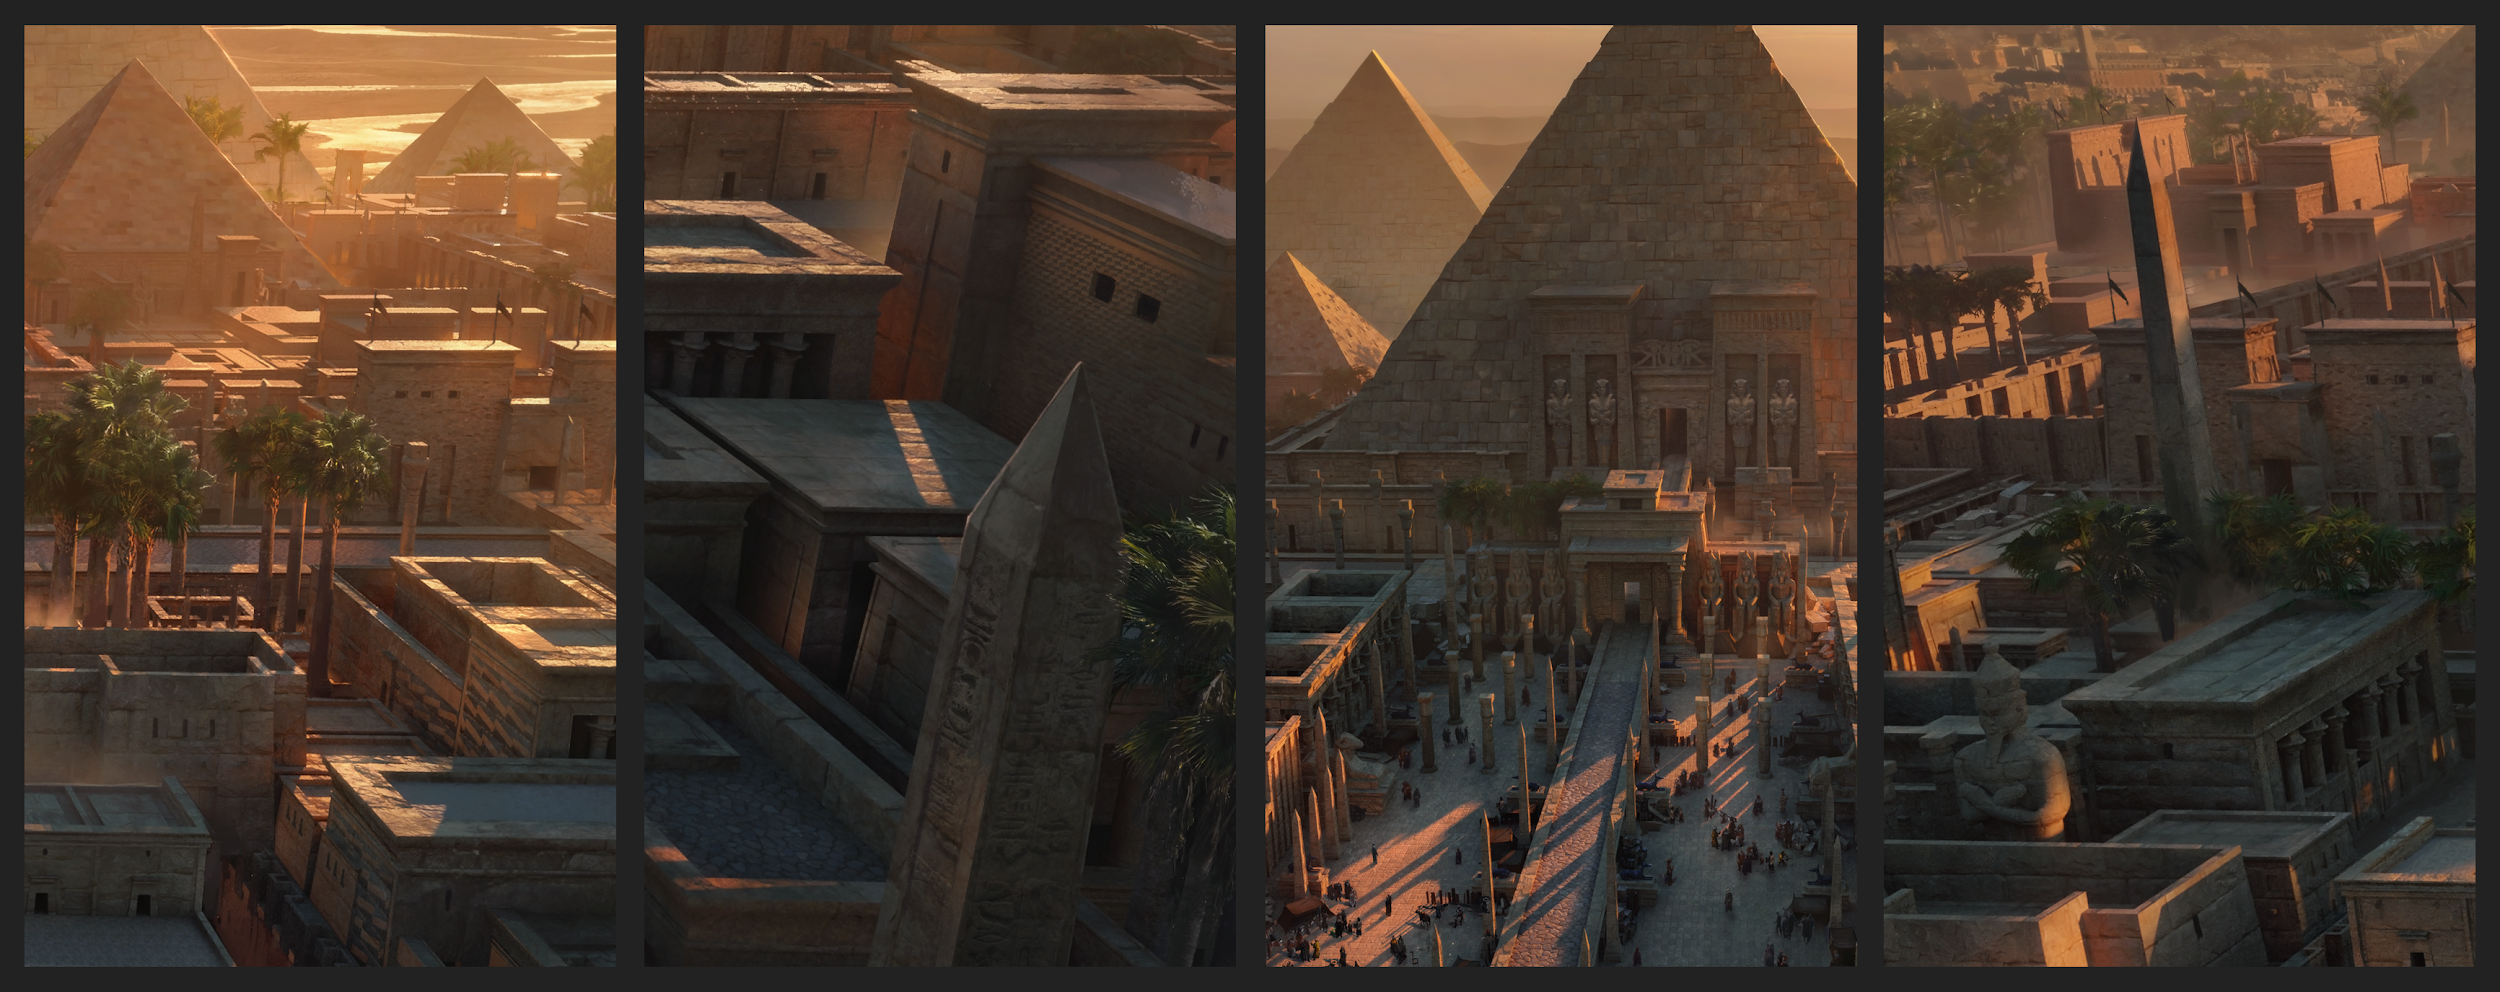
Here are some close-ups where you can see how the KitBash3D assets blend together nicely with the photos and painting applied. Harnessing the power of every tool available and combining them into one image is by far the most powerful and flexible way of achieving desired results.

And that’s it, the image is done! I hope this article gave some insight and be sure to check out this awesome kit.